A Series bundles several courses into one program that learners buy — and finish — together. Reach for one when you have a multi-course curriculum, a cohort, a certification track, or a subscription that should unlock your whole library. A series has its own landing page, its own price, its own certificate, and it can enroll a learner into every course inside it in a single step.
Create a series
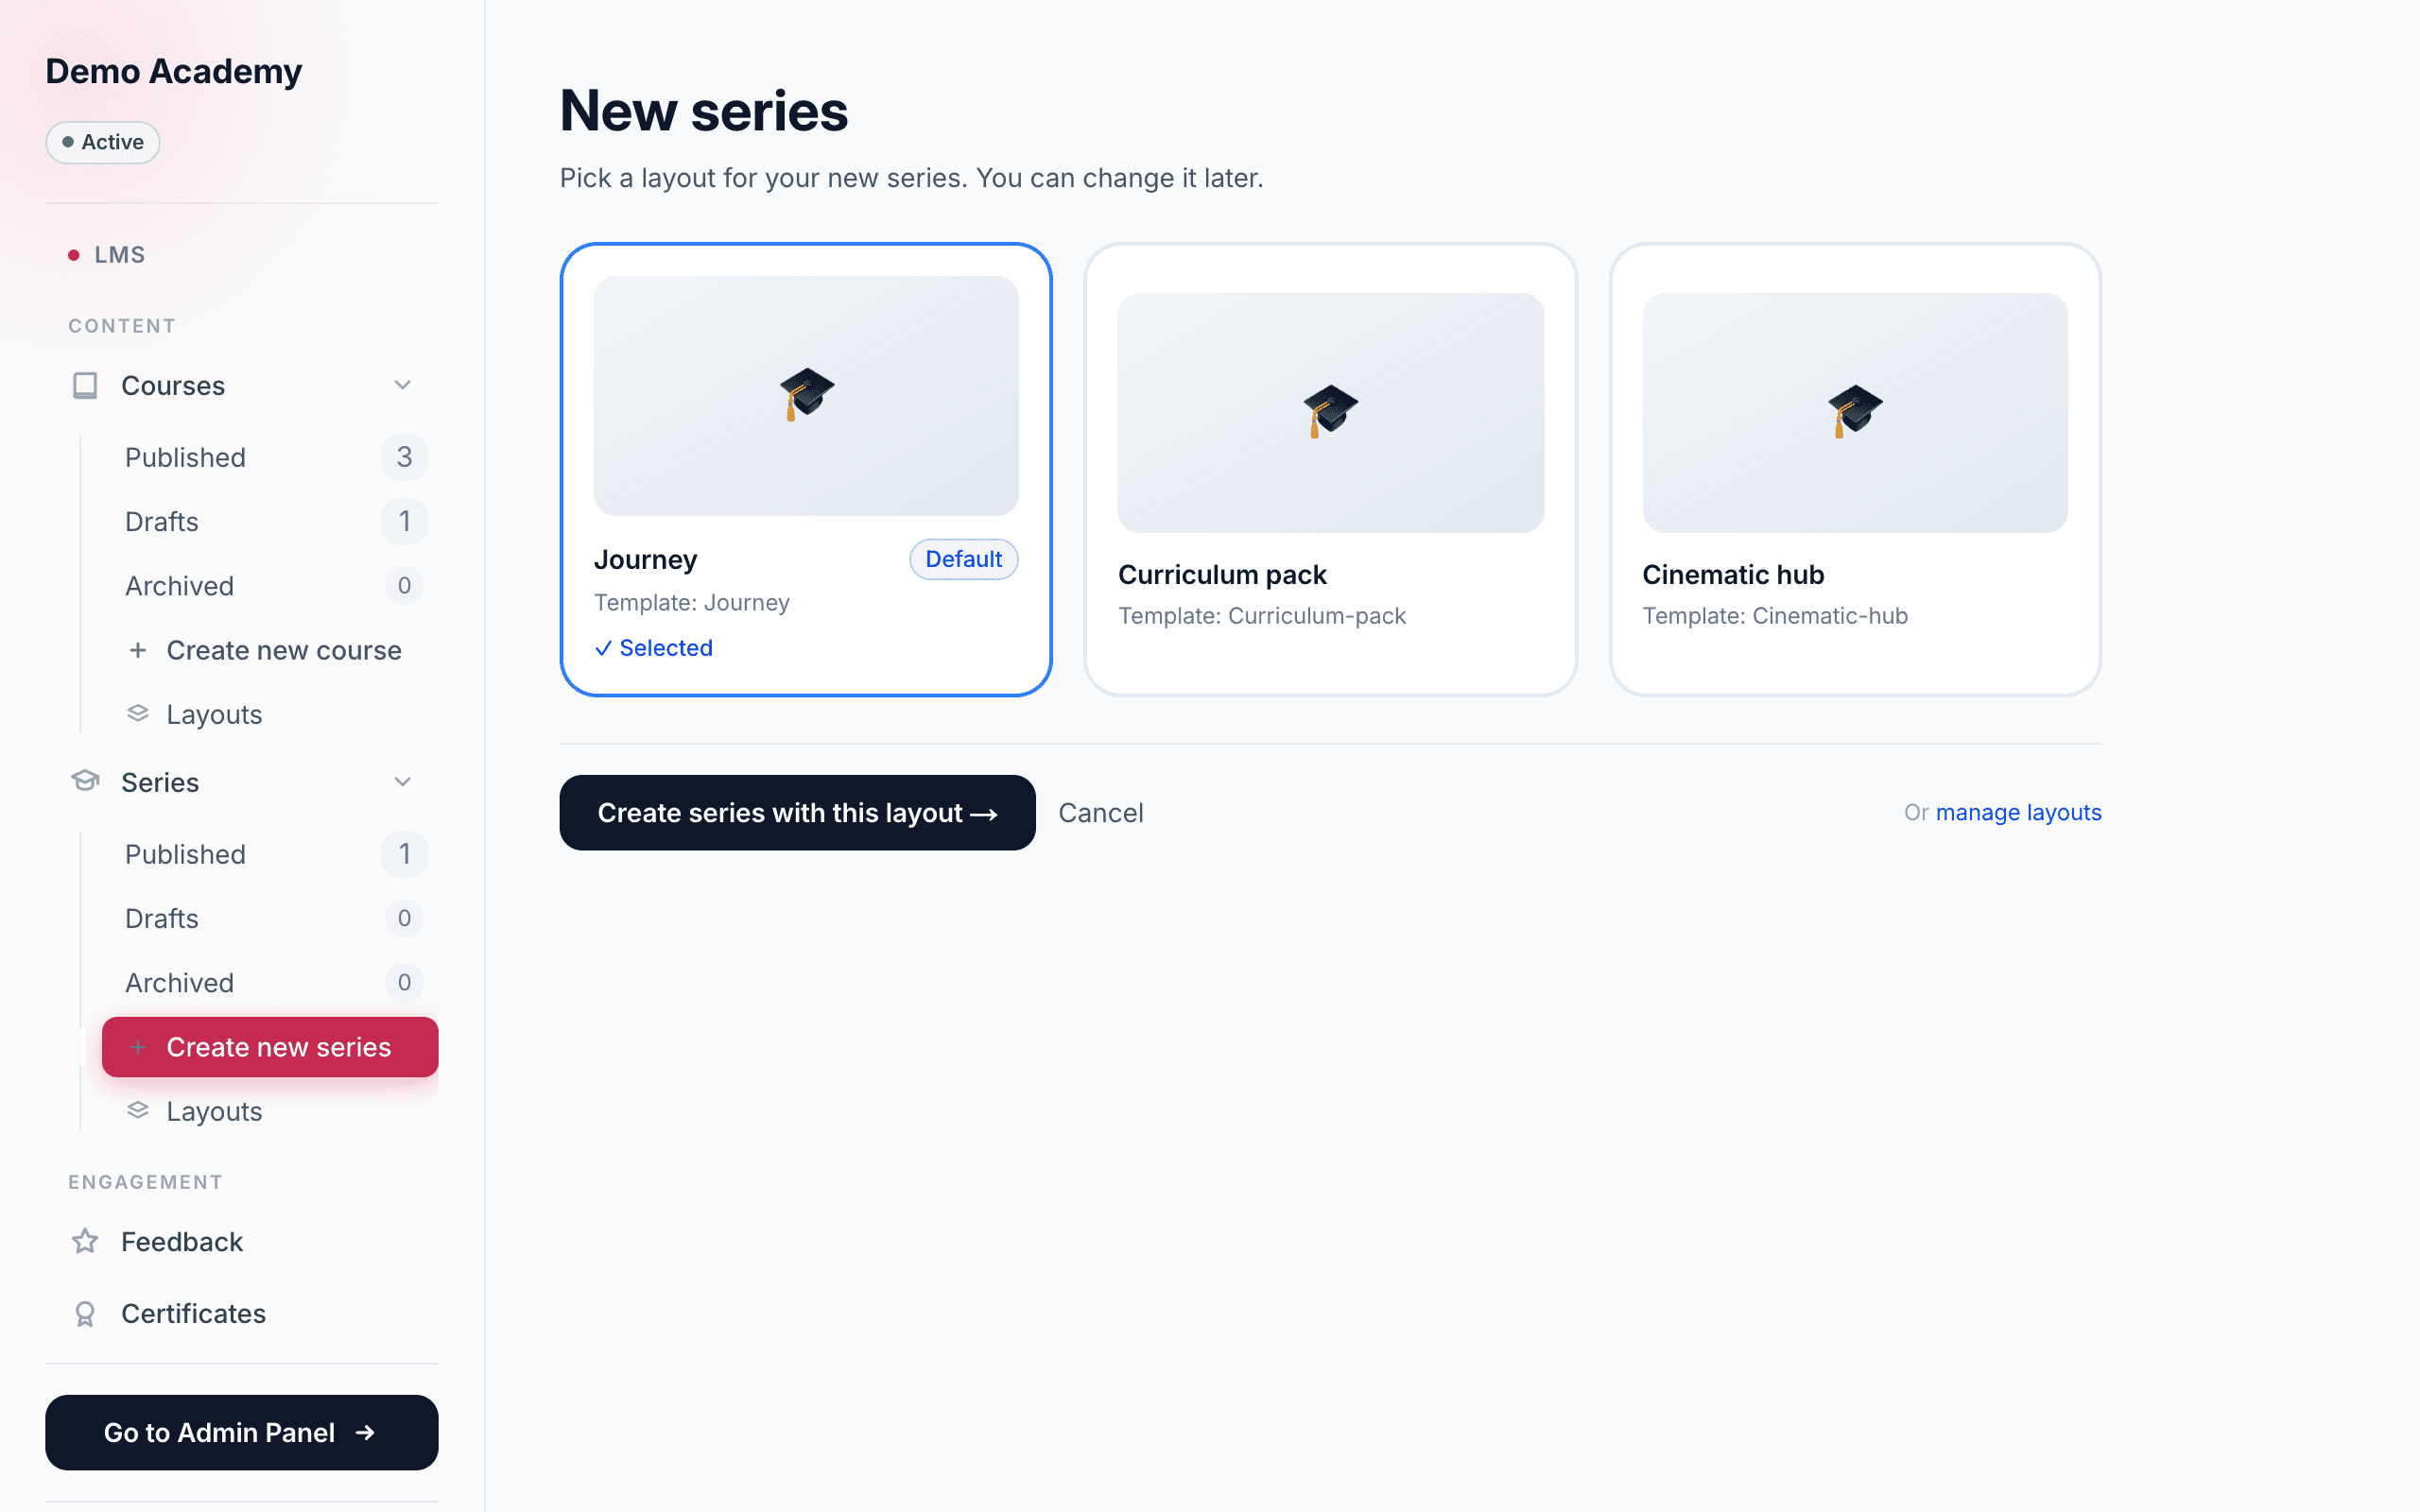
Series live on the LMS side of your dashboard. Click Go to LMS at the bottom of the sidebar, open LMSSeries, then choose New series. Like a course, a series is built layout-first — but there’s one thing you need in place before you can start.
On the New series screen, pick a layout (the one marked Default is pre-selected) and click Create series with this layout →. That spins up a draft called Untitled series and drops you on its basics page, where you rename it and set everything else. Nothing is public until you publish, so you can build in peace.
Give your series a cover
The basics page opens with a large cover box at the top — the banner learners see on the series’ landing page. Hover it to reveal Add image, Add video, and (once you’ve added one) Remove. It behaves exactly like a course cover.
- A cover image — PNG, JPG, or WebP.
- A cover video — MP4, WebM, or MOV, up to 200 MB. A short trailer works nicely here.
It’s one or the other: a series shows an image or a video, never both. Adding a video replaces the image (and vice-versa), so whatever you uploaded last is what learners see. The exact size to aim for depends on the layout you picked — a Recommended hint sits just under the box. For more on covers, see Create your first course.
Set the two series switches
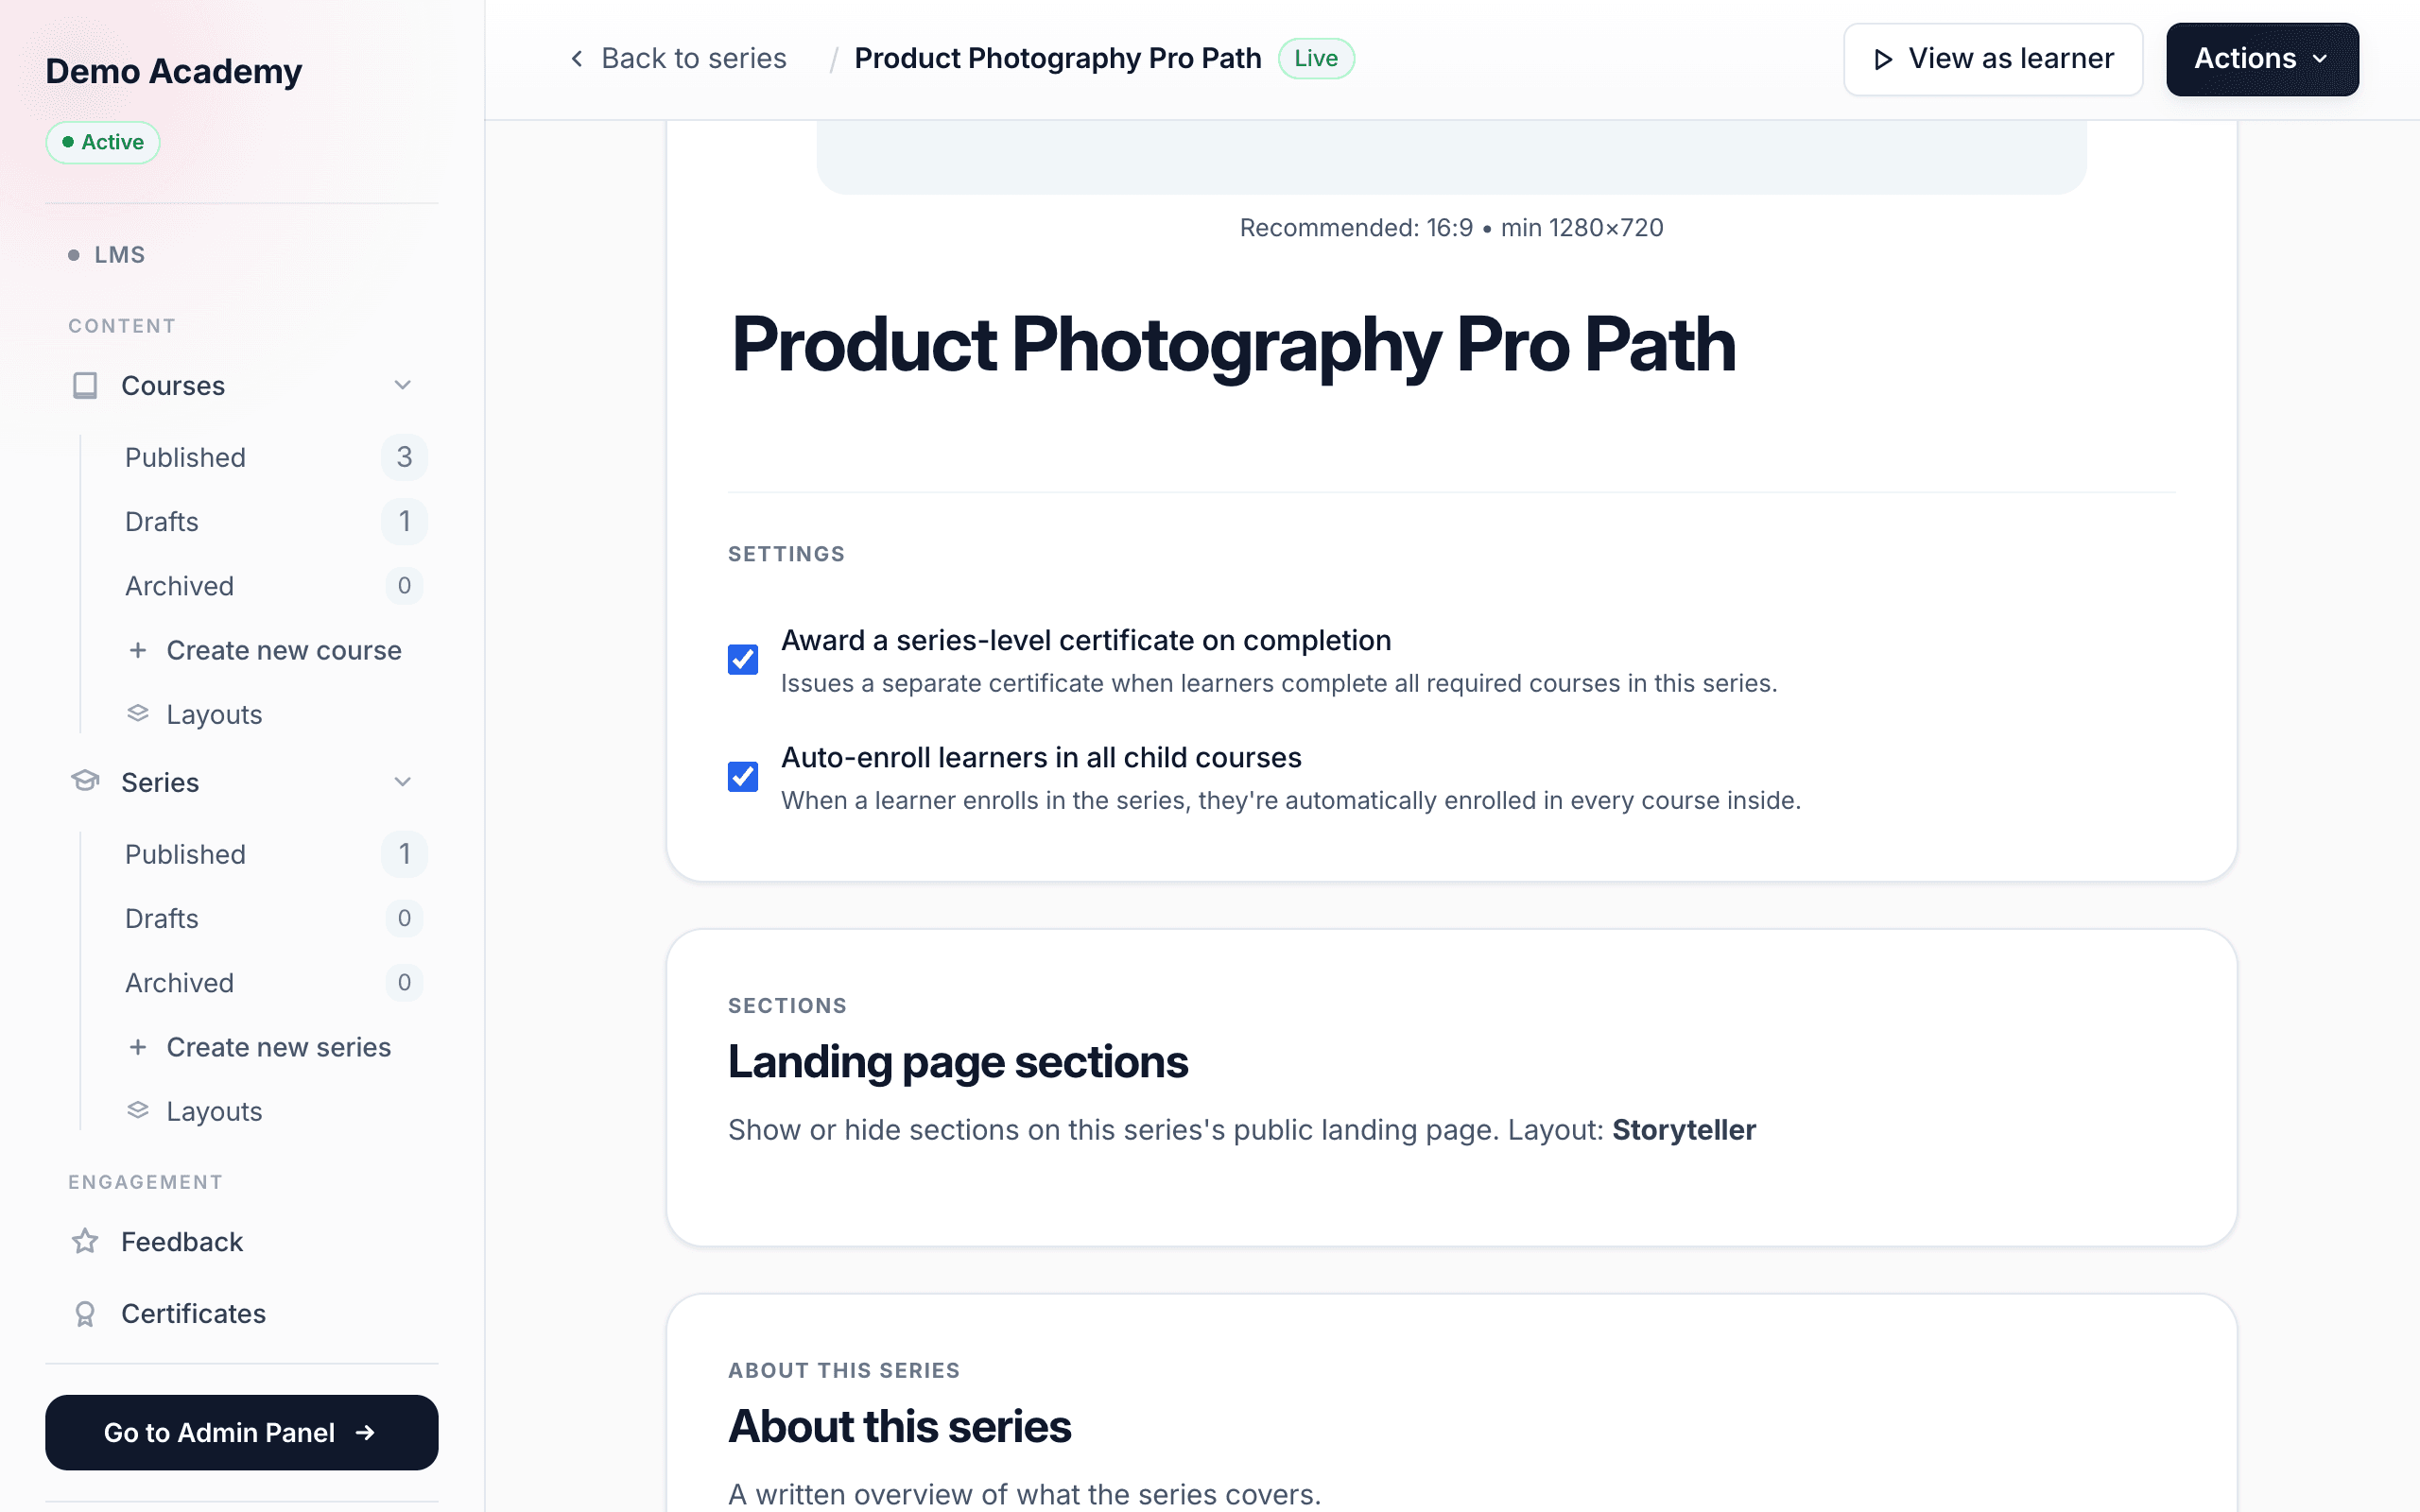
Open the series basics page and find the Settings block. Two toggles here behave differently from a normal course, and both save the instant you flip them.
Auto-enroll learners into every course (on by default)
Auto-enroll learners in all child courses is on out of the box. With it on, the moment someone enrolls in the series they’re automatically enrolled in every course inside — they never enroll in the pieces one by one. Turn it off only if you want learners to open each course themselves; either way the series still tracks their overall progress.
Award a series-level certificate on completion (off by default)
Award a series-level certificate on completion is off by default. Turn it on if you want the series to hand out its own certificate — separate from any per-course certificates — once a learner finishes the whole thing. Where that certificate’s design and signer come from is covered in Award a series certificate below.
Shape the series landing page
Just like a course, a series has its own public landing page, and you shape it right here on the basics page — below the Settings block. The design comes from the series layout you chose; the two cards below control which parts show and what they say. (Which cards you see depends on that layout.) Everything autosaves as you type.
Landing page sections (show or hide)
The Landing page sections card lists every section your layout offers with a toggle beside each one — flip a section off to hide it from the public page. Depending on the layout, the list can include About this series, the Journey path, the Courses list, What’s included, What you’ll gain, Objectives, Program details, Reviews, and the Series creator. Hide a section and its editor below dims and picks up a “Hidden on landing page” badge, so you always know what’s live.
Section editors
Under that card sits one editor per section, where you write what learners read:
- Series creator — a square photo (Upload, then Replace or Remove) plus a name, a title (e.g. “VP of People”), and a short bio. Leave the name blank to fall back to your account name.
- What you’ll gain — a short bulleted list of the outcomes learners walk away with (up to six).
- Objectives — a bulleted list of what the program covers (up to eight).
- Description (or About this series) — a written overview of the program.
- What’s included — a bulleted list of what comes with the series, like resources, access, or a certificate (up to eight).
Add your member courses
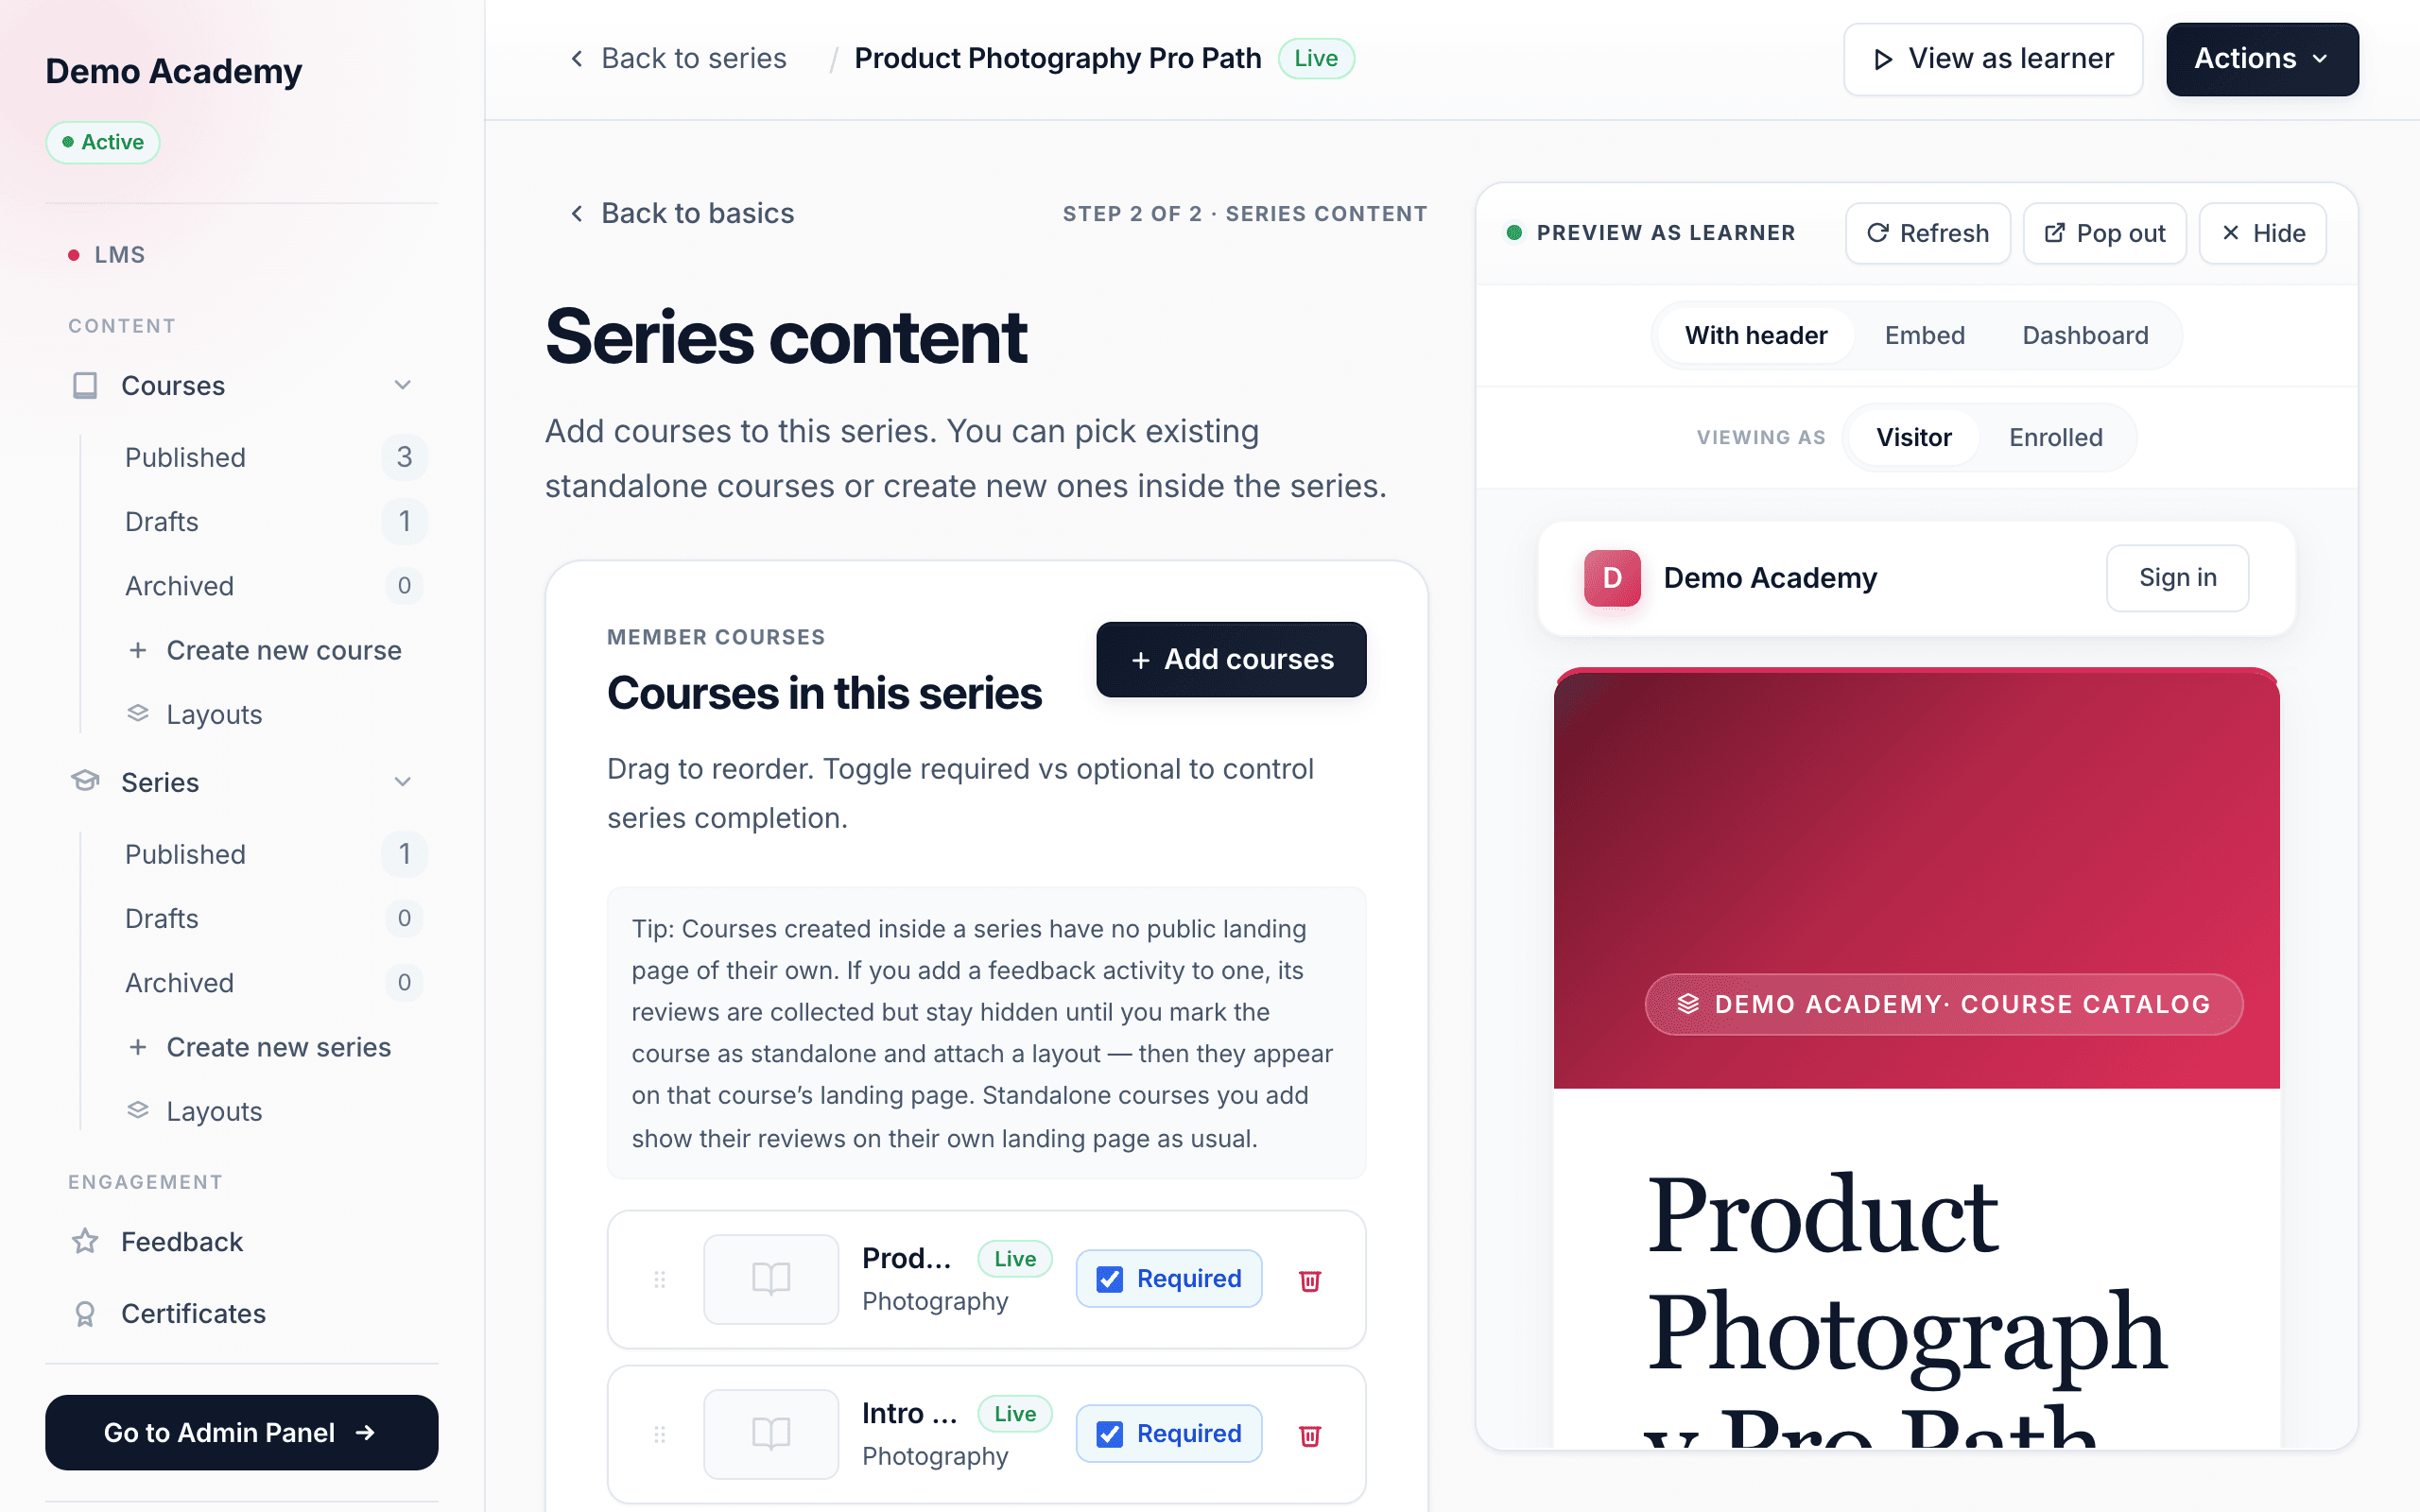
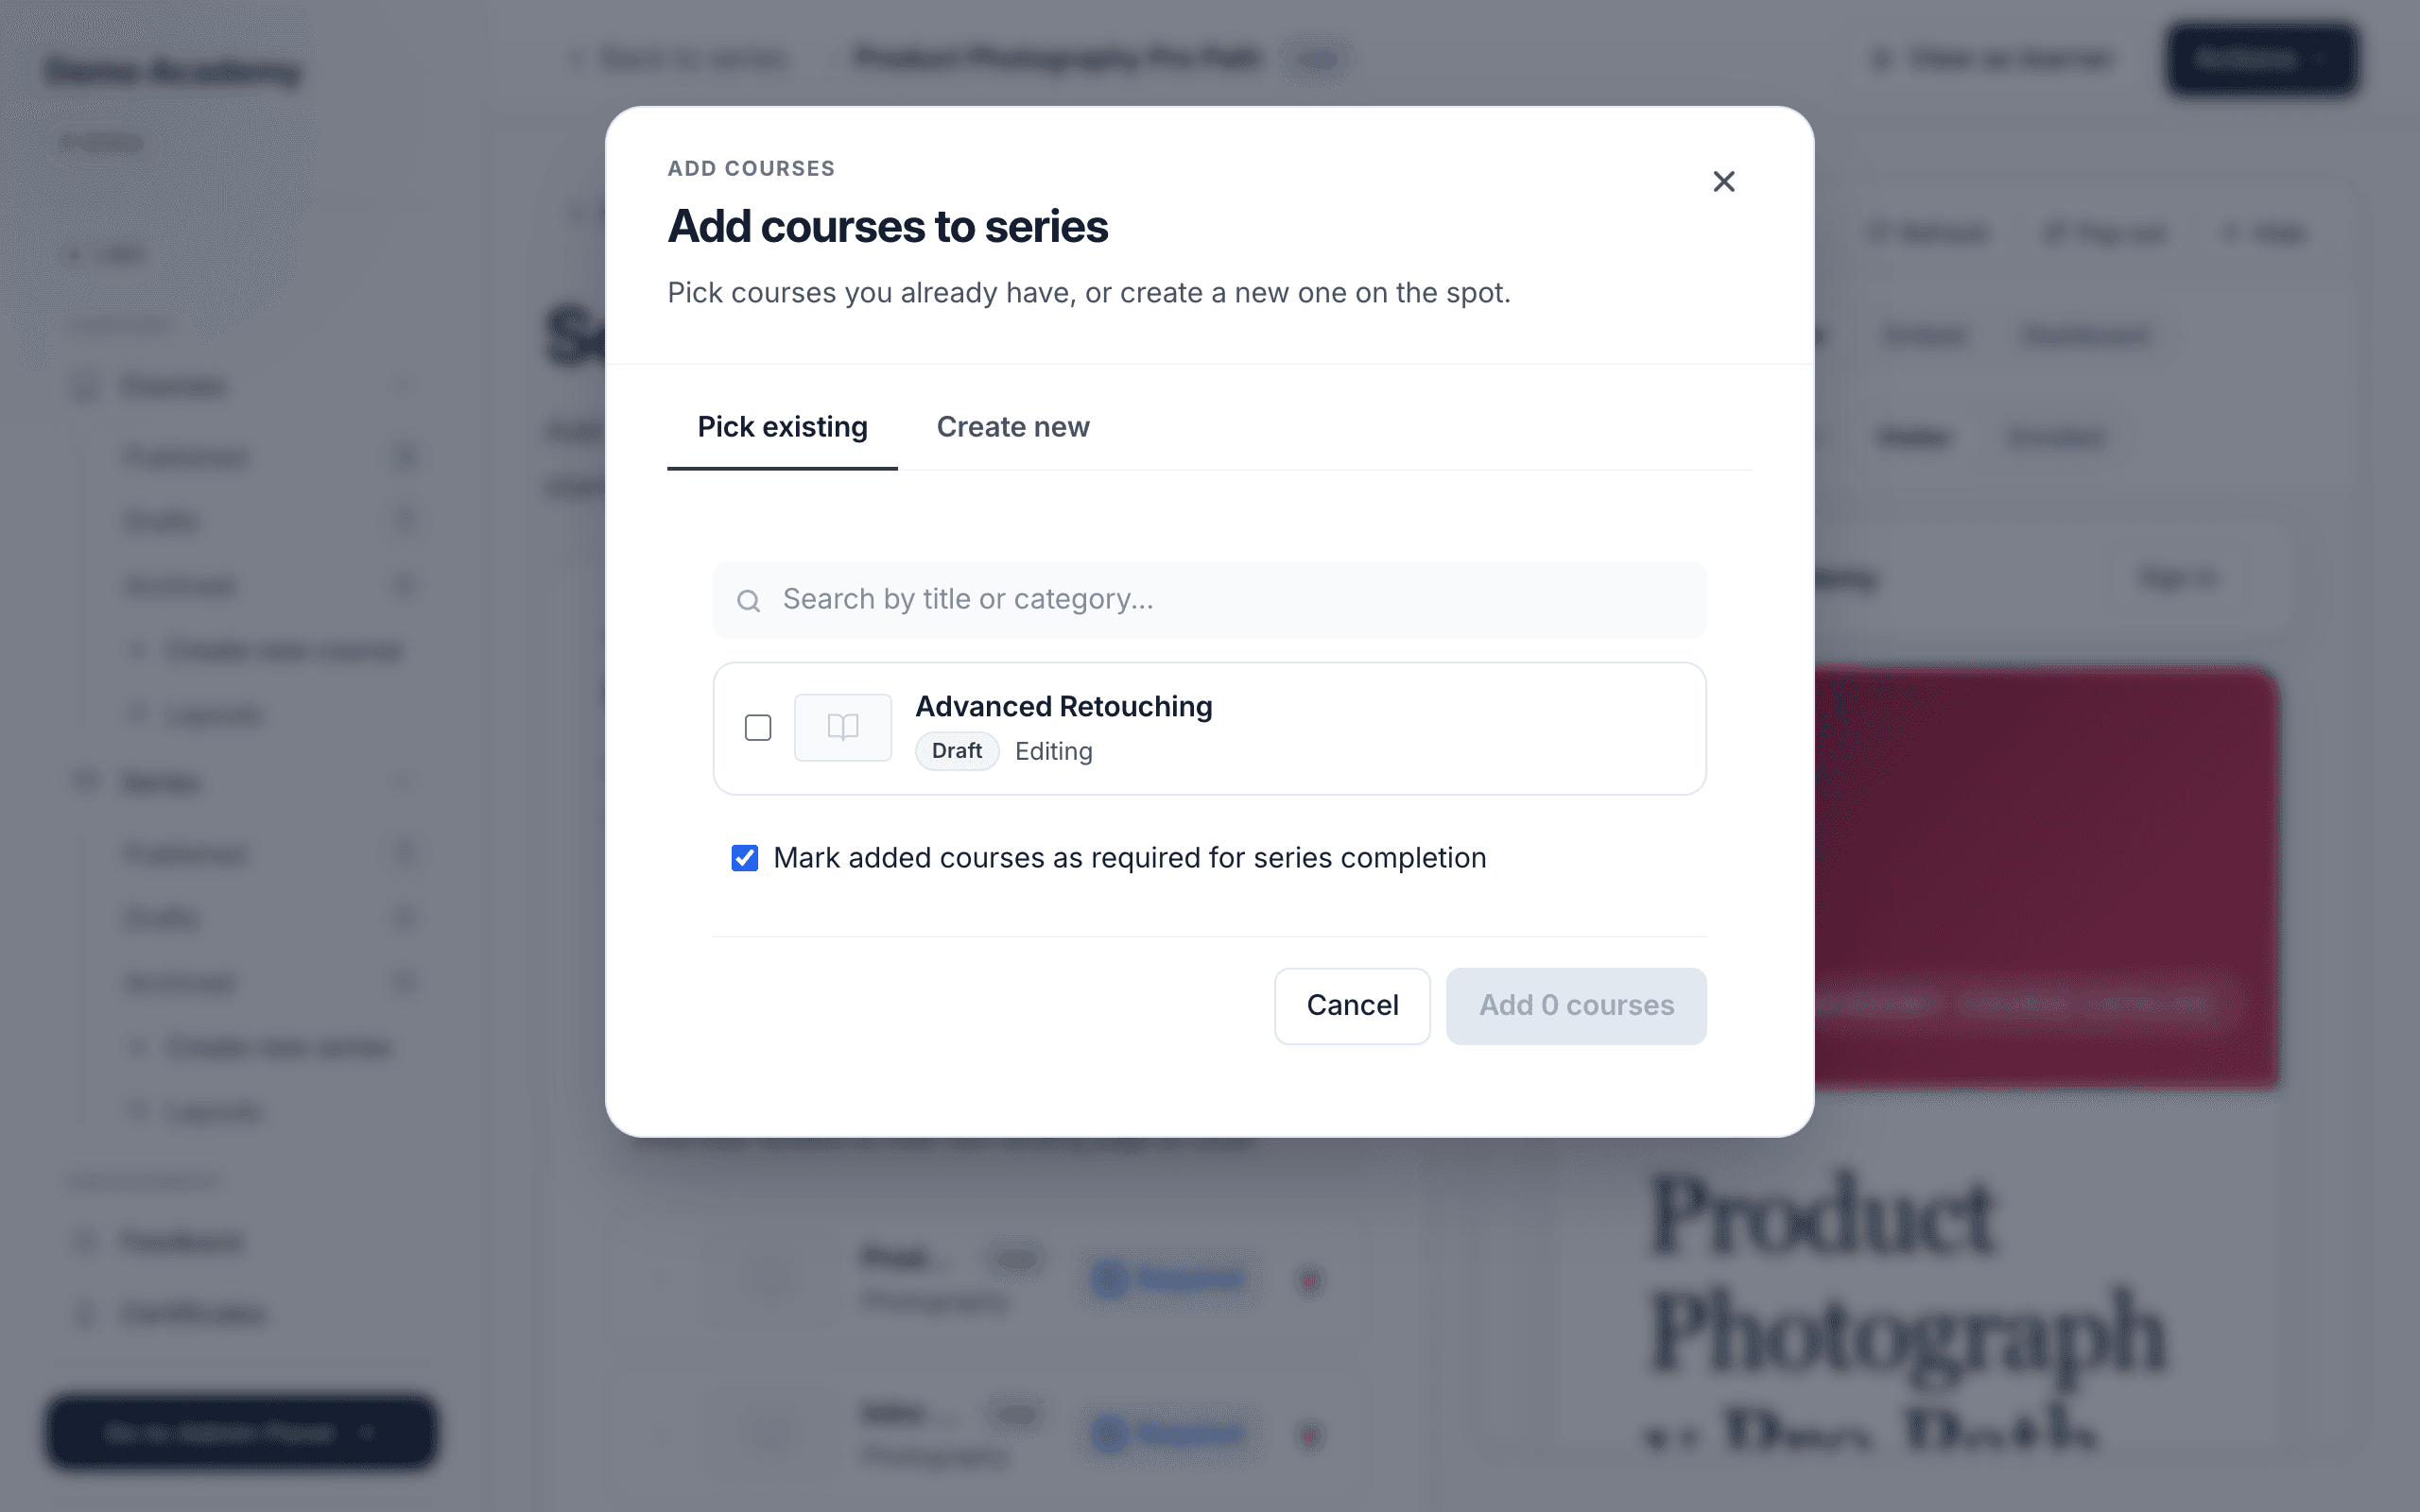
The courses inside a series are its member courses. Open the series’ content step and find the Member courses panel (Courses in this series). Click Add courses to open a two-tab window: you can pick courses you already have, or create a brand-new one on the spot. Those two choices behave very differently, so read the next two sections closely.
Add courses you already have
On the Pick existing tab you’ll see every course in your catalog that isn’t already in this series and isn’t archived. Search by title or category, tick the ones you want, and — if you like — leave Mark added courses as required for series completion checked. Click Add course(s) and they land at the bottom of the list.
Adding an existing course this way doesn’t change the course at all: it stays in your standalone Courses catalog with its own landing page and price, and now also belongs to the series. The very same course can live in several series at once.
Create a new course inside the series
On the Create new tab you build a fresh course without leaving the series. Give it a Title (required), and optionally a Description, Category, a Cover image (PNG/JPG/WebP up to 4 MB), who can enroll (self-enrollment, admin-only, or invite-only), whether it issues its own certificate and shows an end-of-course feedback survey, and whether it’s required for series completion. Create it and Learn 360 makes the course, attaches it to the series, and adds a first section so you can start on lessons immediately — see Add lessons & activities.
Reorder, edit, and remove courses
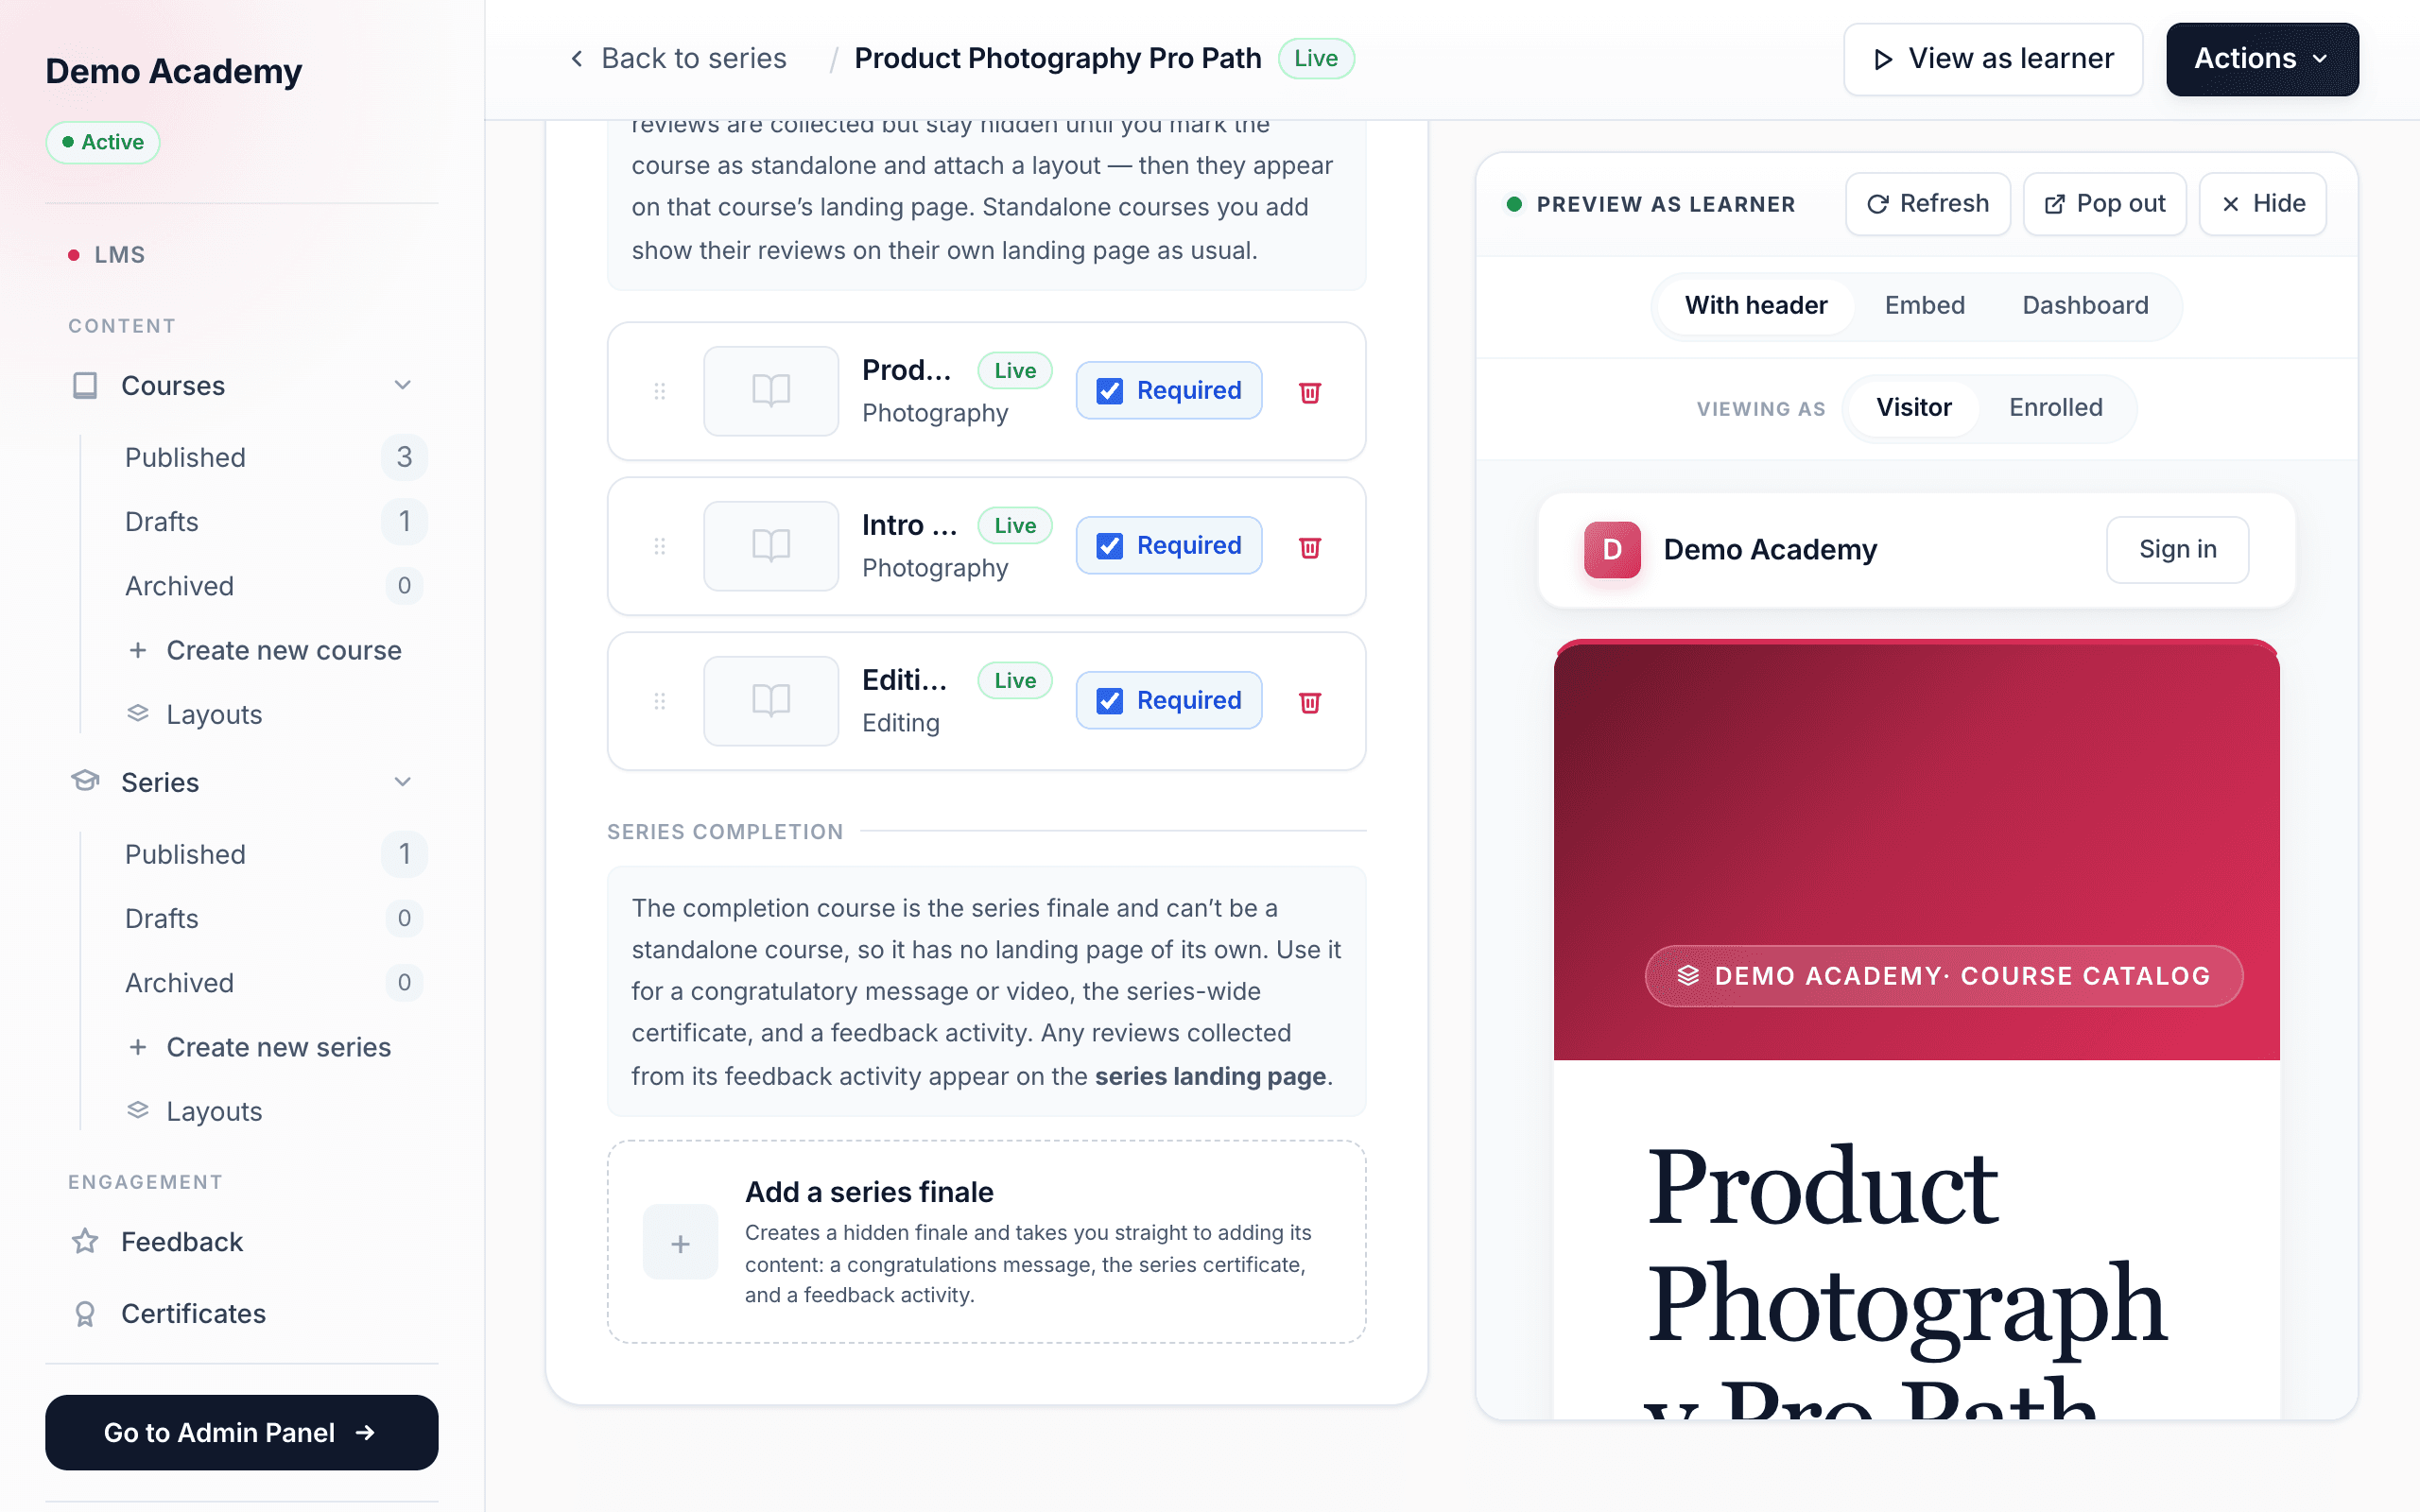
Back in the Courses in this series list, every row carries a drag handle on the left — drag to reorder the courses into the sequence learners should follow. Each row also shows the course’s thumbnail, title, a status pill (draft or published), a Required toggle, and a trash button.
- Click a course’s title to edit it. If it’s a shared course — standalone, or used in more than one series — Learn 360 warns you first, because your changes sync everywhere that course appears. A series-only course opens a lightweight inline editor instead.
- Remove (the trash button) takes the course out of this series but never deletes it. A standalone course stays in your catalog; a series-only course simply becomes unattached.
Series-only vs. standalone: the rule to know
This is the one behavior worth getting straight. Every course has a catalog visibility setting — whether it appears as a standalone course in your Courses catalog:
- A course you create inside a series is series-only. It’s hidden from the Courses catalog and has no landing page of its own — the only way in is by enrolling in the parent series (or by an author invite).
- A course you add from your existing catalog keeps its visibility. A standalone course stays standalone: still listed, still has its own landing page and price, and is now also part of the series.
Want a series-only course sold on its own too? Open it in the builder and choose Mark as standalone too — from then on it appears in the Courses catalog. A course can be both at once: “series-only” is only about the catalog surface, not about which series it belongs to.
Required vs. optional courses
Each member course has a Required toggle; its row pill reads Required or Optional, and you set the default in bulk when you add courses. Read Required as “counts toward finishing the series” — it drives series completion and the series certificate, and inside a course it powers the certificate lock (a learner can’t claim that course’s certificate until its required activities are done).
The series finale (completion course)
At the bottom of the member-courses builder is Series completion — a slot for one special course called the finale. Click Add a series finale and Learn 360 creates a hidden course and takes you straight to its content, ready for a congratulations message or video, the series certificate, and a feedback activity.
- There’s exactly one per series, and it can never be a standalone course — it has no landing page of its own.
- It’s hidden from the catalog and unlocks only when every other course in the series is complete, so it truly is the finish line.
- Its feedback activity is where your series reviews come from. Because the finale has no landing page, its reviews represent the whole series and appear on the series’ landing page.
- Remove deletes the finale and its content, but any certificates already issued to learners stay valid.
Award a series certificate
To give learners a certificate for finishing the whole series — on top of, or instead of, per-course certificates:
- Turn on Award a series-level certificate on completion in the series basics.
- Add a series finale and put a certificate activity inside it. That activity sets the certificate’s design, signer, and expiry.
If you skip the certificate activity, the series falls back to your default certificate design with no expiry. Either way the finished certificate is verifiable on your public verification page, listed under the series’ name. For how designs, signers, expiry, and verification work, see Award certificates.
Price the whole series
A series is priced with Packages, exactly like a course — set it free, a one-time purchase, a subscription, or team seats. One price unlocks everything inside: buying the series enrolls the learner in every course it contains. It’s the cleanest way to sell a subscription — a single recurring price for your whole library. Full details are in Set your prices with Packages.
How learners get the series
When someone enrolls in the series, they land on all of its courses at once (with auto-enroll on), and their progress rolls up into a single series progress bar. A course they got through the series can’t be dropped on its own — they’d unenroll from the series to remove it. For the full picture of catalog enrollment, invites, and checkout, see How learners enroll.