The fastest way to catch anything out of place is to look at your course the way a student will. Learn 360 gives you two ways to do that, both from inside the builder: a full-screen View as learner preview, and a live Preview pane that sits right next to your lessons while you edit. Neither one touches real learners or real data.
View as learner
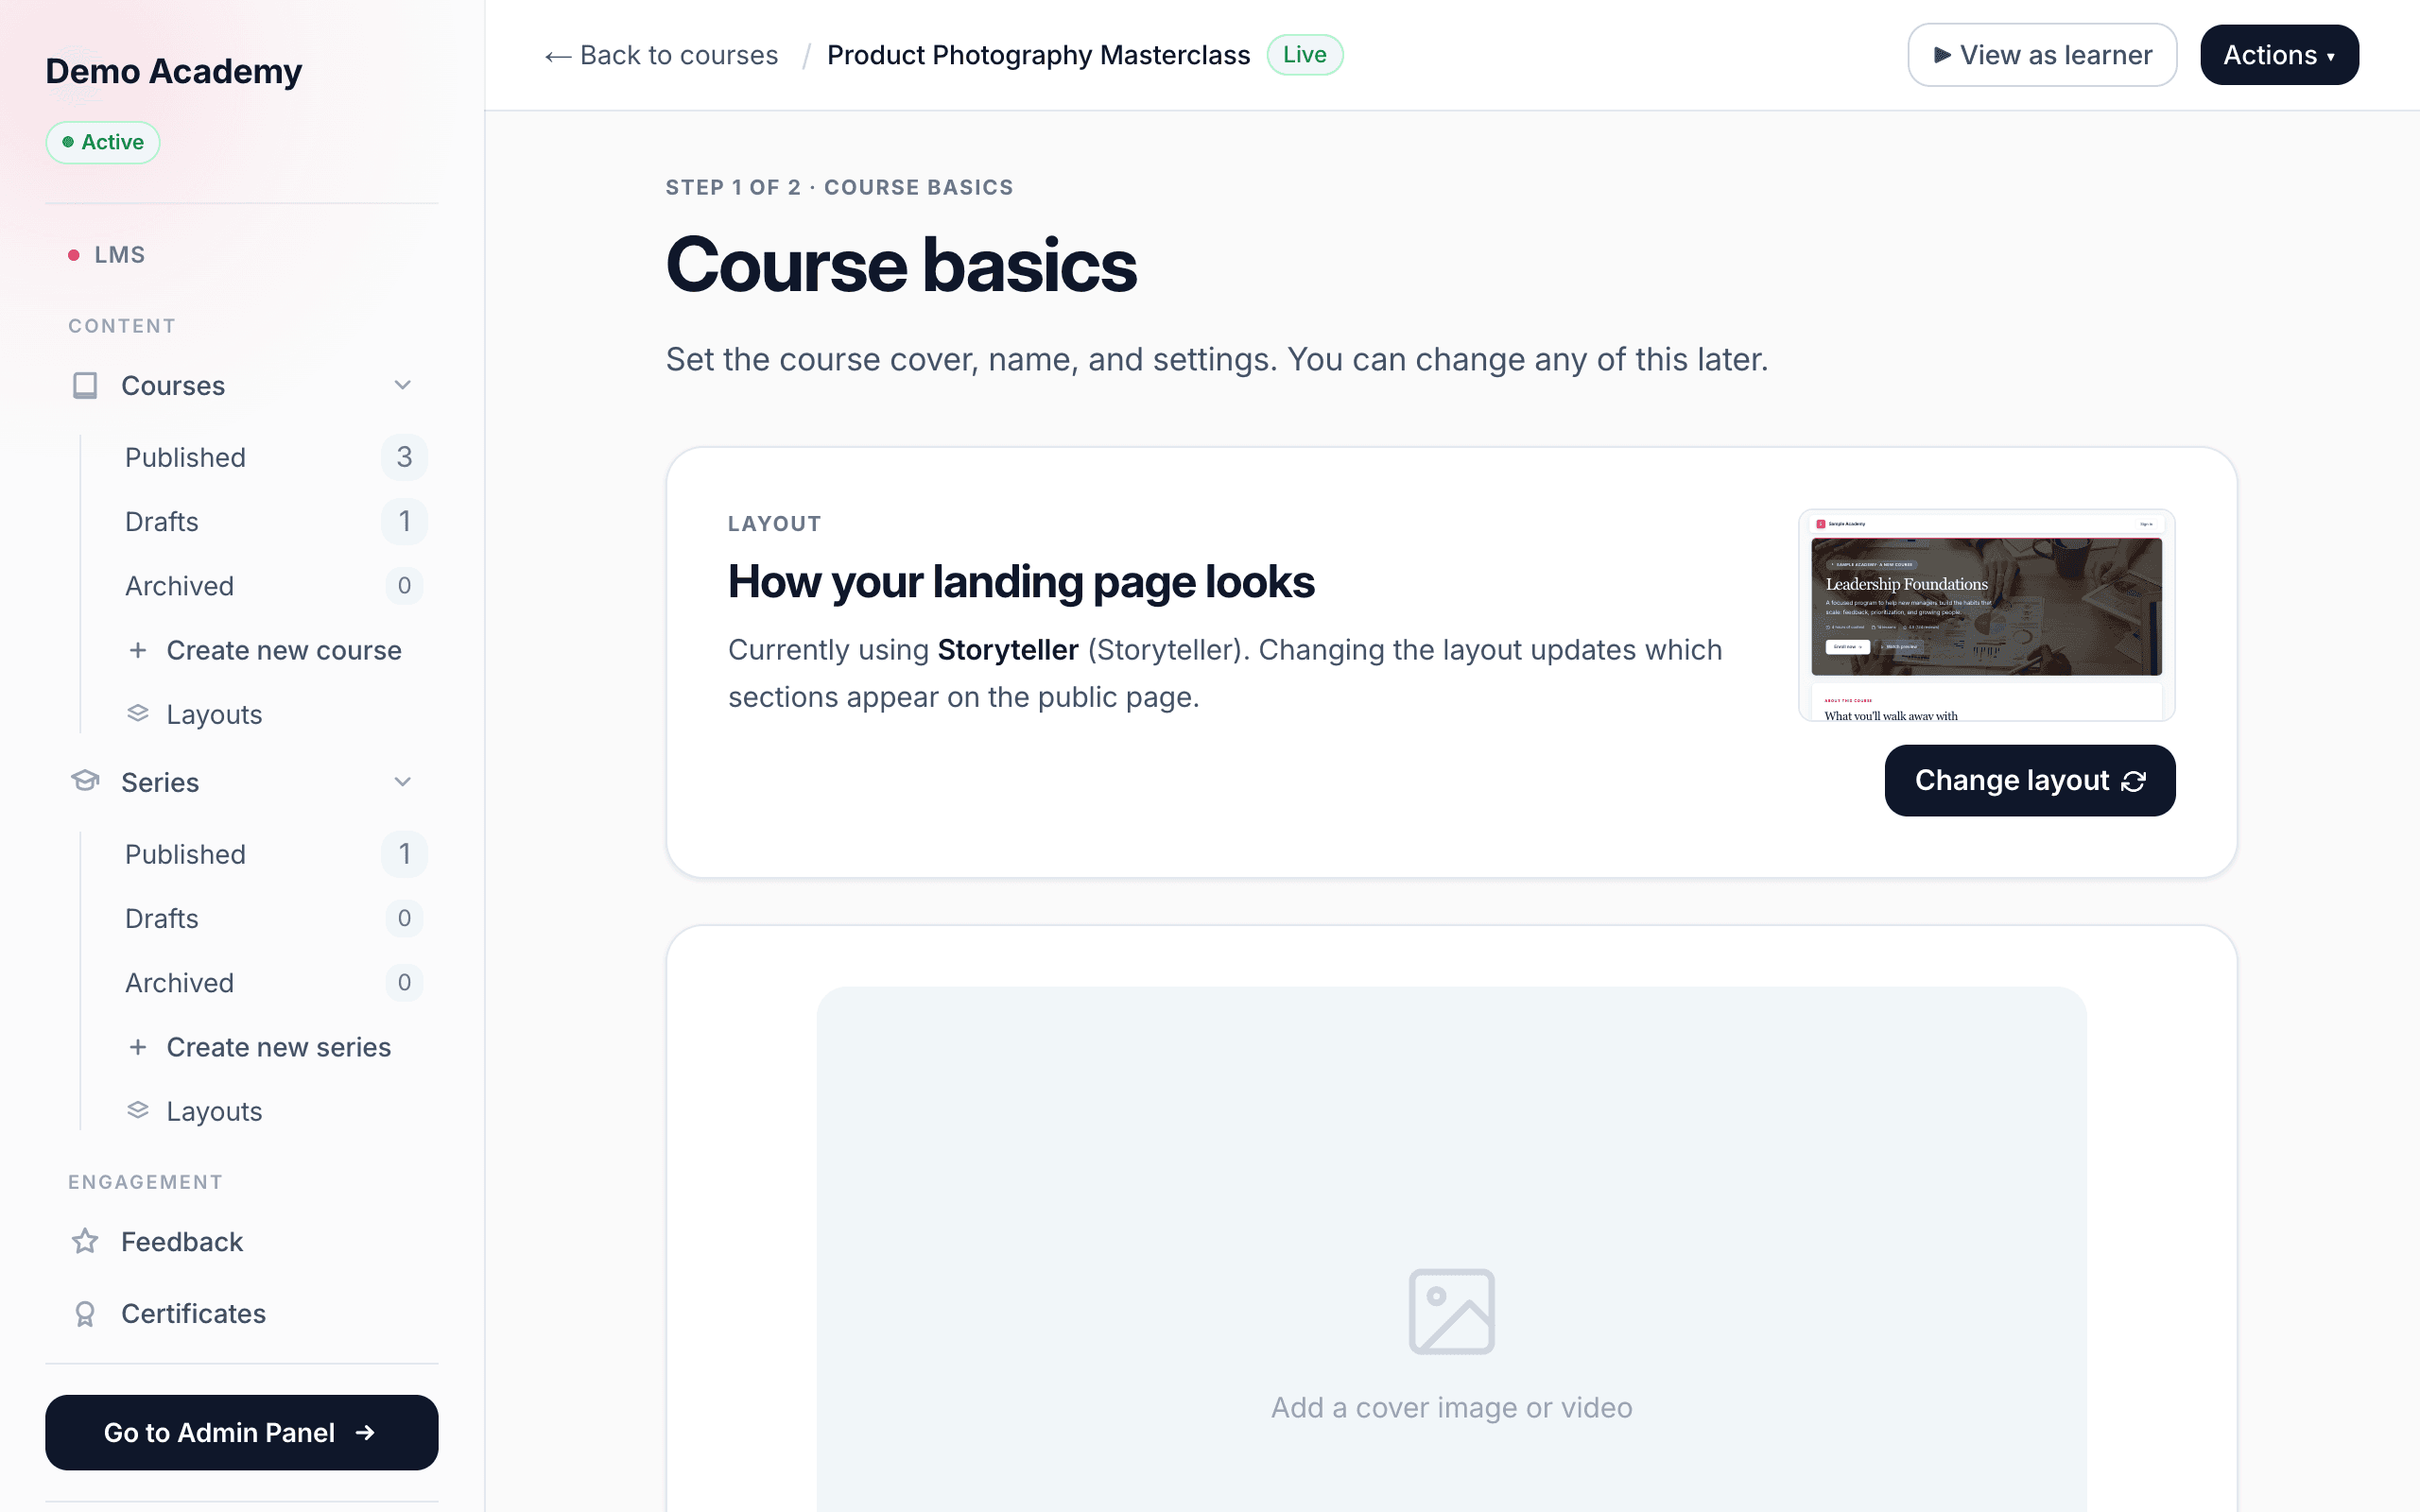
On either builder screen — Course basics or Course content — the top bar has a ▶ View as learner button. Click it and your course opens in a new tab at its real public address (/c/<course-id>?preview=1), rendered exactly as a signed-in learner would see it: the landing page, the enroll flow, and every lesson.
Because it’s the genuine learner view — not a mock-up — you can click all the way through: read the landing page, open a lesson, watch a video, answer a quiz, and reach the completion screen and certificate. It works on a draft course too, which is the whole point — you check the experience before you publish.
The live Preview pane
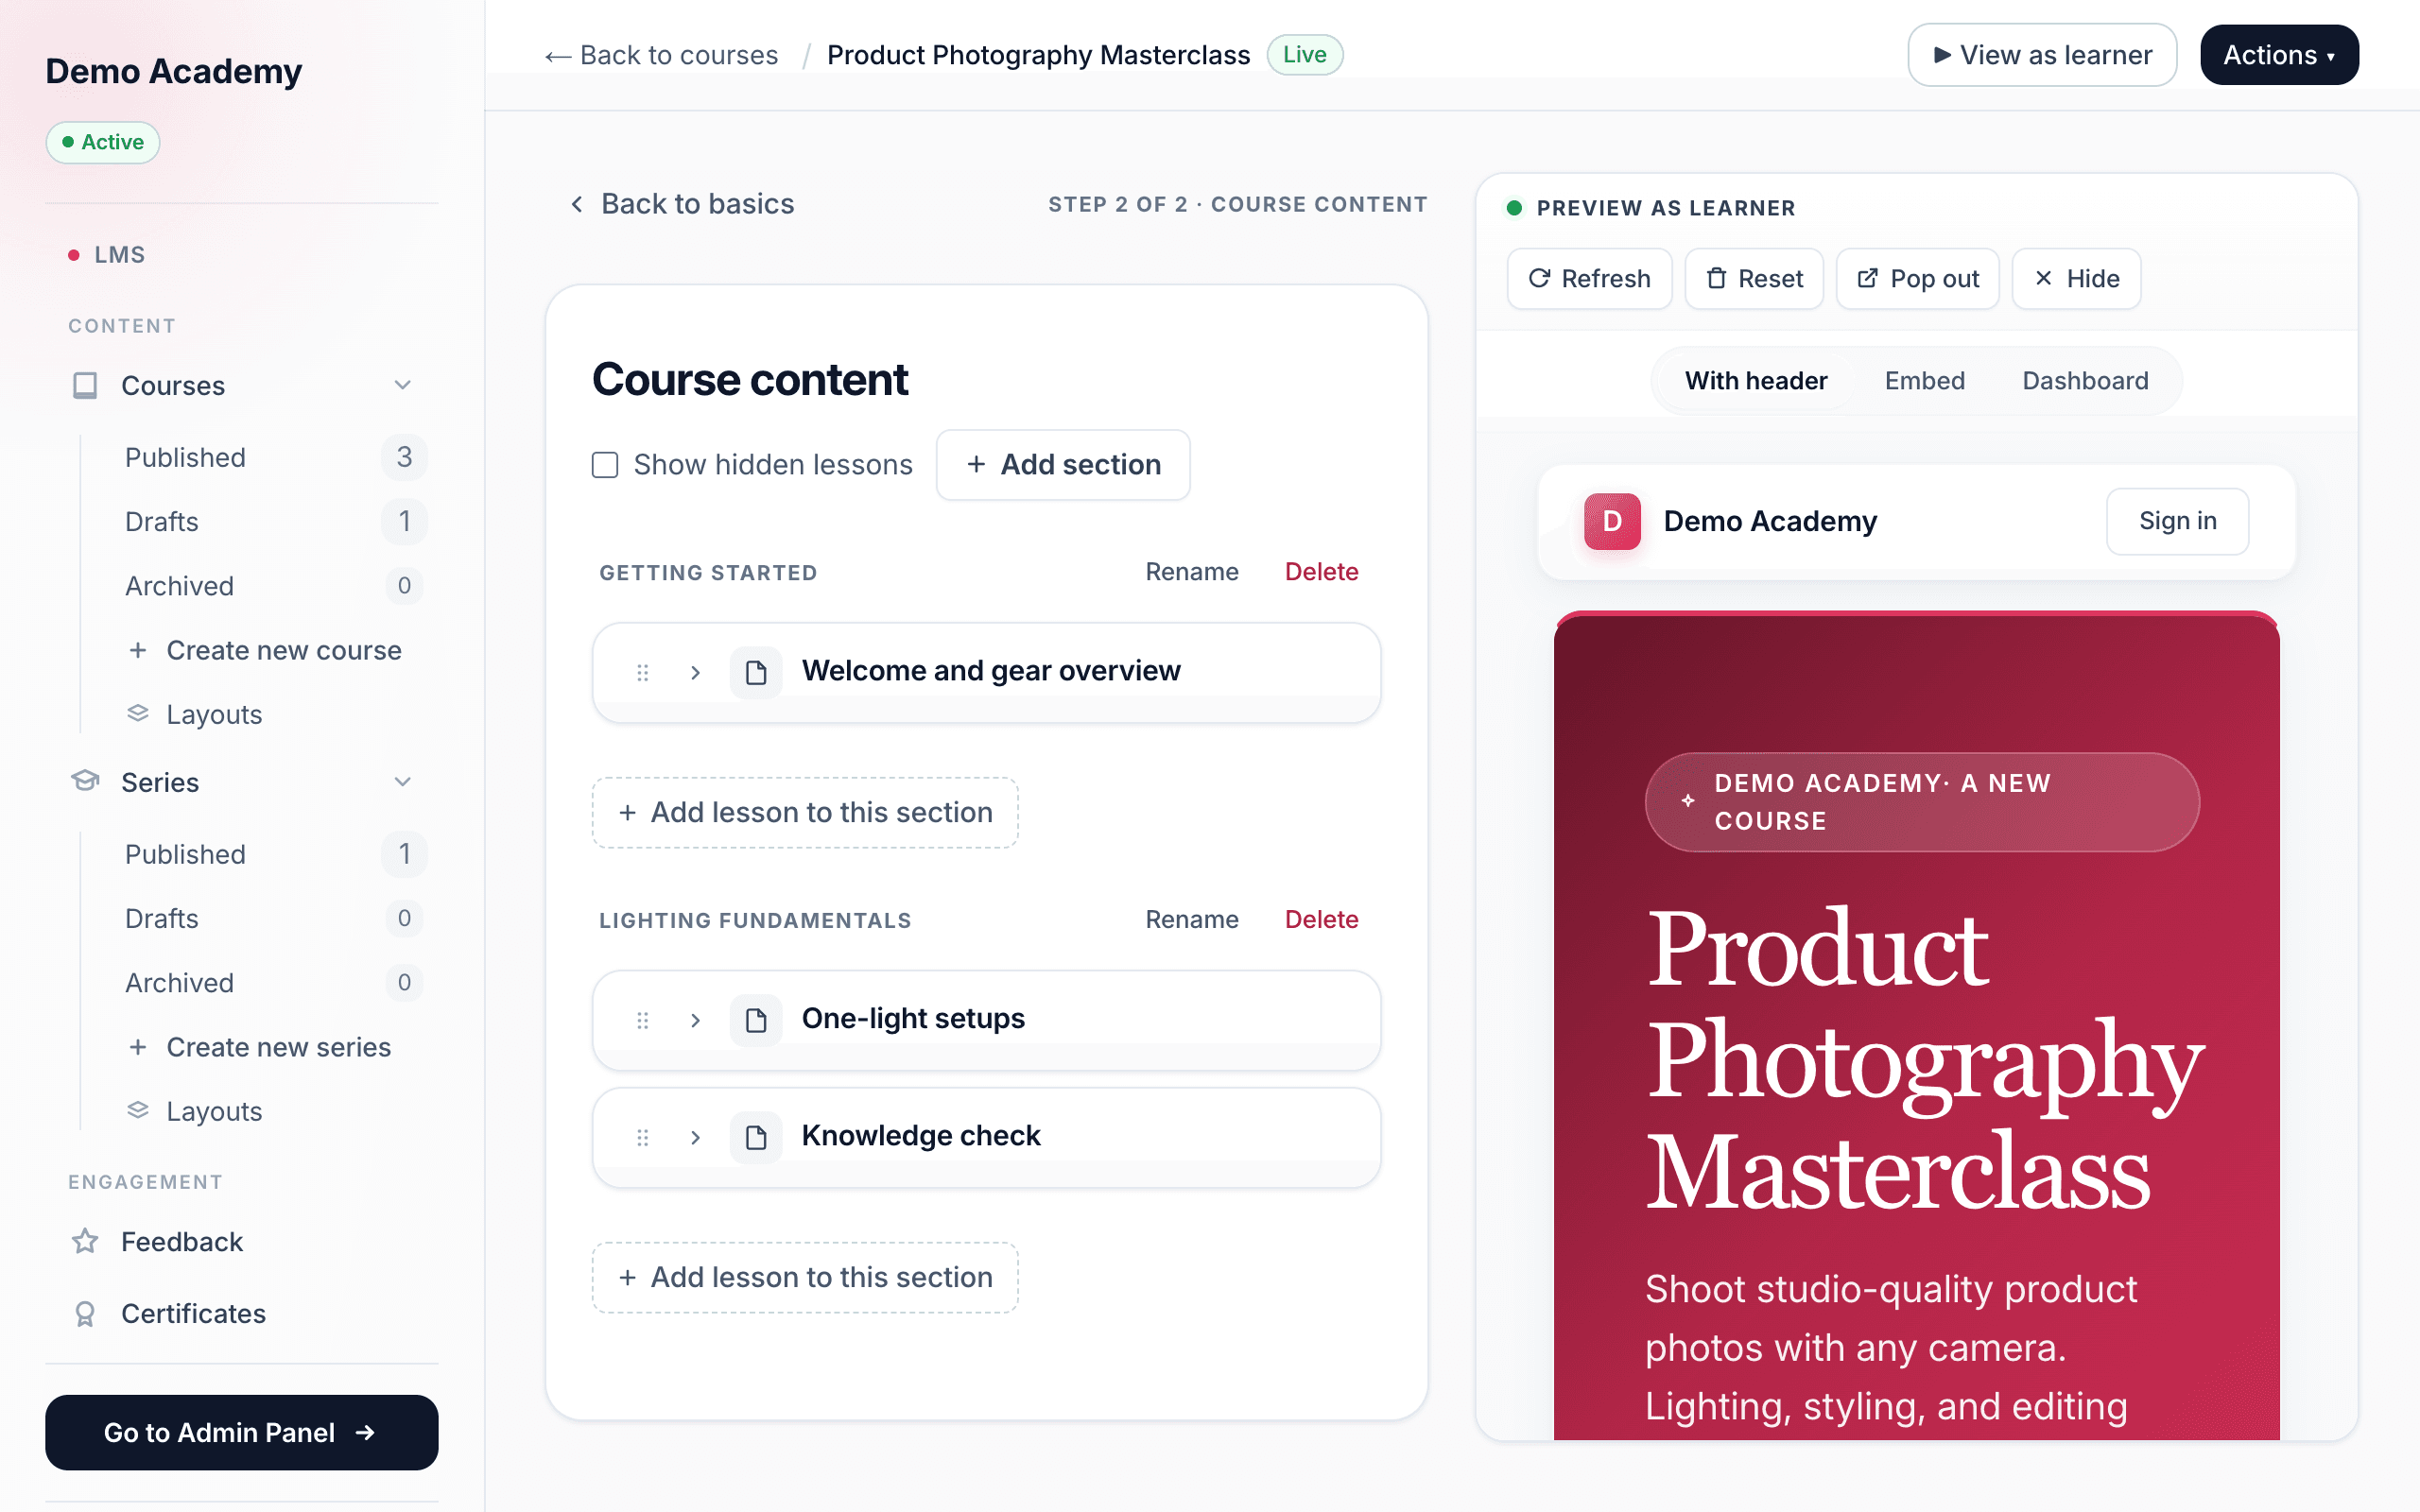
Open a course’s Step 2 of 2 · Course content screen and, by default, the right half of the page is a docked Preview as learner pane — a small green dot marks it as live. Your lessons editor is on the left; the learner’s-eye view is on the right, so you can build and check side by side.
The pane auto-refreshes about a second after you save an edit, so what you see stays in step with what you’re writing. Along its top are a few controls:
- Refresh — reload the preview with the latest saved content, on demand.
- Reset — wipe your simulated learner progress so you can walk the course from scratch. It asks first (“Reset preview progress?”) and only clears your own preview run — never a real learner’s progress.
- Pop out — open the same preview full-screen in a new tab (the same thing View as learner does).
- Hide — collapse the pane to give the editor the full width. A Show preview button brings it back.
Choose how the preview is framed
Just under the pane’s header is a small toggle that switches how the preview is “framed” — useful because your course can appear in more than one place:
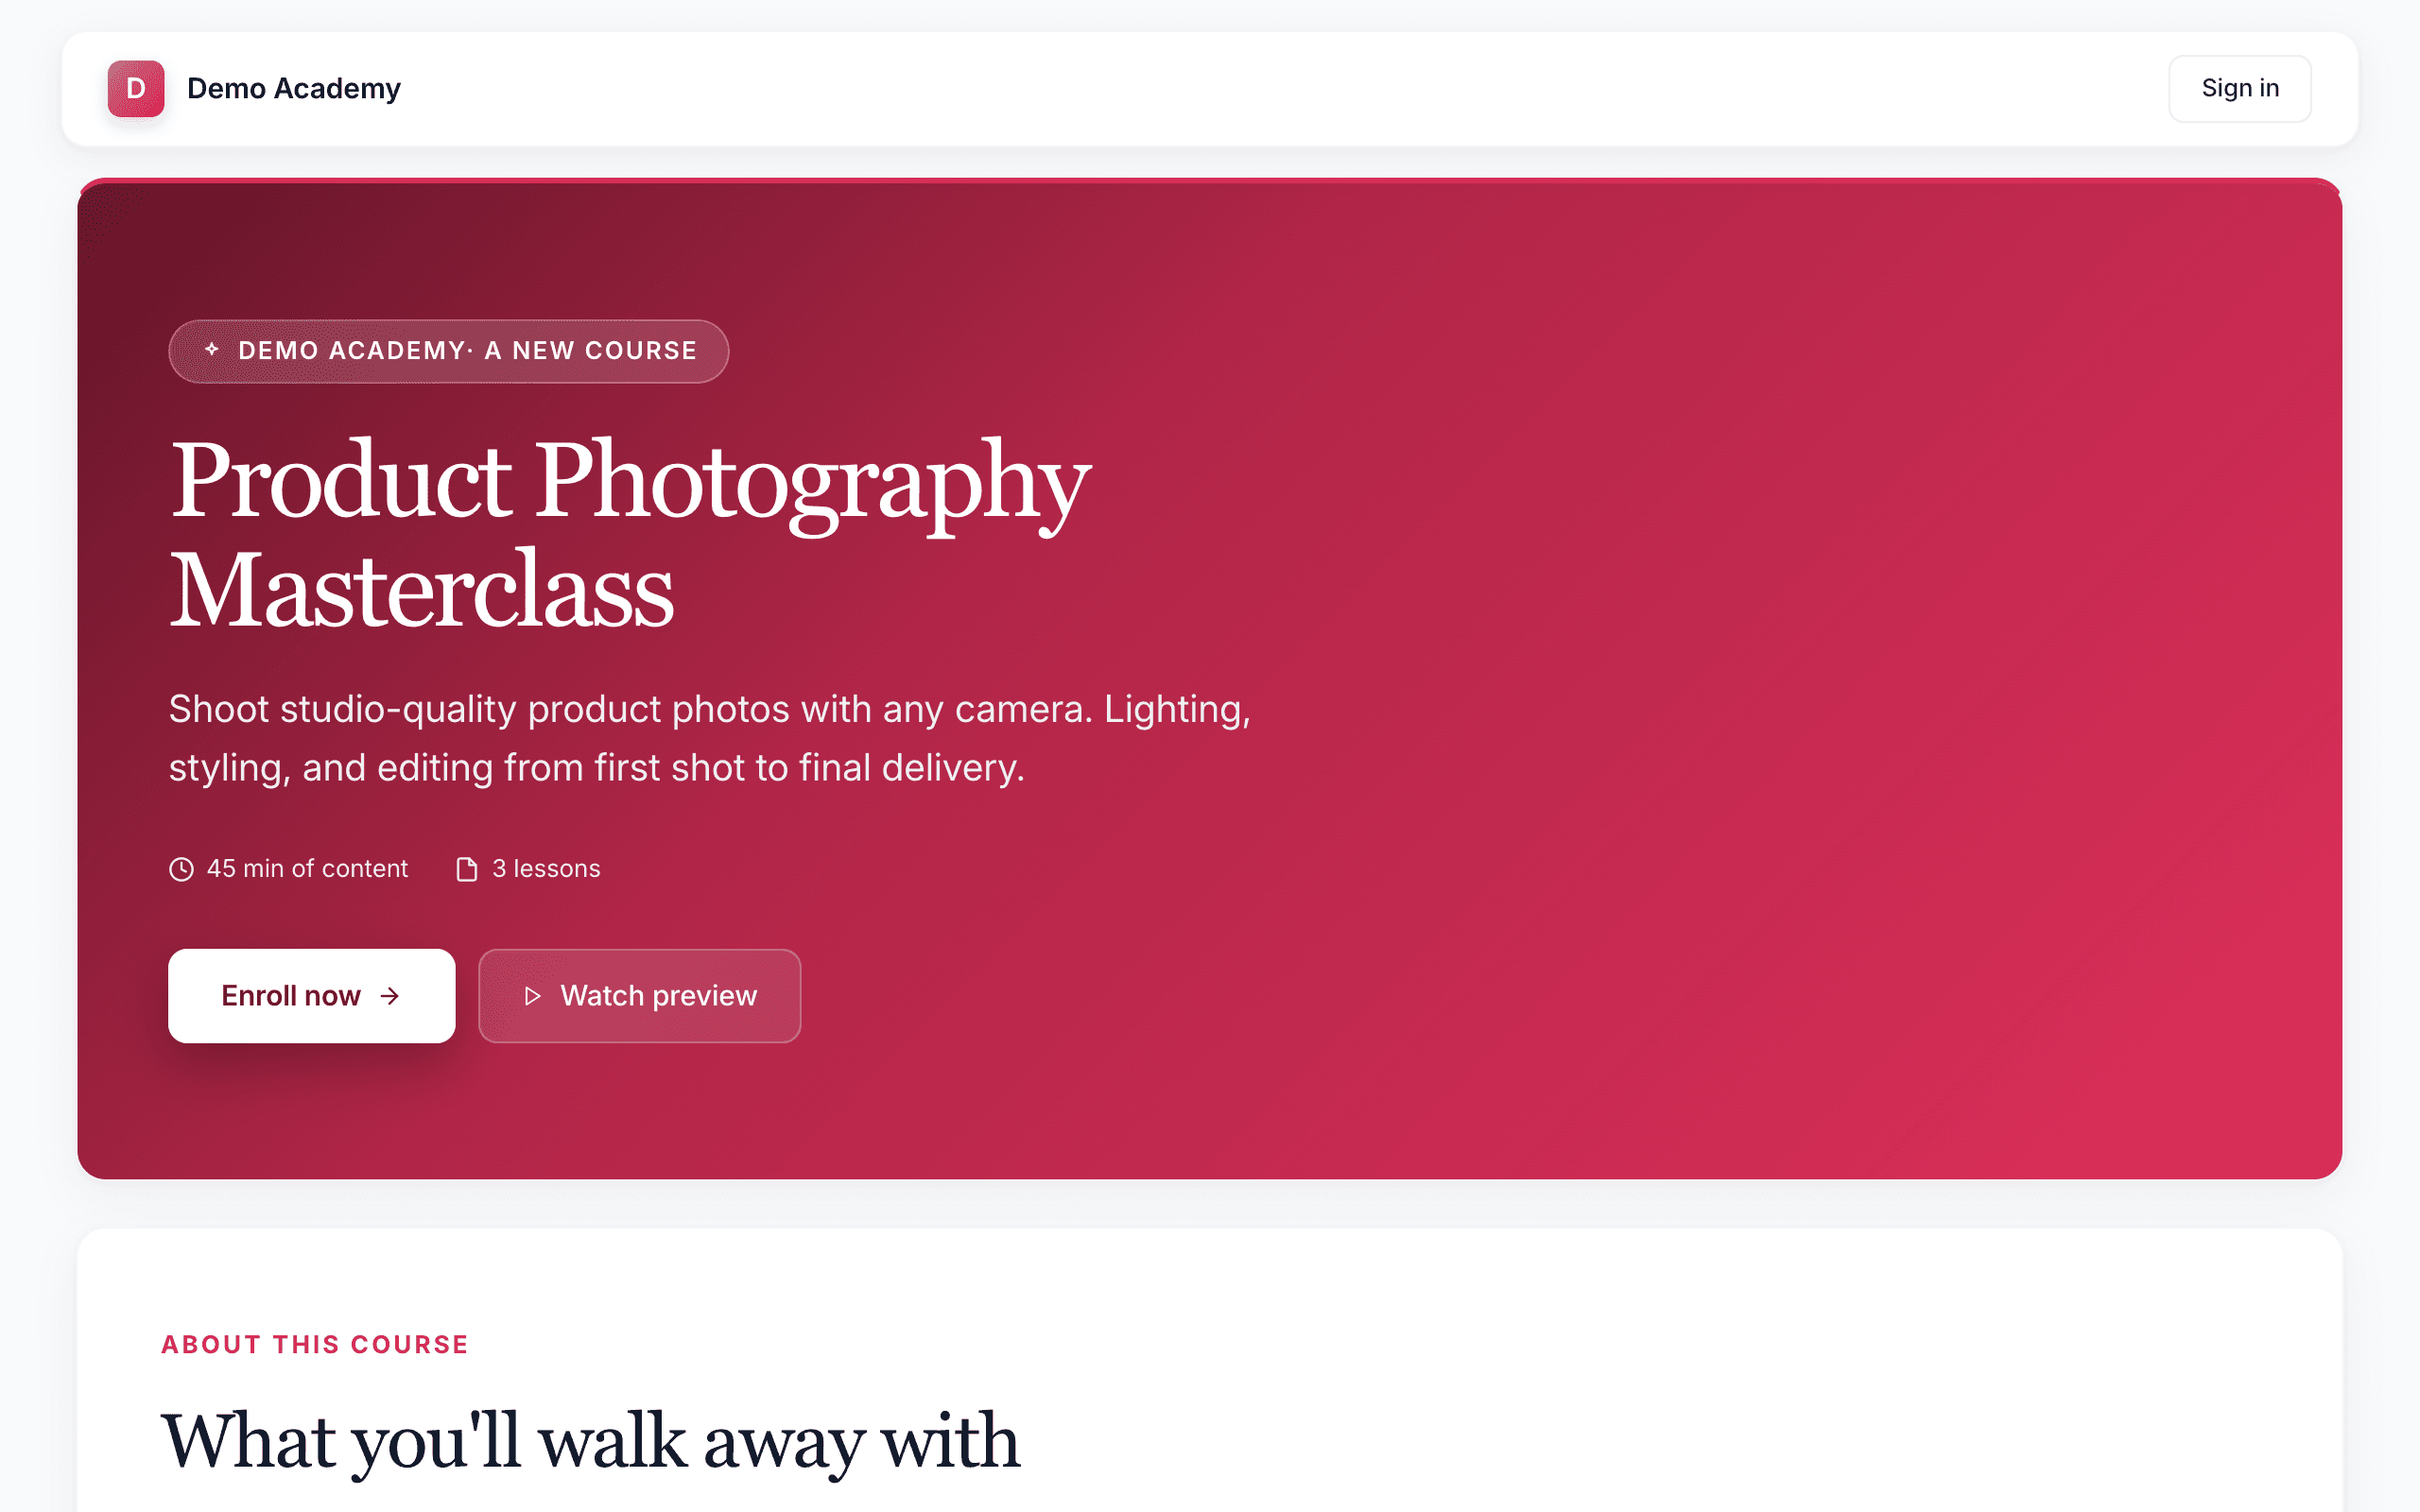
- With header — the full public landing page, with your storefront header and footer. This is what a visitor sees at your course link.
- Embed — the same page with no header or footer, the way it looks embedded on your own website in an iframe.
- Dashboard — the in-portal view, the way an enrolled learner sees the course inside their learner portal.
Walk the whole flow before you launch
Whichever preview you use, do a full run-through rather than a glance. A good pre-launch pass covers:
- The landing page — cover, title, description, and the price on the enroll button all read correctly.
- Enrolling — the enroll or checkout window opens and shows the right package.
- The first lesson — video plays, text reads well, and any embeds load.
- A quiz or activity — questions work and feedback appears.
- Completion — the finish screen and, if you award one, the certificate.
Everything look right? Go ahead and publish your course.