Courses live on the LMS side of your dashboard. Click Go to LMS at the bottom of the sidebar, then open LMSCourses and choose Create new course. Building a course is two steps: pick a layout, then fill in the course basics.
Step 1 — Pick a layout
Every course has a public landing page — the page a visitor sees before they enroll. Learn 360 ships five hand-crafted layouts, and the one you choose decides which sections appear and how the page feels:
- Storyteller — a long-form, narrative page with a cinematic story arc. The richest option: it has the full set of sections (About, curriculum, instructor, reviews, FAQ, certificate, footer). Great when you want to sell the course.
- Curriculum-first — leads with a big curriculum list, plus “What’s included” and “Prerequisites.” Best when the syllabus itself is the selling point.
- Minimal — clean, centered, low-scroll: just key stats, the curriculum, and a closing call-to-action. Best for internal or no-fuss courses.
- Cinematic — a video hero with a dark gradient and a big play button (uses an ultrawide cover). Best when you have a great trailer video.
- Academic — formal, serif type with program details, objectives, and a syllabus. Best for certifications and cohort-style programs.
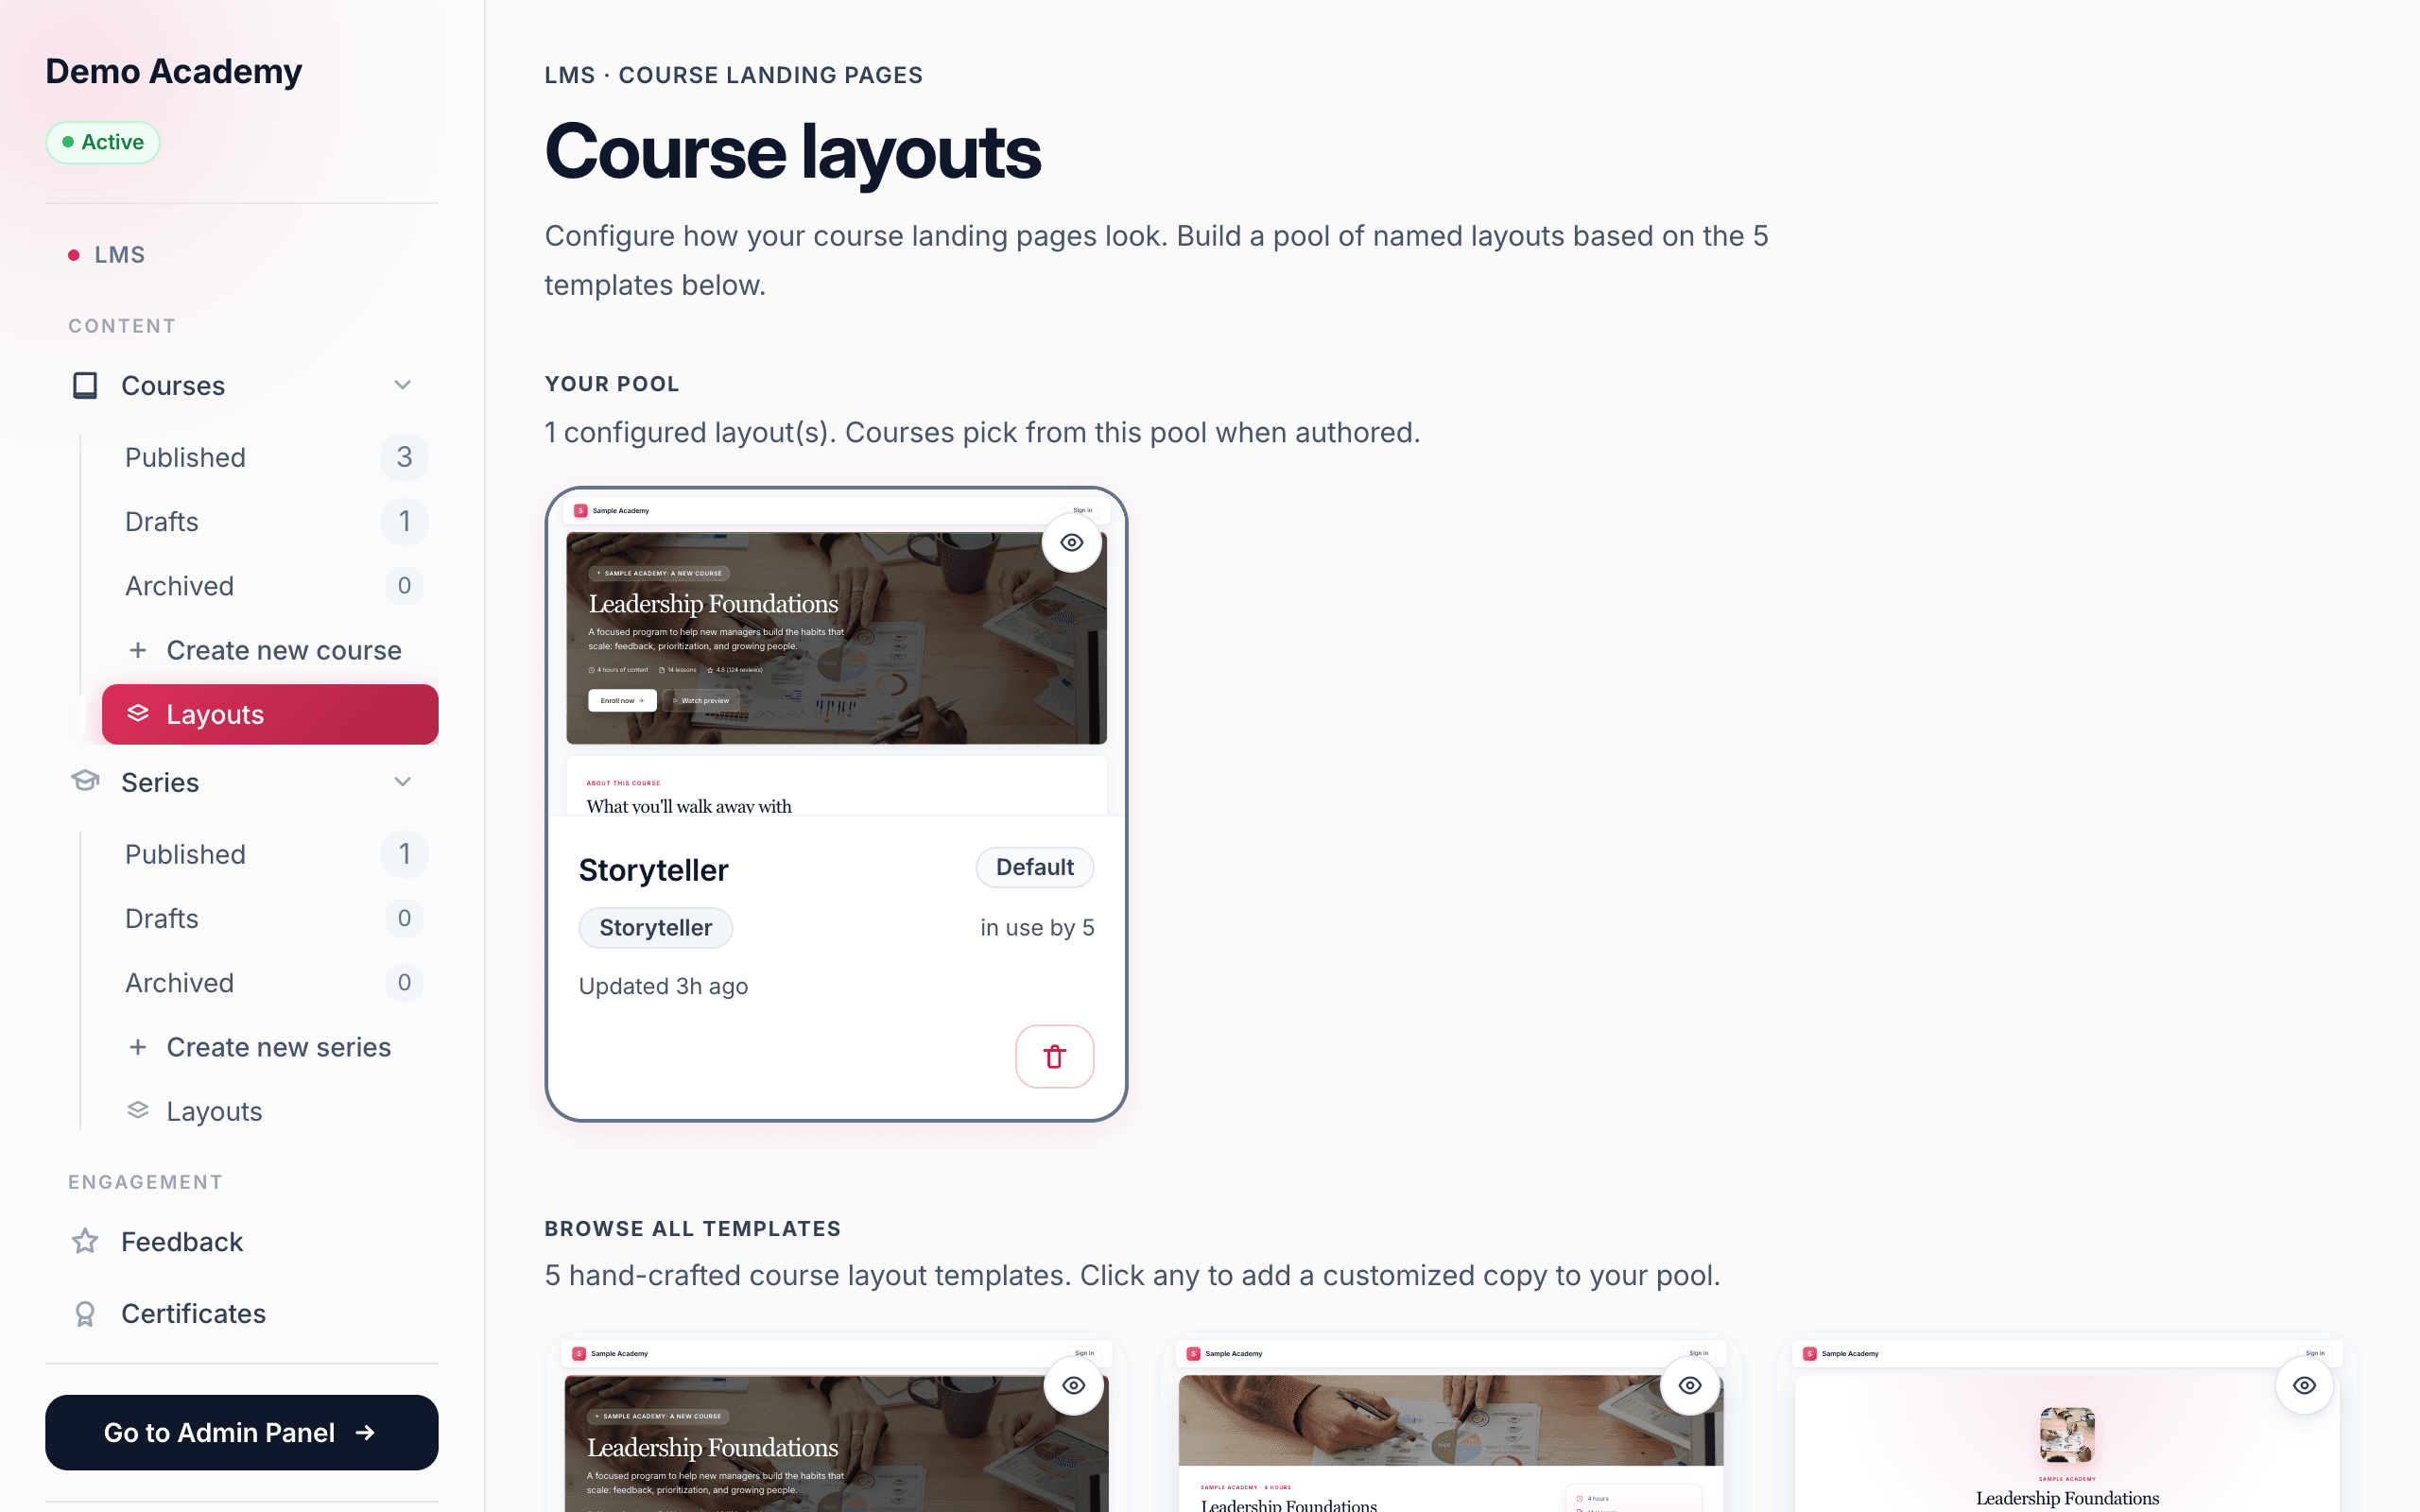
Click Create new course and a Pick a layout window opens. The very first time, your pool is empty, so it shows No course layouts yet with a Set up a layout → button — you need at least one layout in your pool before you can create a course.
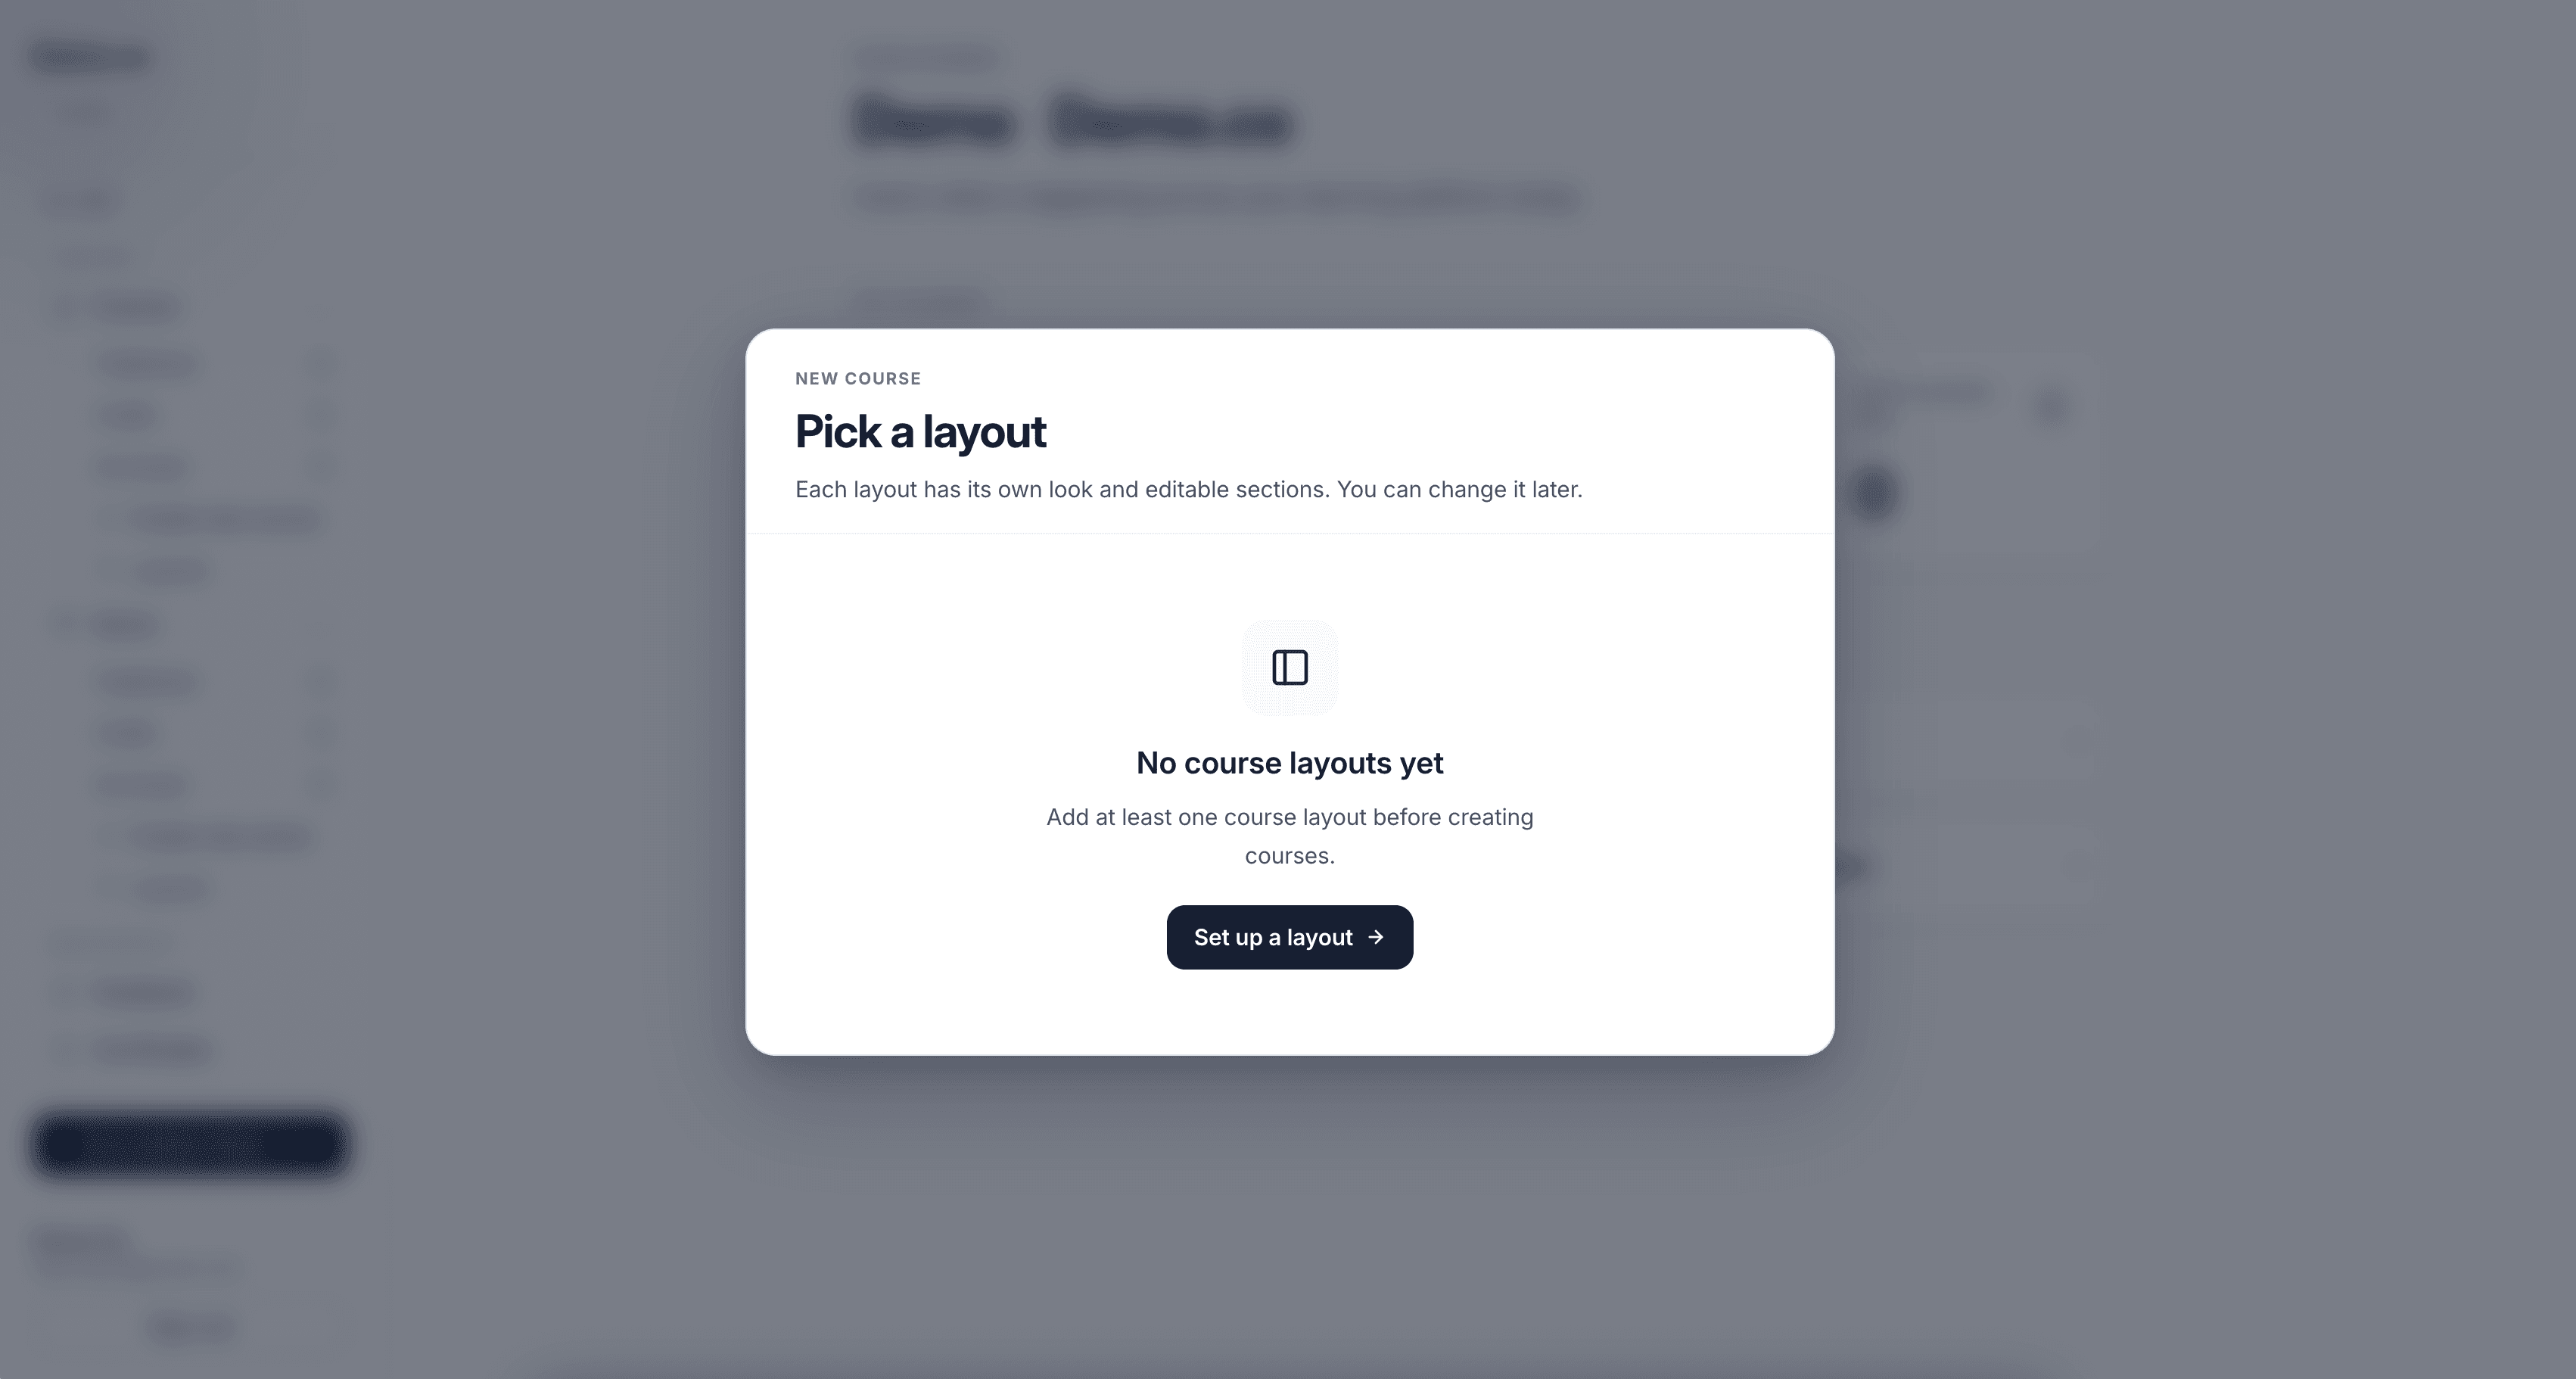
Set up a layout takes you to your course Layouts pool. It starts empty, with the five templates listed just below it — click + Add to my pool on the one you want and Learn 360 drops a customized copy into your pool. Once your pool has at least one layout, head back to Create new course and it’s there to choose.
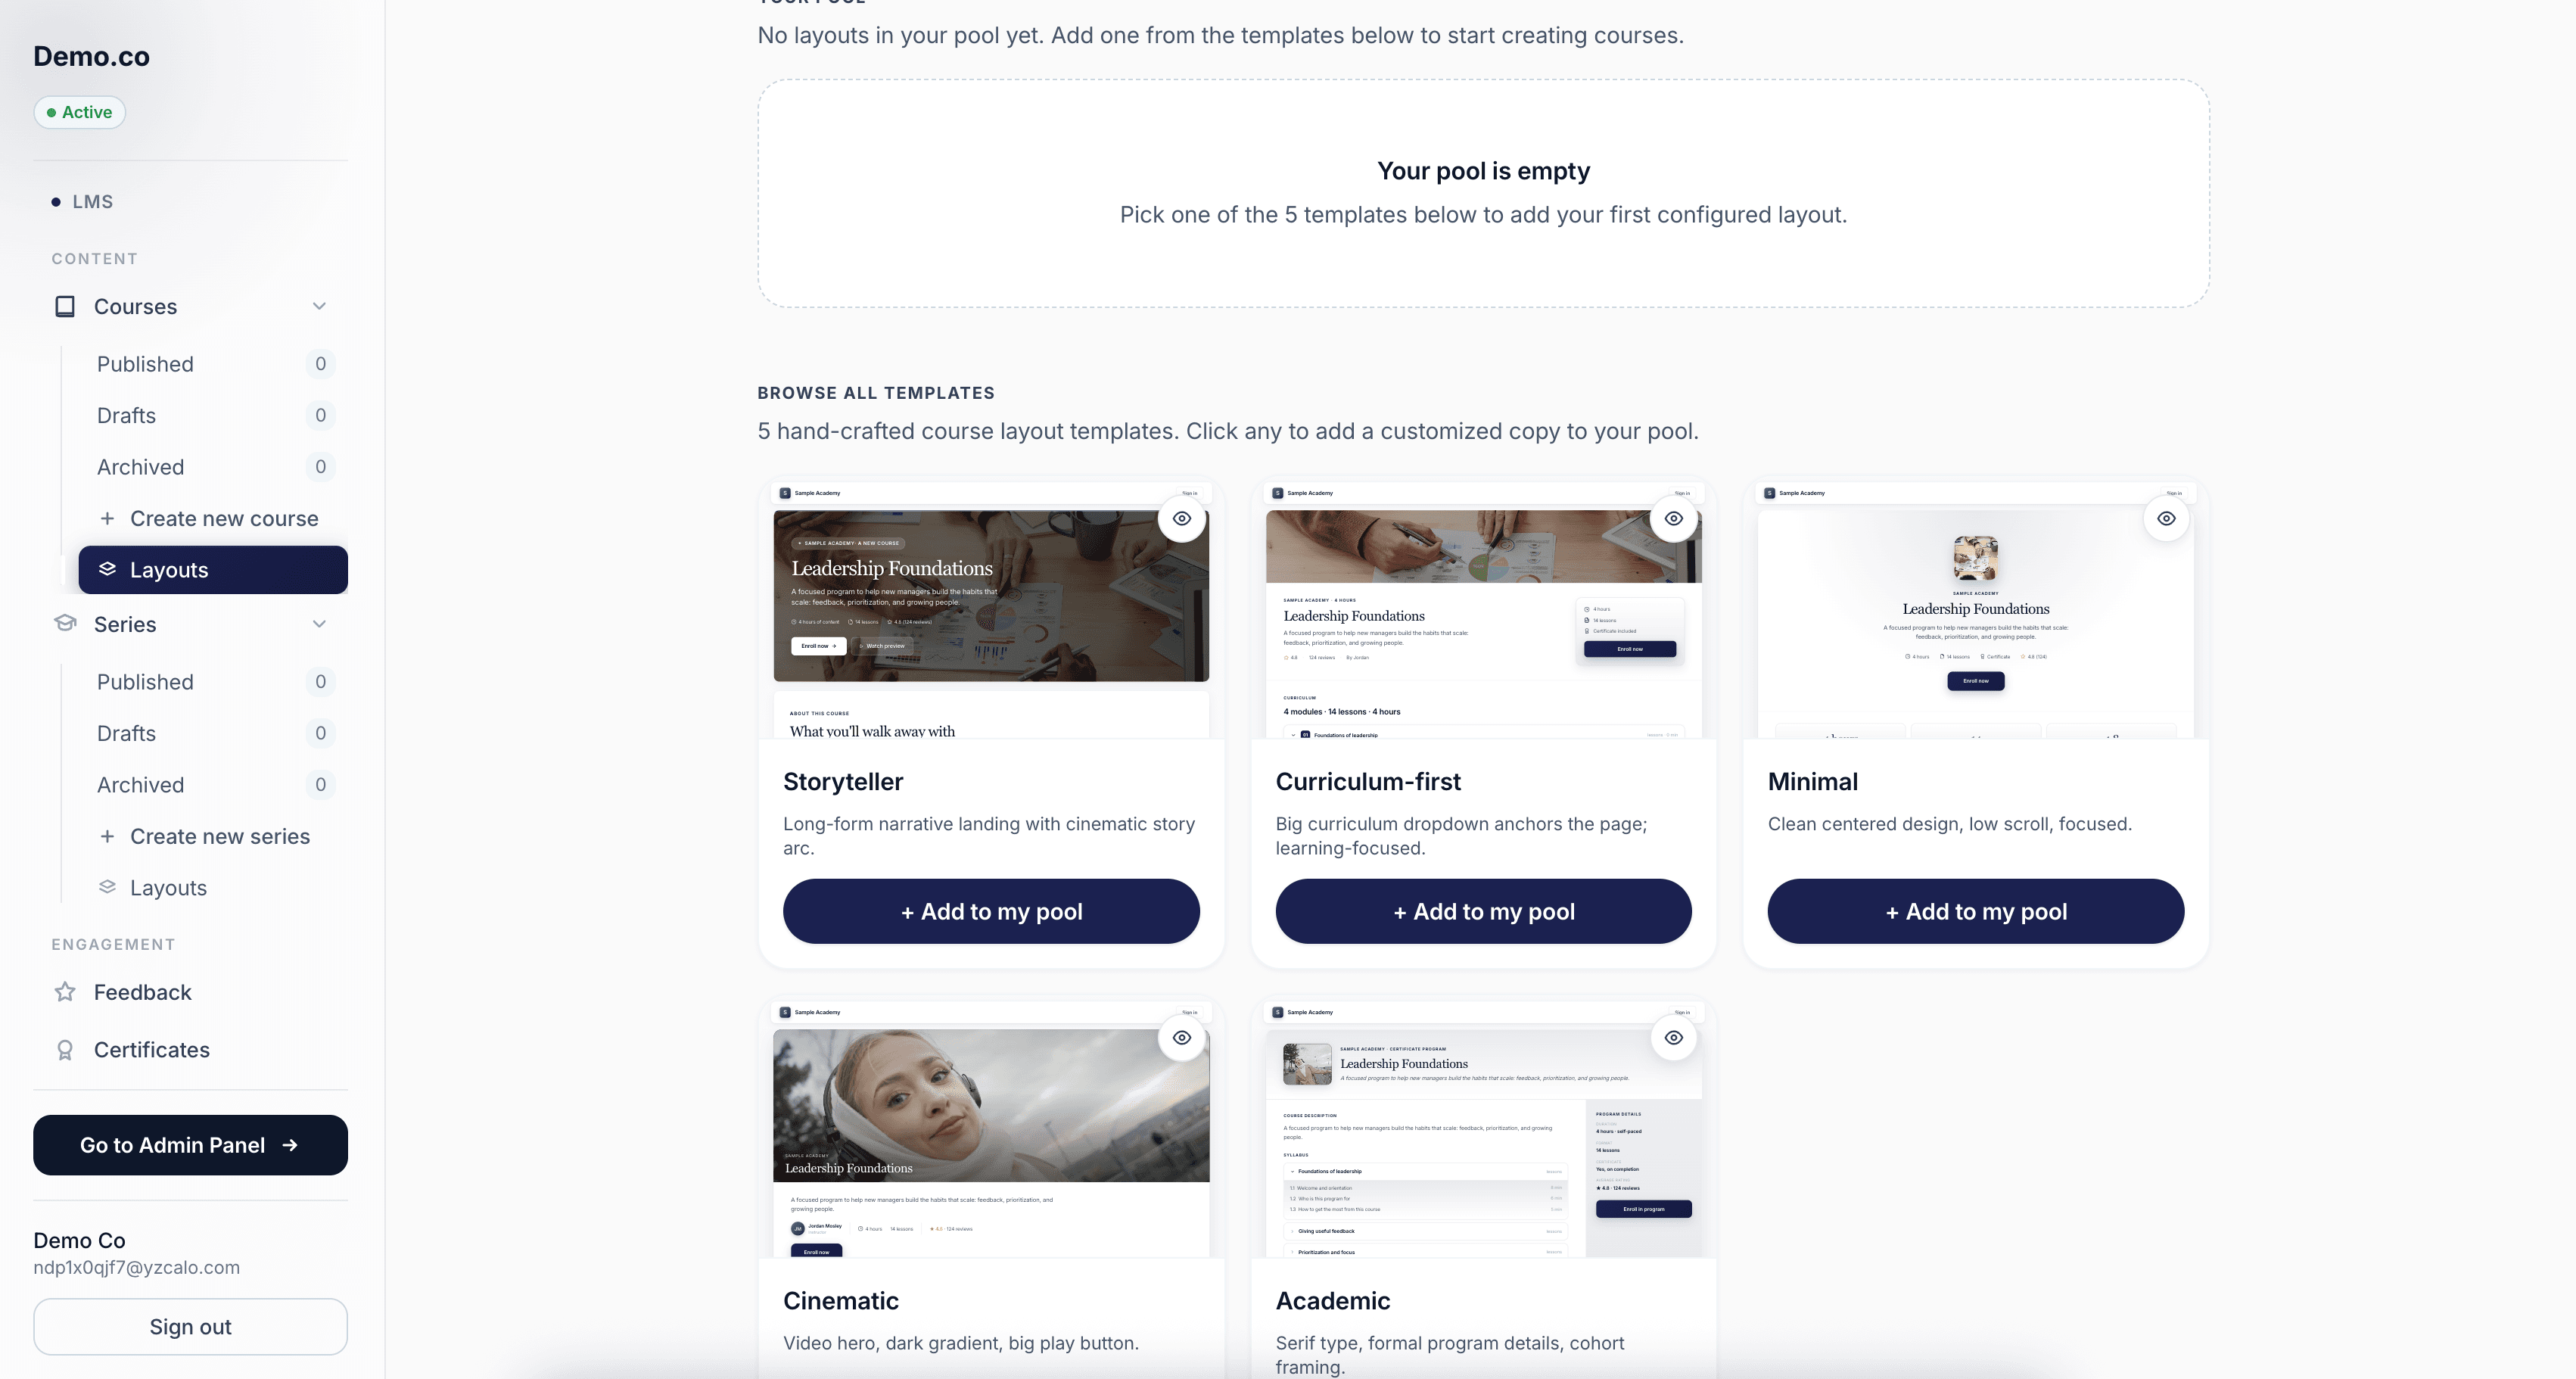
With a layout in your pool, select it on the New course screen and click Create course with this layout →. Don’t overthink it — you can change the layout later without losing any of your content.
Step 2 — Course basics
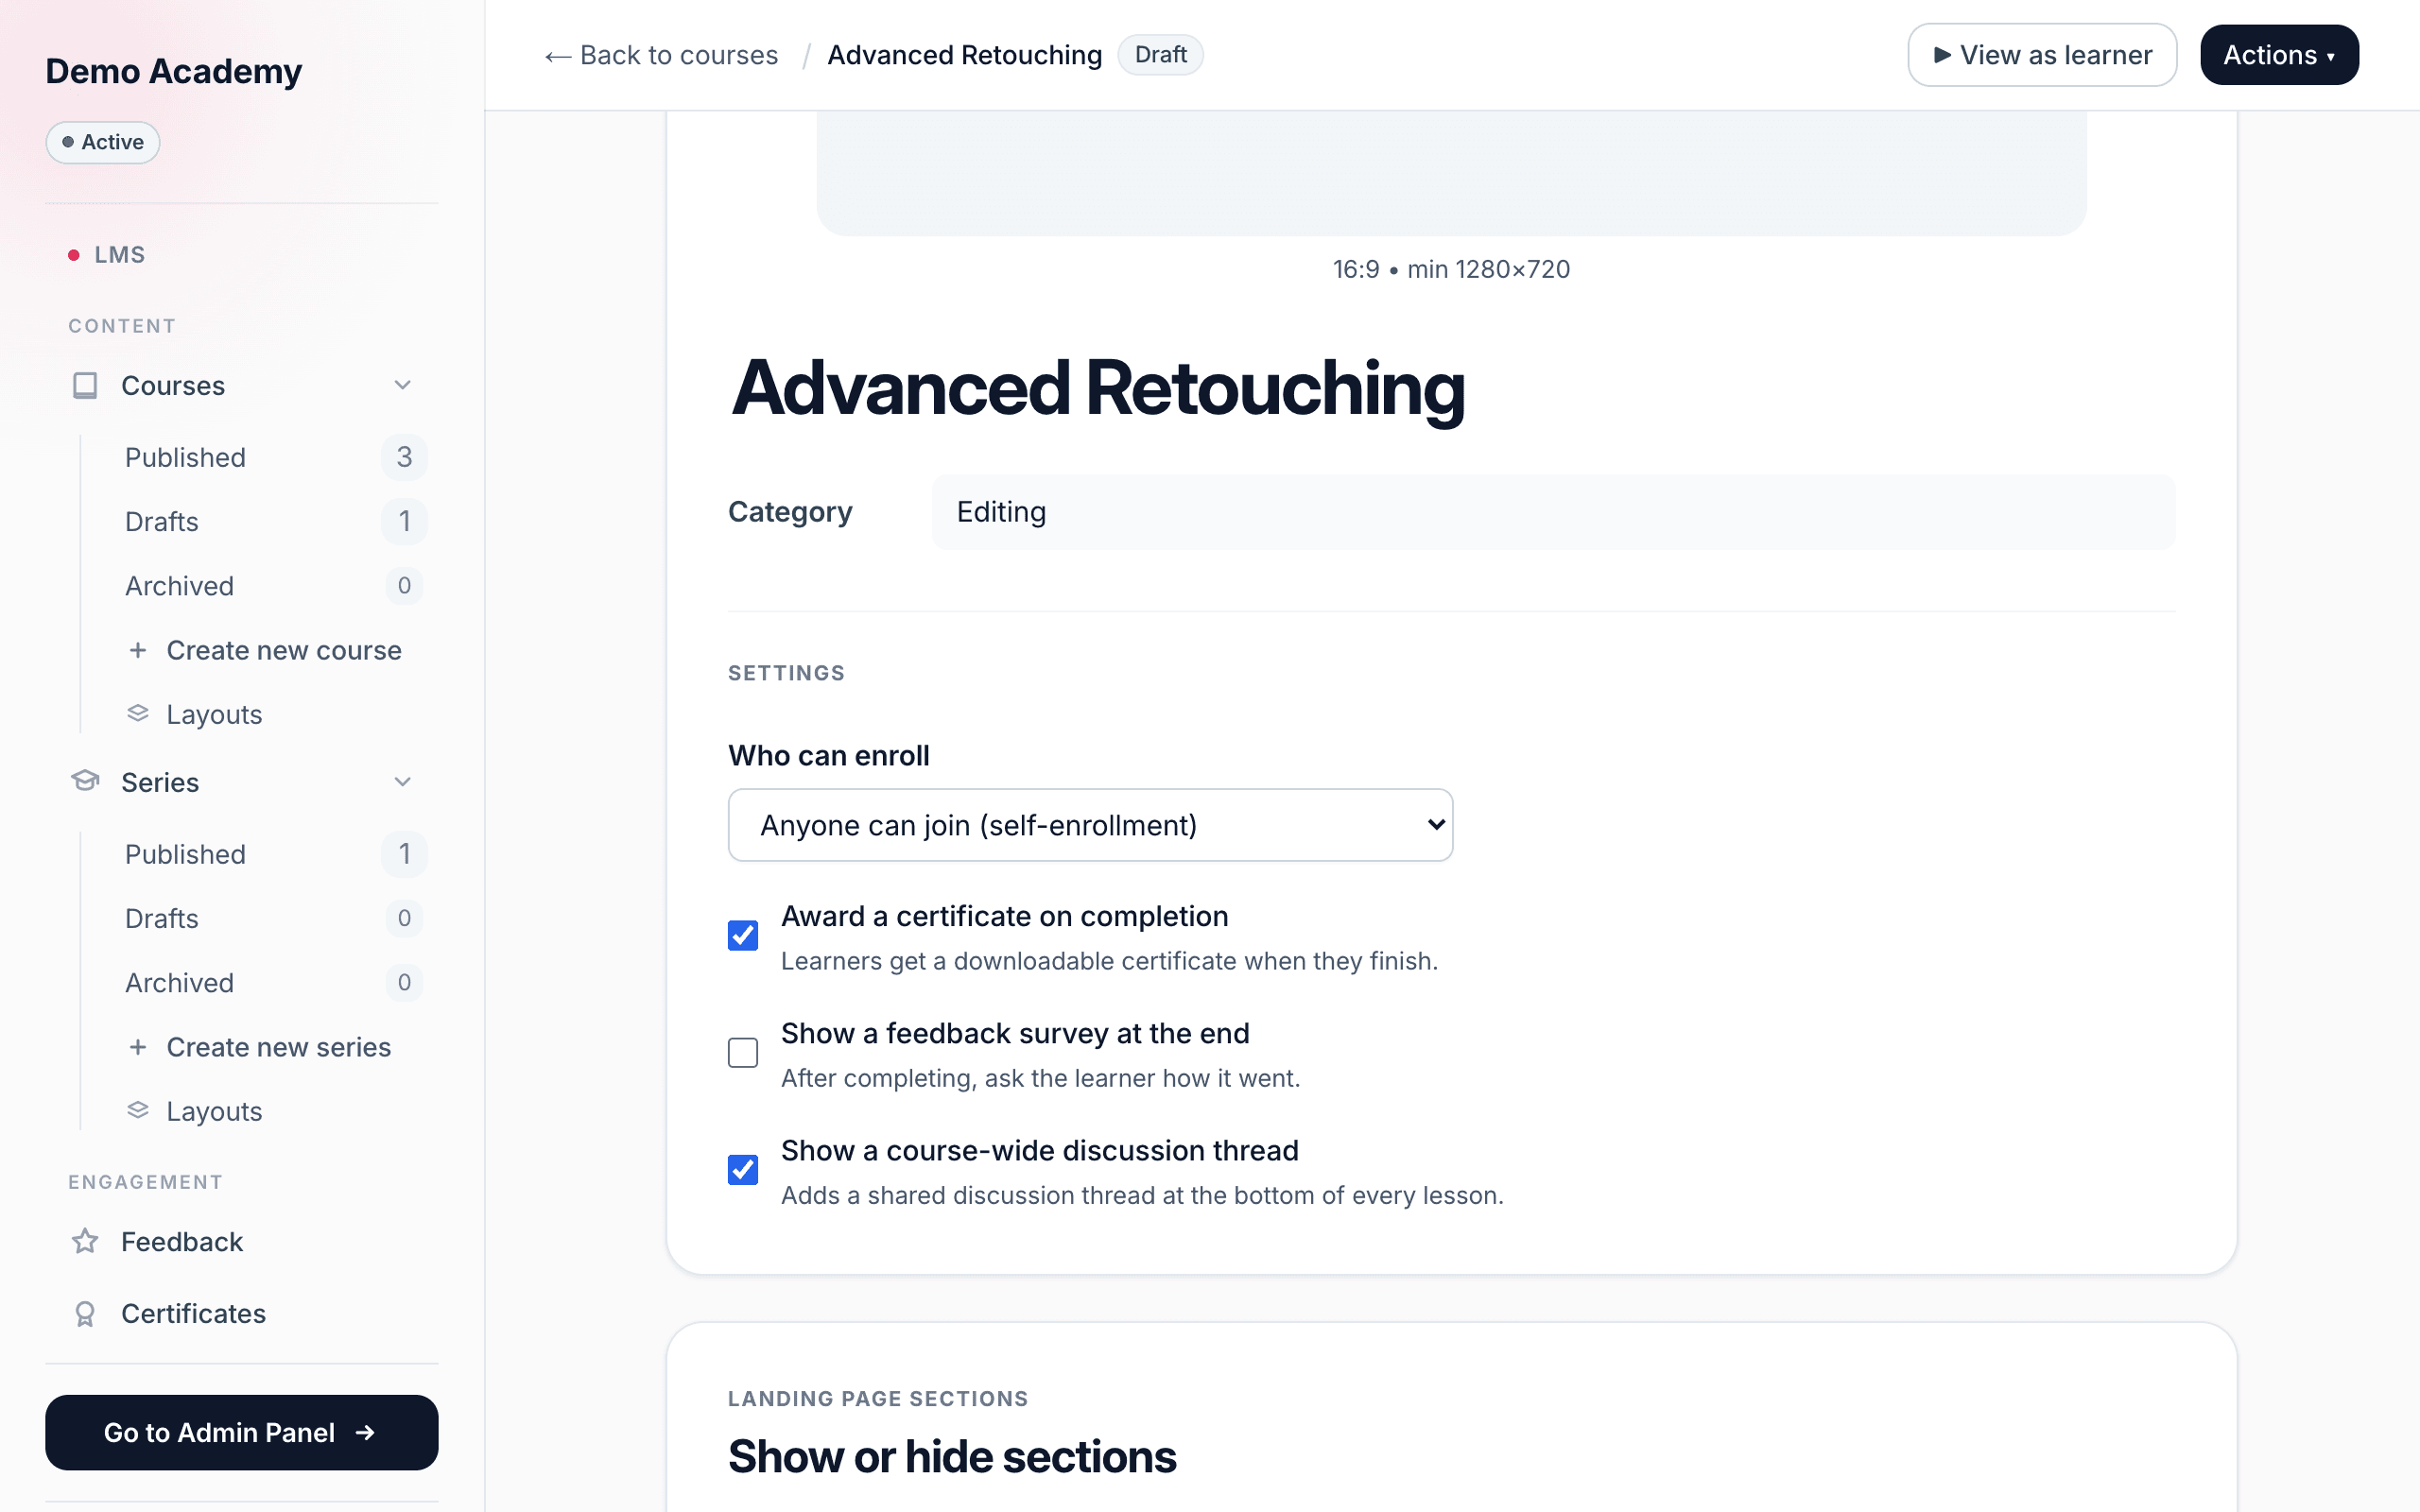
You land on Step 1 of 2 · Course basics. This one page holds every setting for the course, laid out as a stack of cards. Everything autosaves as you type — there’s no Save button; a status shows in the top bar.
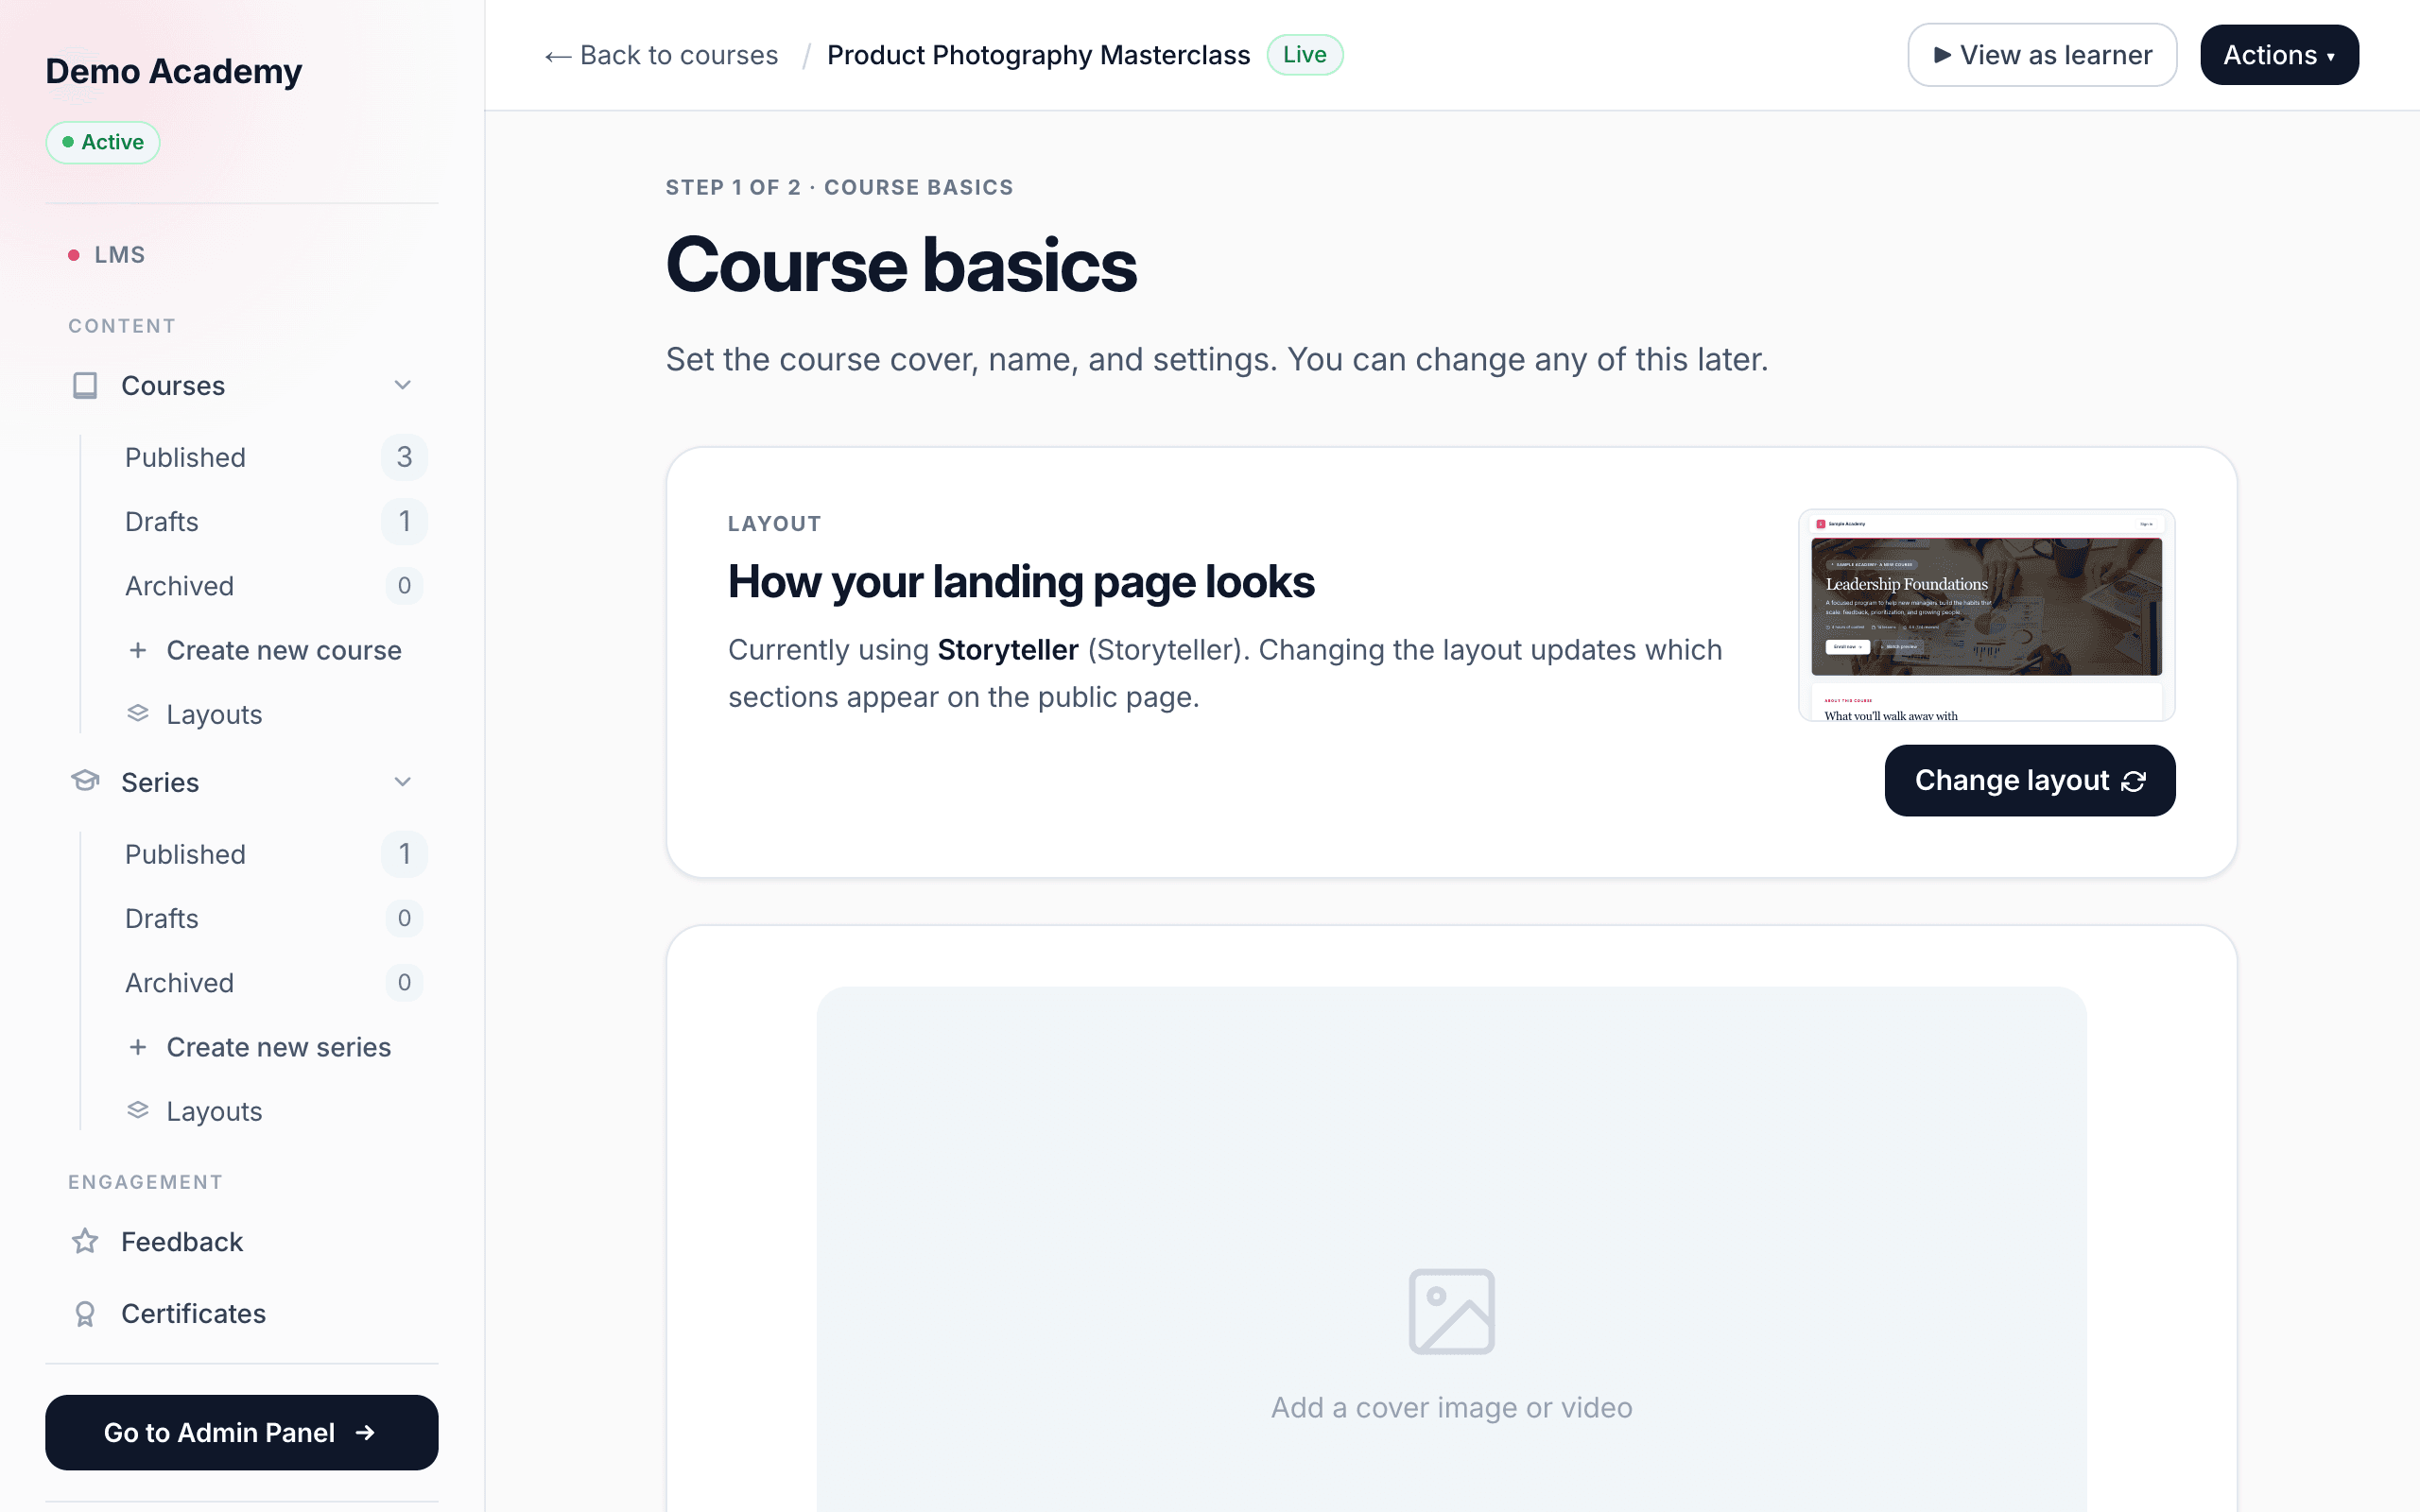
Cover image or video
At the top, add a cover image or a cover video (one or the other). The size it asks for depends on your layout — most want 16:9 (min 1280×720), Cinematic wants an ultrawide 21:9, and Academic wants 4:3. Videos can be up to 200 MB (MP4/WebM/MOV).
Title & category
Give the course a title and a category (free text like “Onboarding” or “Compliance” — it’s used to group courses in your catalog).
Settings — who can enroll & completion
The Settings block controls access and what happens on completion.
Who can enroll has three options:
- Anyone can join (self-enrollment) — learners enroll themselves from your catalog.
- Admin invitation only — only you and your team add learners.
- Specific people only (invite by email) — learners get in by an email invite (pairs with the Invitations card below).
Then three toggles:
- Award a certificate on completion (on by default) — learners get a downloadable certificate when they finish. See Award certificates.
- Show a feedback survey at the end — asks the learner how it went after they complete.
- Show a course-wide discussion thread (on by default) — adds a shared discussion at the bottom of every lesson.
Your landing page
Further down, you shape the public page:
- Change layout — swap to any of the five layouts anytime; your writing stays, only the design and which sections show change. The picker’s Available templates row lists any layout you haven’t added yet; picking one drops a named copy straight into your pool, so there’s no separate trip to the Layouts screen.
- Show or hide sections — toggle individual landing-page sections (About, Curriculum, Instructor, Reviews, FAQ, and more) on or off.
- Section editors — fill in the content for each visible section: the course description and what learners will gain, the instructor (photo, name, title, bio), the certificate name, a landing-page FAQ, and a closing footer call-to-action. (Which editors appear depends on your layout.)
Those editors are the Storyteller set, and most of them show on the other layouts too. Two layouts bring extra section editors of their own:
- Curriculum-first adds What’s included (a bulleted list, up to 8 items) and Prerequisites (free text).
- Academic adds a standalone Description, a Learning objectives list (up to 8), a Syllabus, and Program details — the pieces a formal program page needs.
- Cinematic surfaces the What you’ll learn list as its own card (Storyteller keeps that same list tucked inside its About editor).
The list-style editors quietly top out: What you’ll learn stops accepting new items at 6, and the landing-page FAQ at 8 question-and-answer pairs (“What’s included” and “Learning objectives” cap at 8 as well). Once you reach the limit the Add button simply stops adding — a small counter beside each list shows how many you’ve used.
Pricing & invitations
- Packages — set what the course costs (free, one-time, subscription, or team seats). This is its own guide: Set your prices with Packages.
- Pricing FAQs — short Q&As that show inside the enroll window (e.g. refunds, team seats).
- Invitations — add specific people by email. See Invite specific learners.
Next: add your content
When the basics look good, click Next: course content to build your lessons — that’s Add lessons & activities.