There are two ways a learner ends up inside one of your courses. Either they enroll themselves from your catalog — clicking Enroll and, if it’s paid, checking out — or they accept a link you sent them. This guide covers both, step by step, so you know exactly what a learner clicks through before they land in the lesson player.
Self-enrolling from your catalog
The everyday path. A learner opens your catalog (in the portal, or on your public storefront), picks a course or series, and reads its landing page. When they click the enroll button — labelled Enroll now for a course, or the equivalent on a series — the Choose your plan window opens.
The “Choose your plan” window
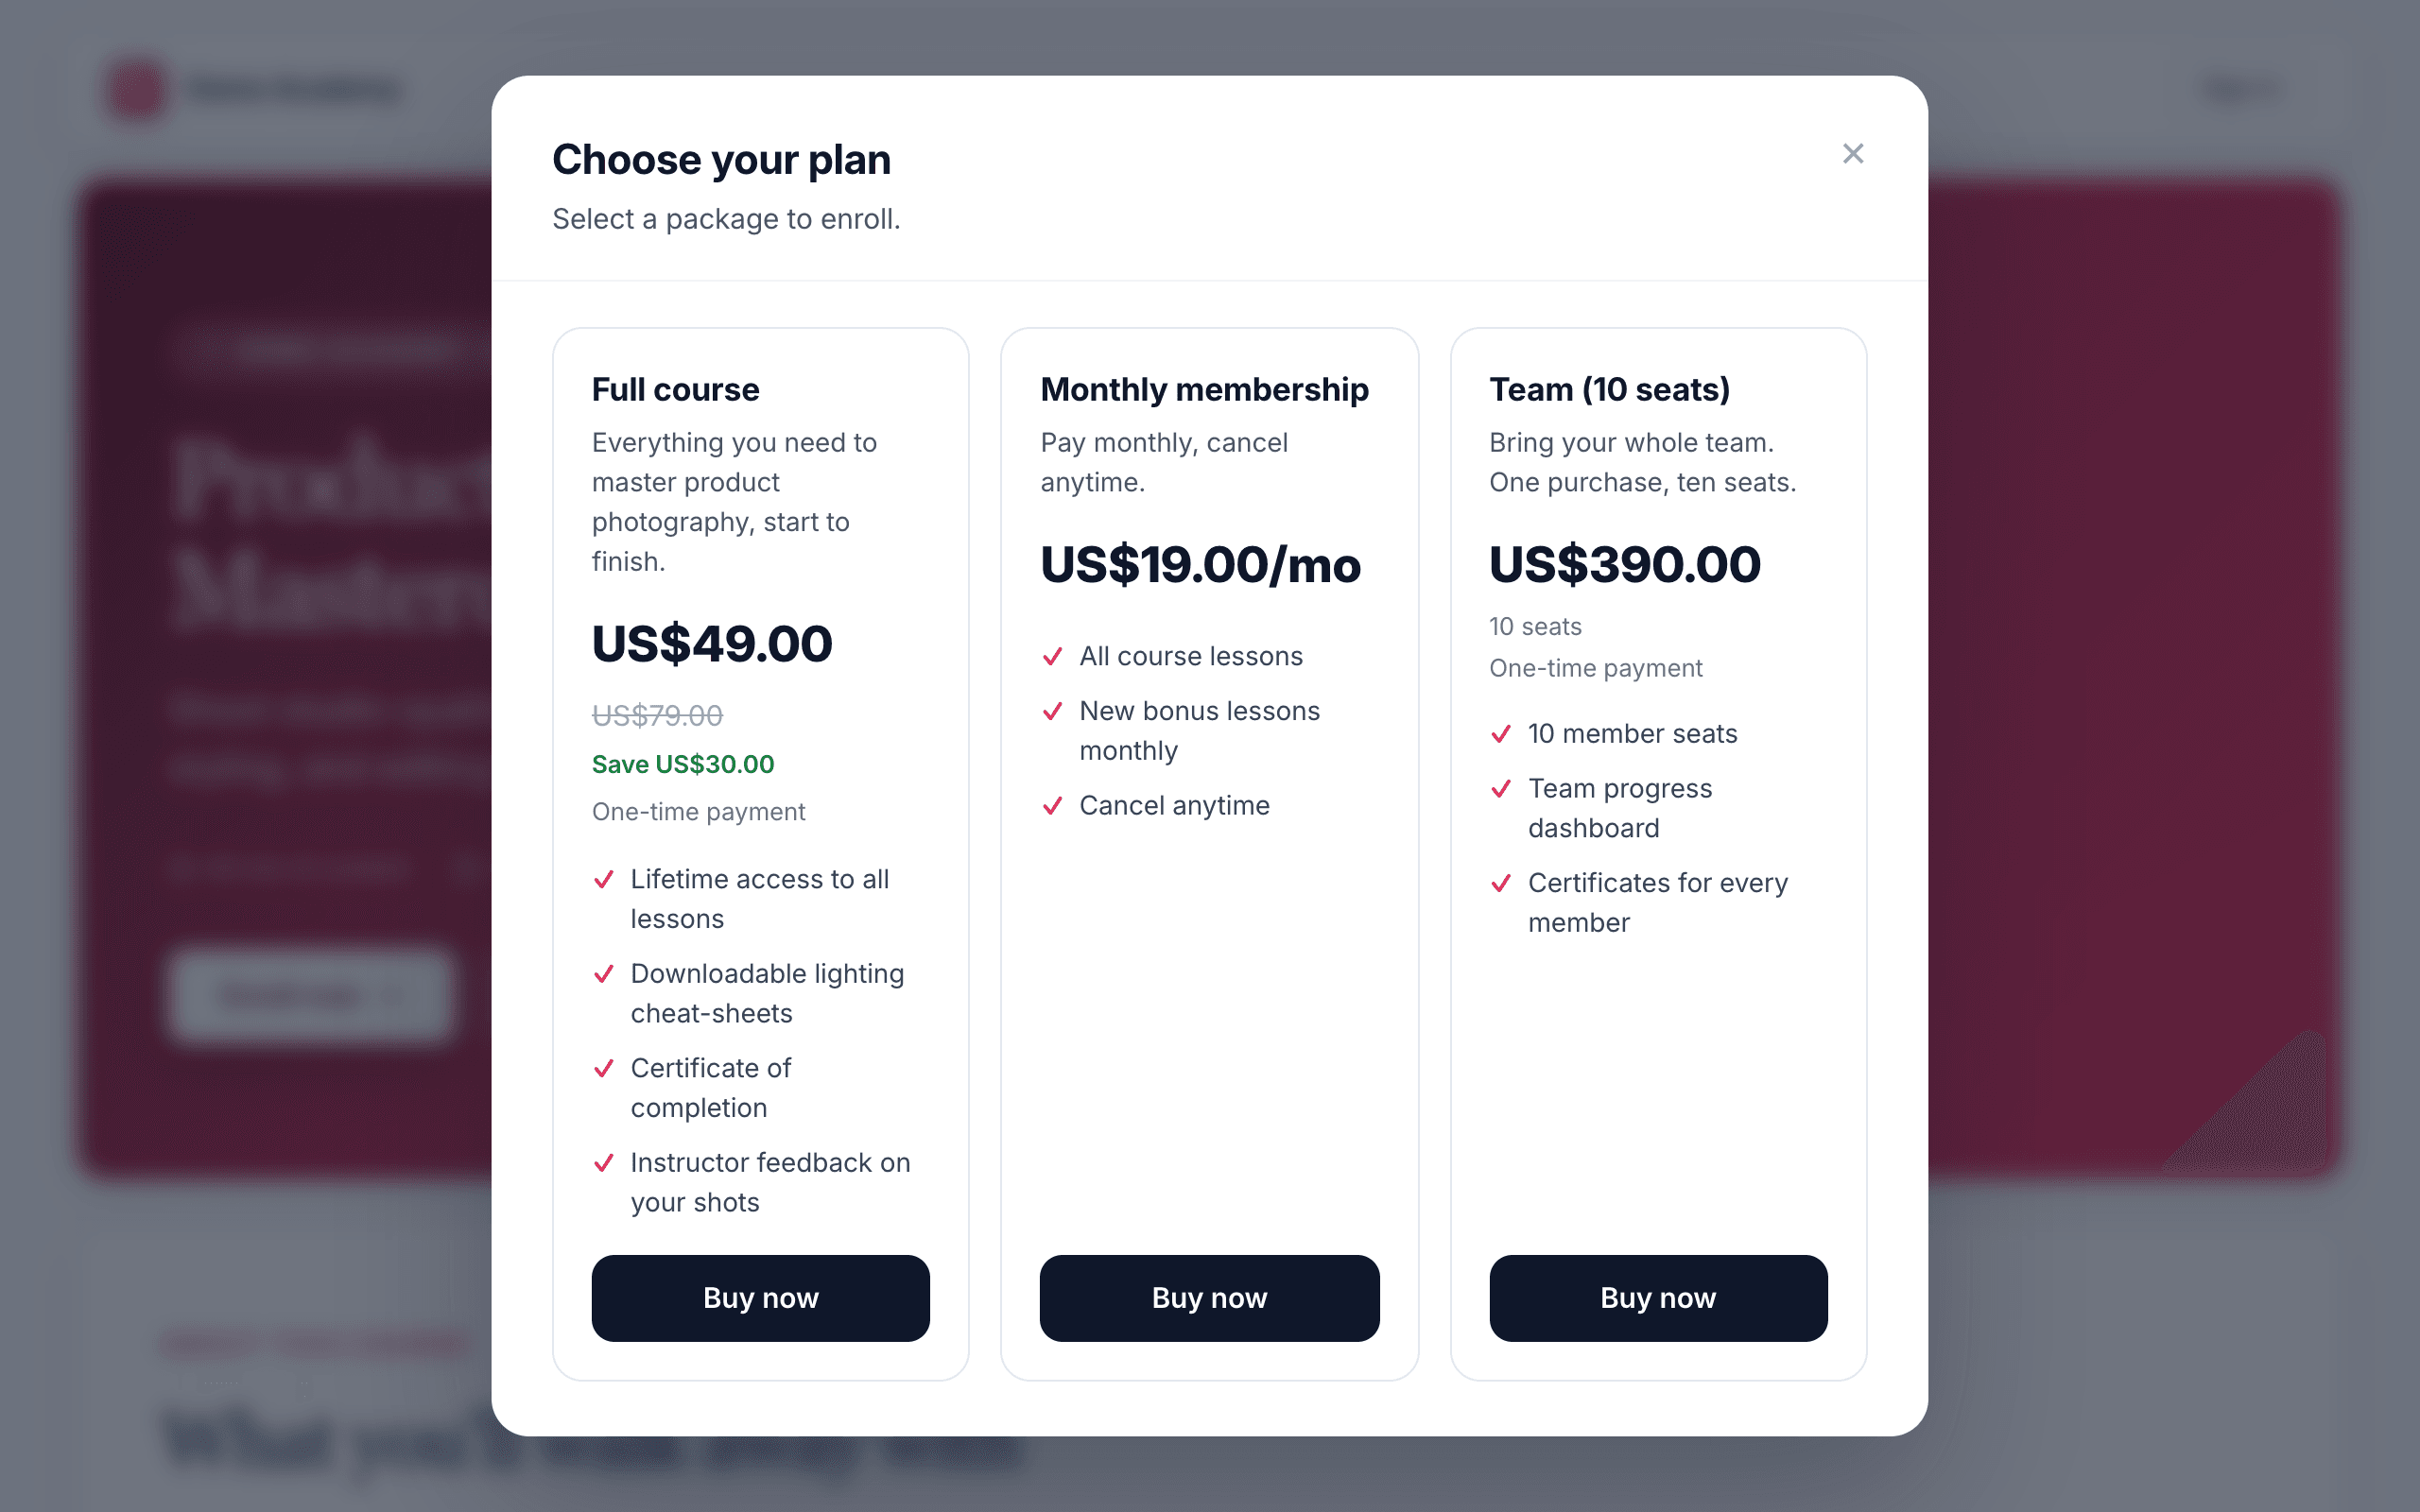
This is where a learner picks how they want access. Each package you created shows up as a card with its name, a short description, the price, a checklist of what’s included, and a button. What the button says depends on the package:
- Enroll free — for a free package.
- Buy now — for a paid one.
Paid cards can also show a struck-through compare-at price with the savings in green, and subscription cards show interval toggles (Monthly, Yearly, or every few months) with a clear renewal line like “Due today. Then {amount}/period.” If you added pricing FAQs, they appear as an accordion under the cards.
Enrolling free
For a free package, the learner clicks Enroll free and access is granted instantly — no payment, no card. They see a short You’re enrolled! confirmation with a Go to my learning button, and the course now appears under My Courses. (If they already had access to that course through a series they’re in, the window tells them so instead of enrolling them twice.)
Buying a paid course
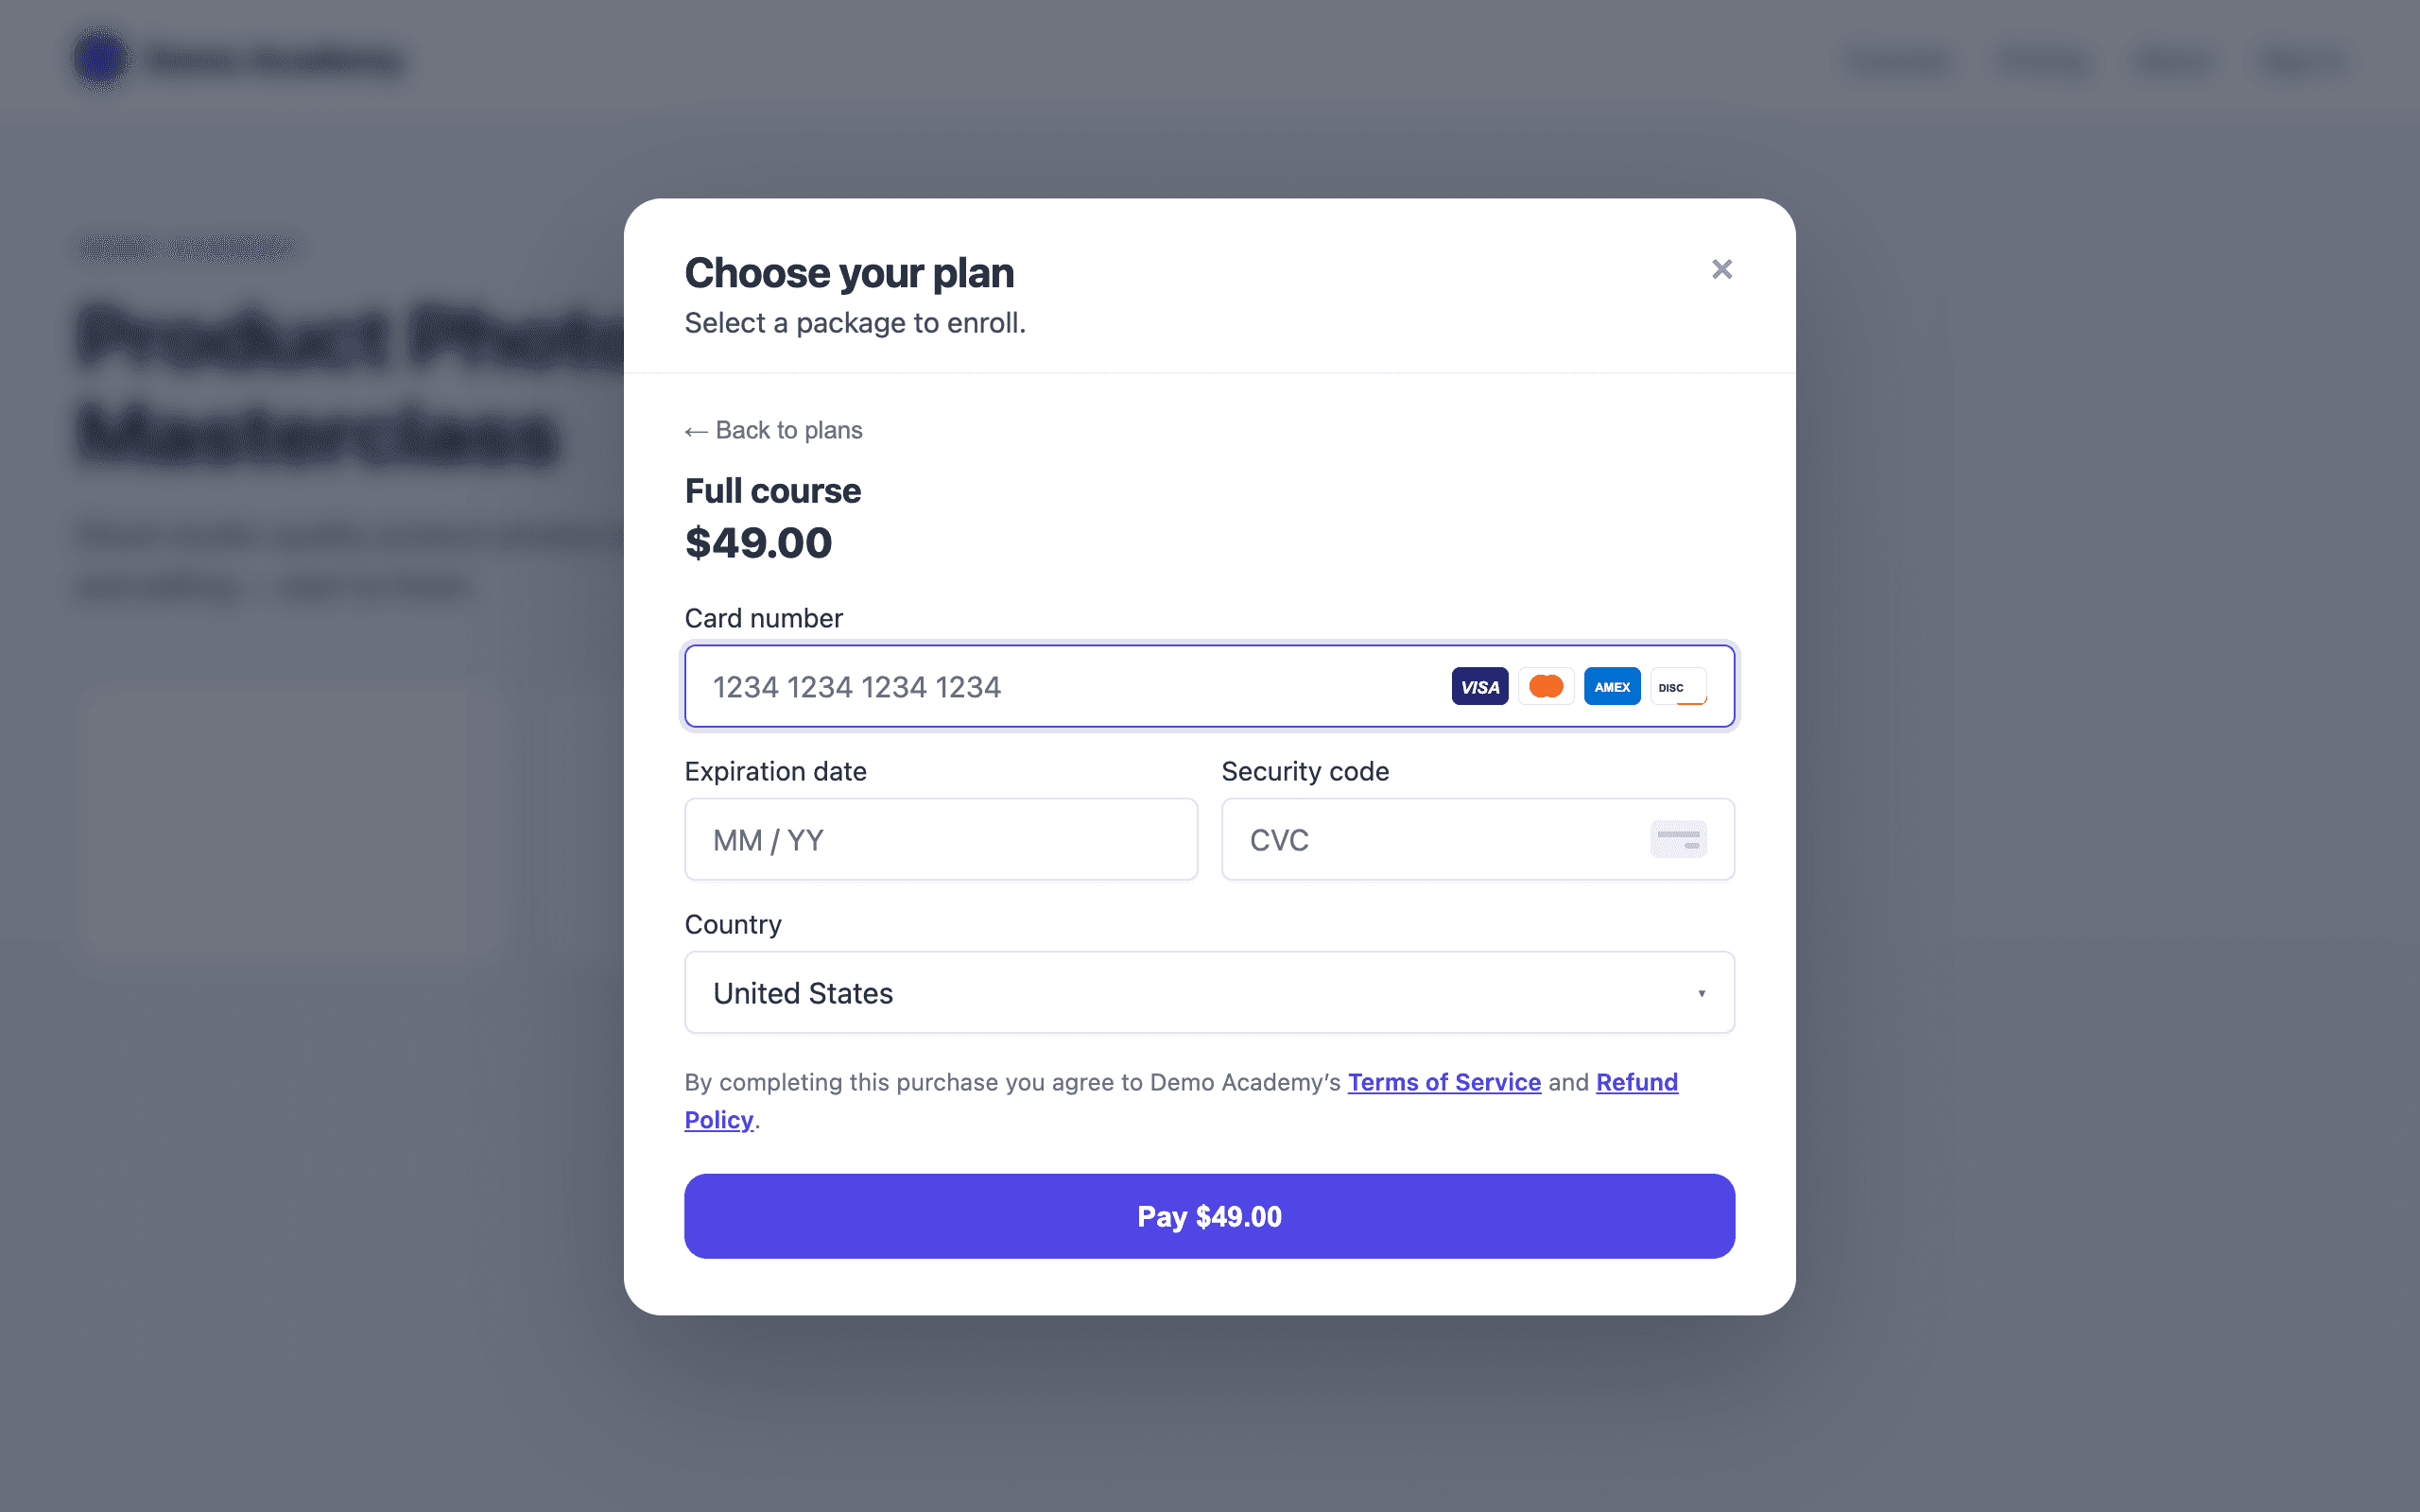
For a paid package, Buy now opens a branded checkout right inside the same window — your logo and color, not a Learn 360 or generic-looking page. Depending on which processor you connected, that’s either an embedded Stripe card-and-wallet form or a PayPal approval window. The moment payment succeeds, access is granted and the course opens.
If the learner isn’t signed in when they try to enroll, they’re sent to log in first and then dropped right back to the course with the enroll window reopened — so they never lose their place.
Accepting an invite link
The other way in is a link you (or a team manager) send. There are two kinds, and they behave slightly differently.
A course invitation
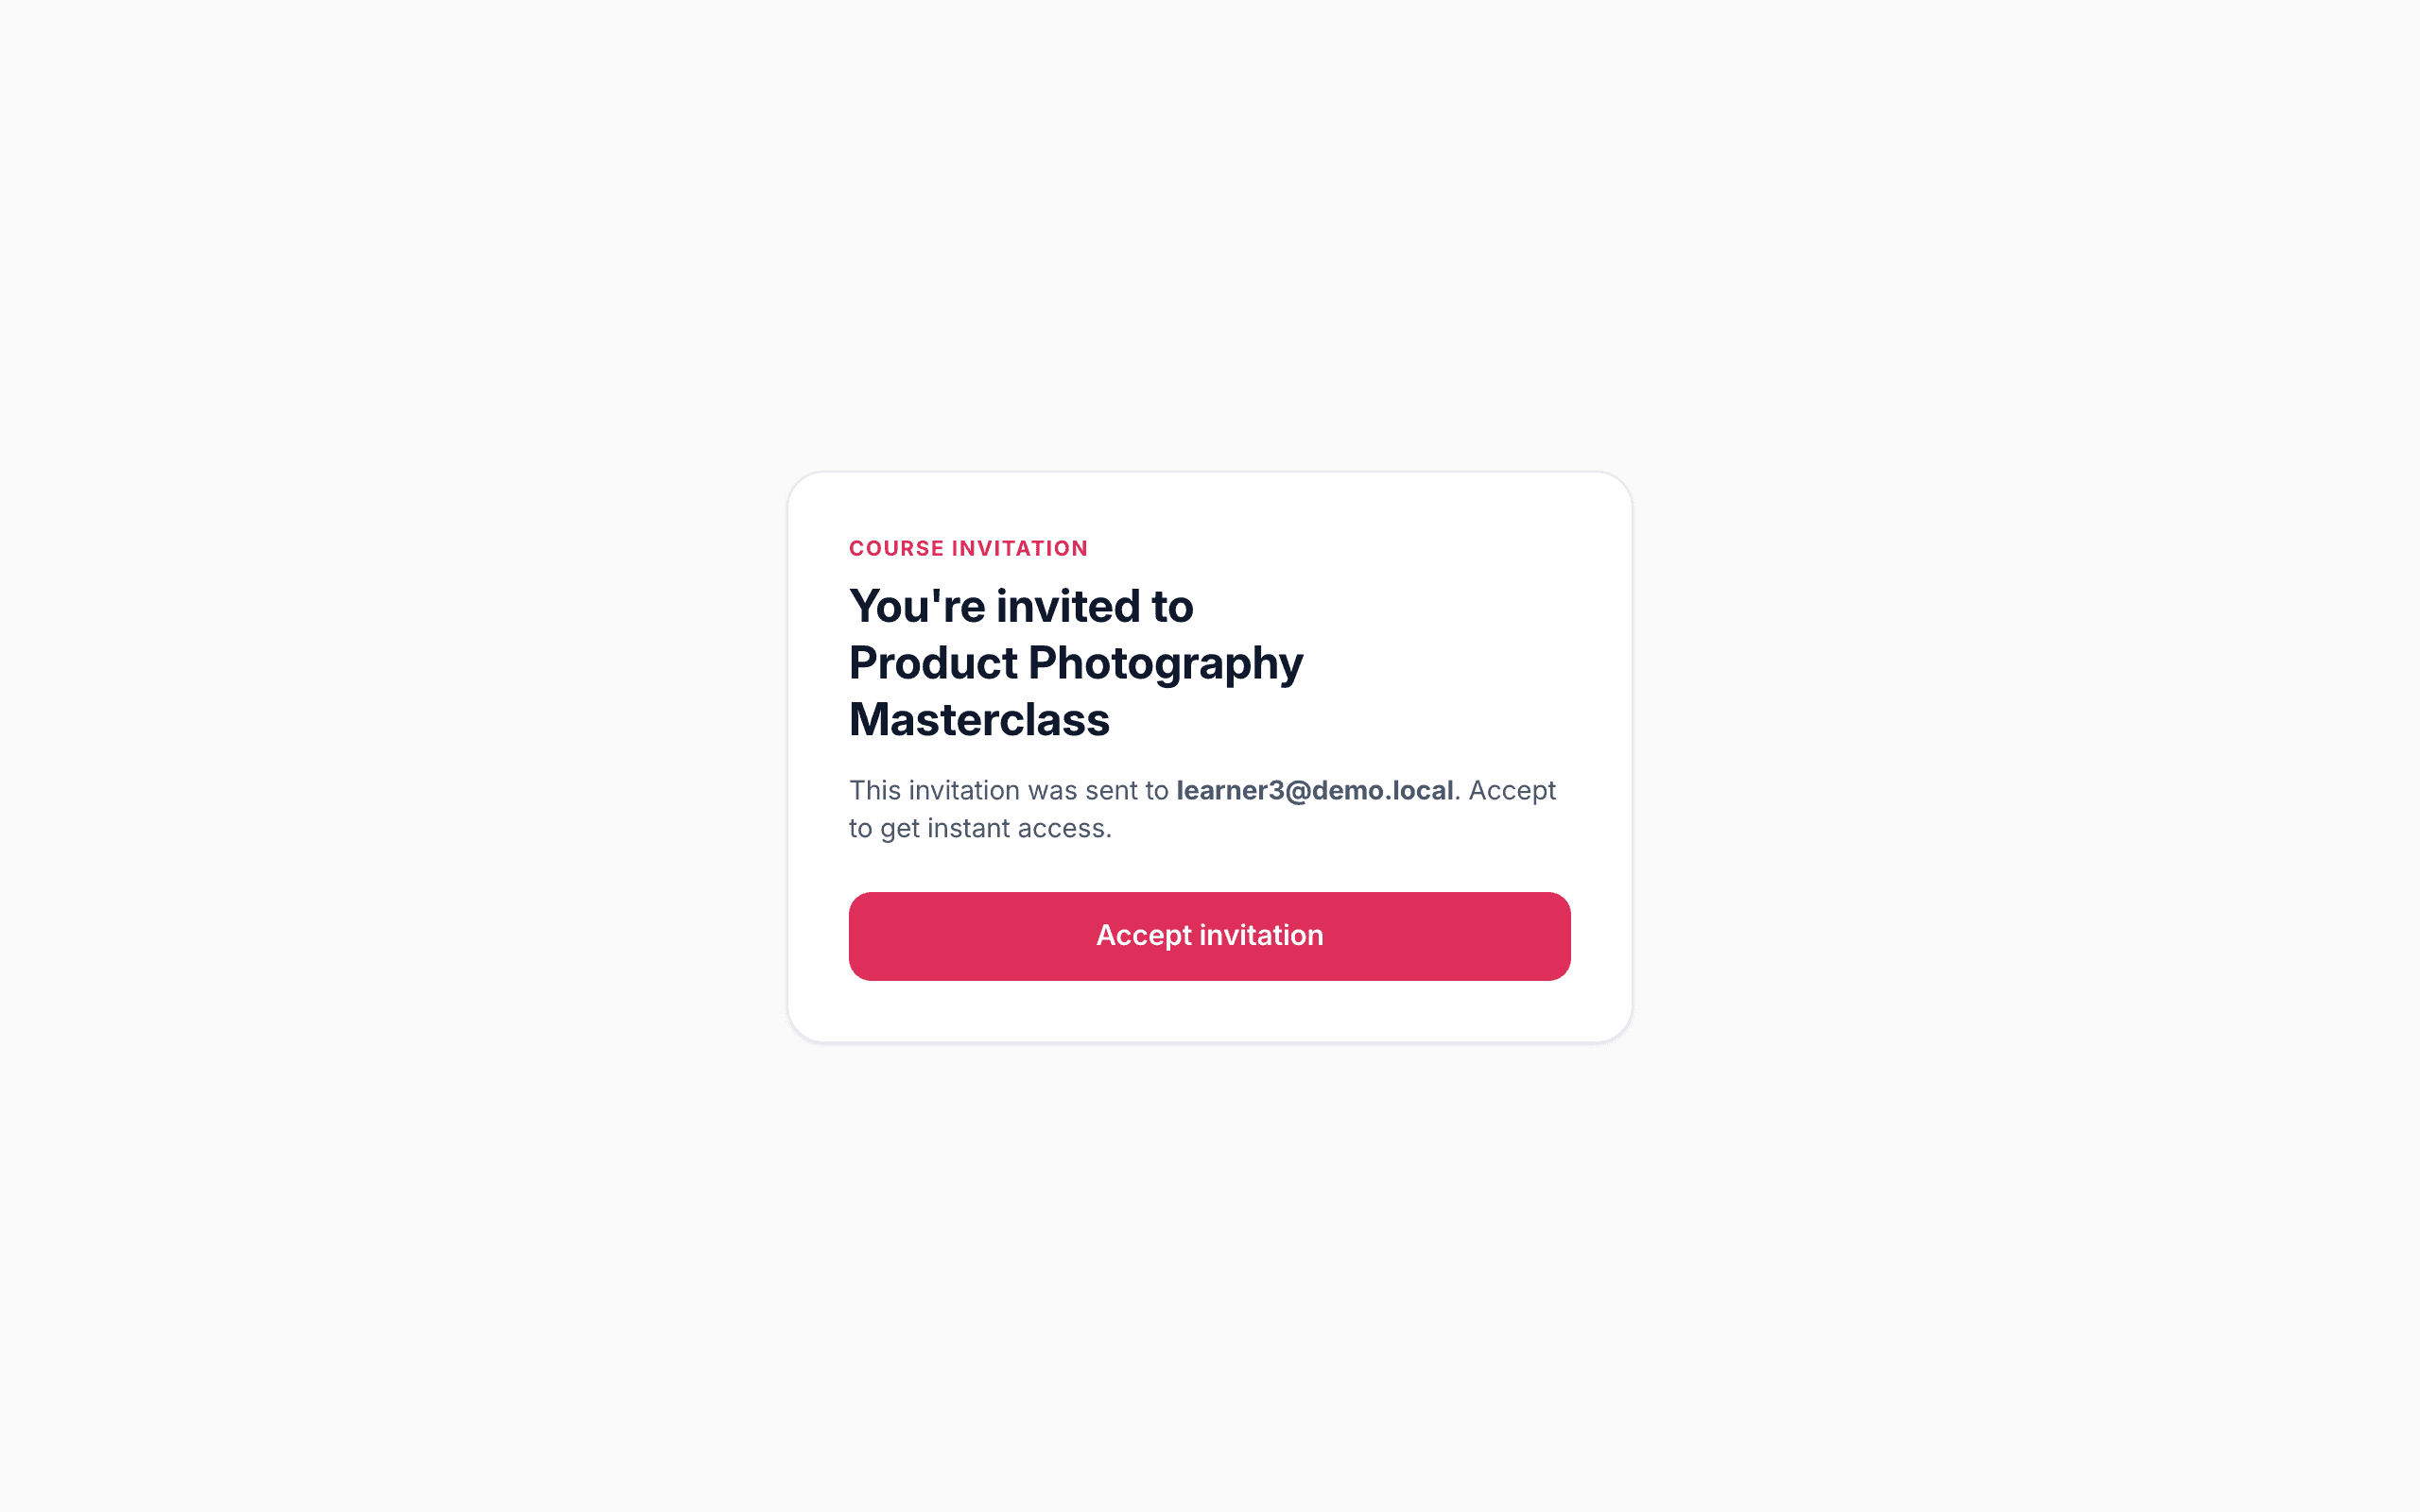
This is the link created when you invite a specific learner by email. Opening it shows a page that says You’re invited to {course} and the email the invite was sent to. The learner clicks Accept invitation:
- If they aren’t signed in, they’re asked to sign in to accept first, then returned to the same page.
- If they’re signed in with a different email than the invite, they get a clear warning and a Switch account button — the invitation is bound to the exact email it was sent to.
- If you gave them free access, accepting drops them straight into the course, enrolled.
- If you set the invite to require payment, accepting takes them to the course with the enroll window open, where they buy as above.
Claiming a team seat
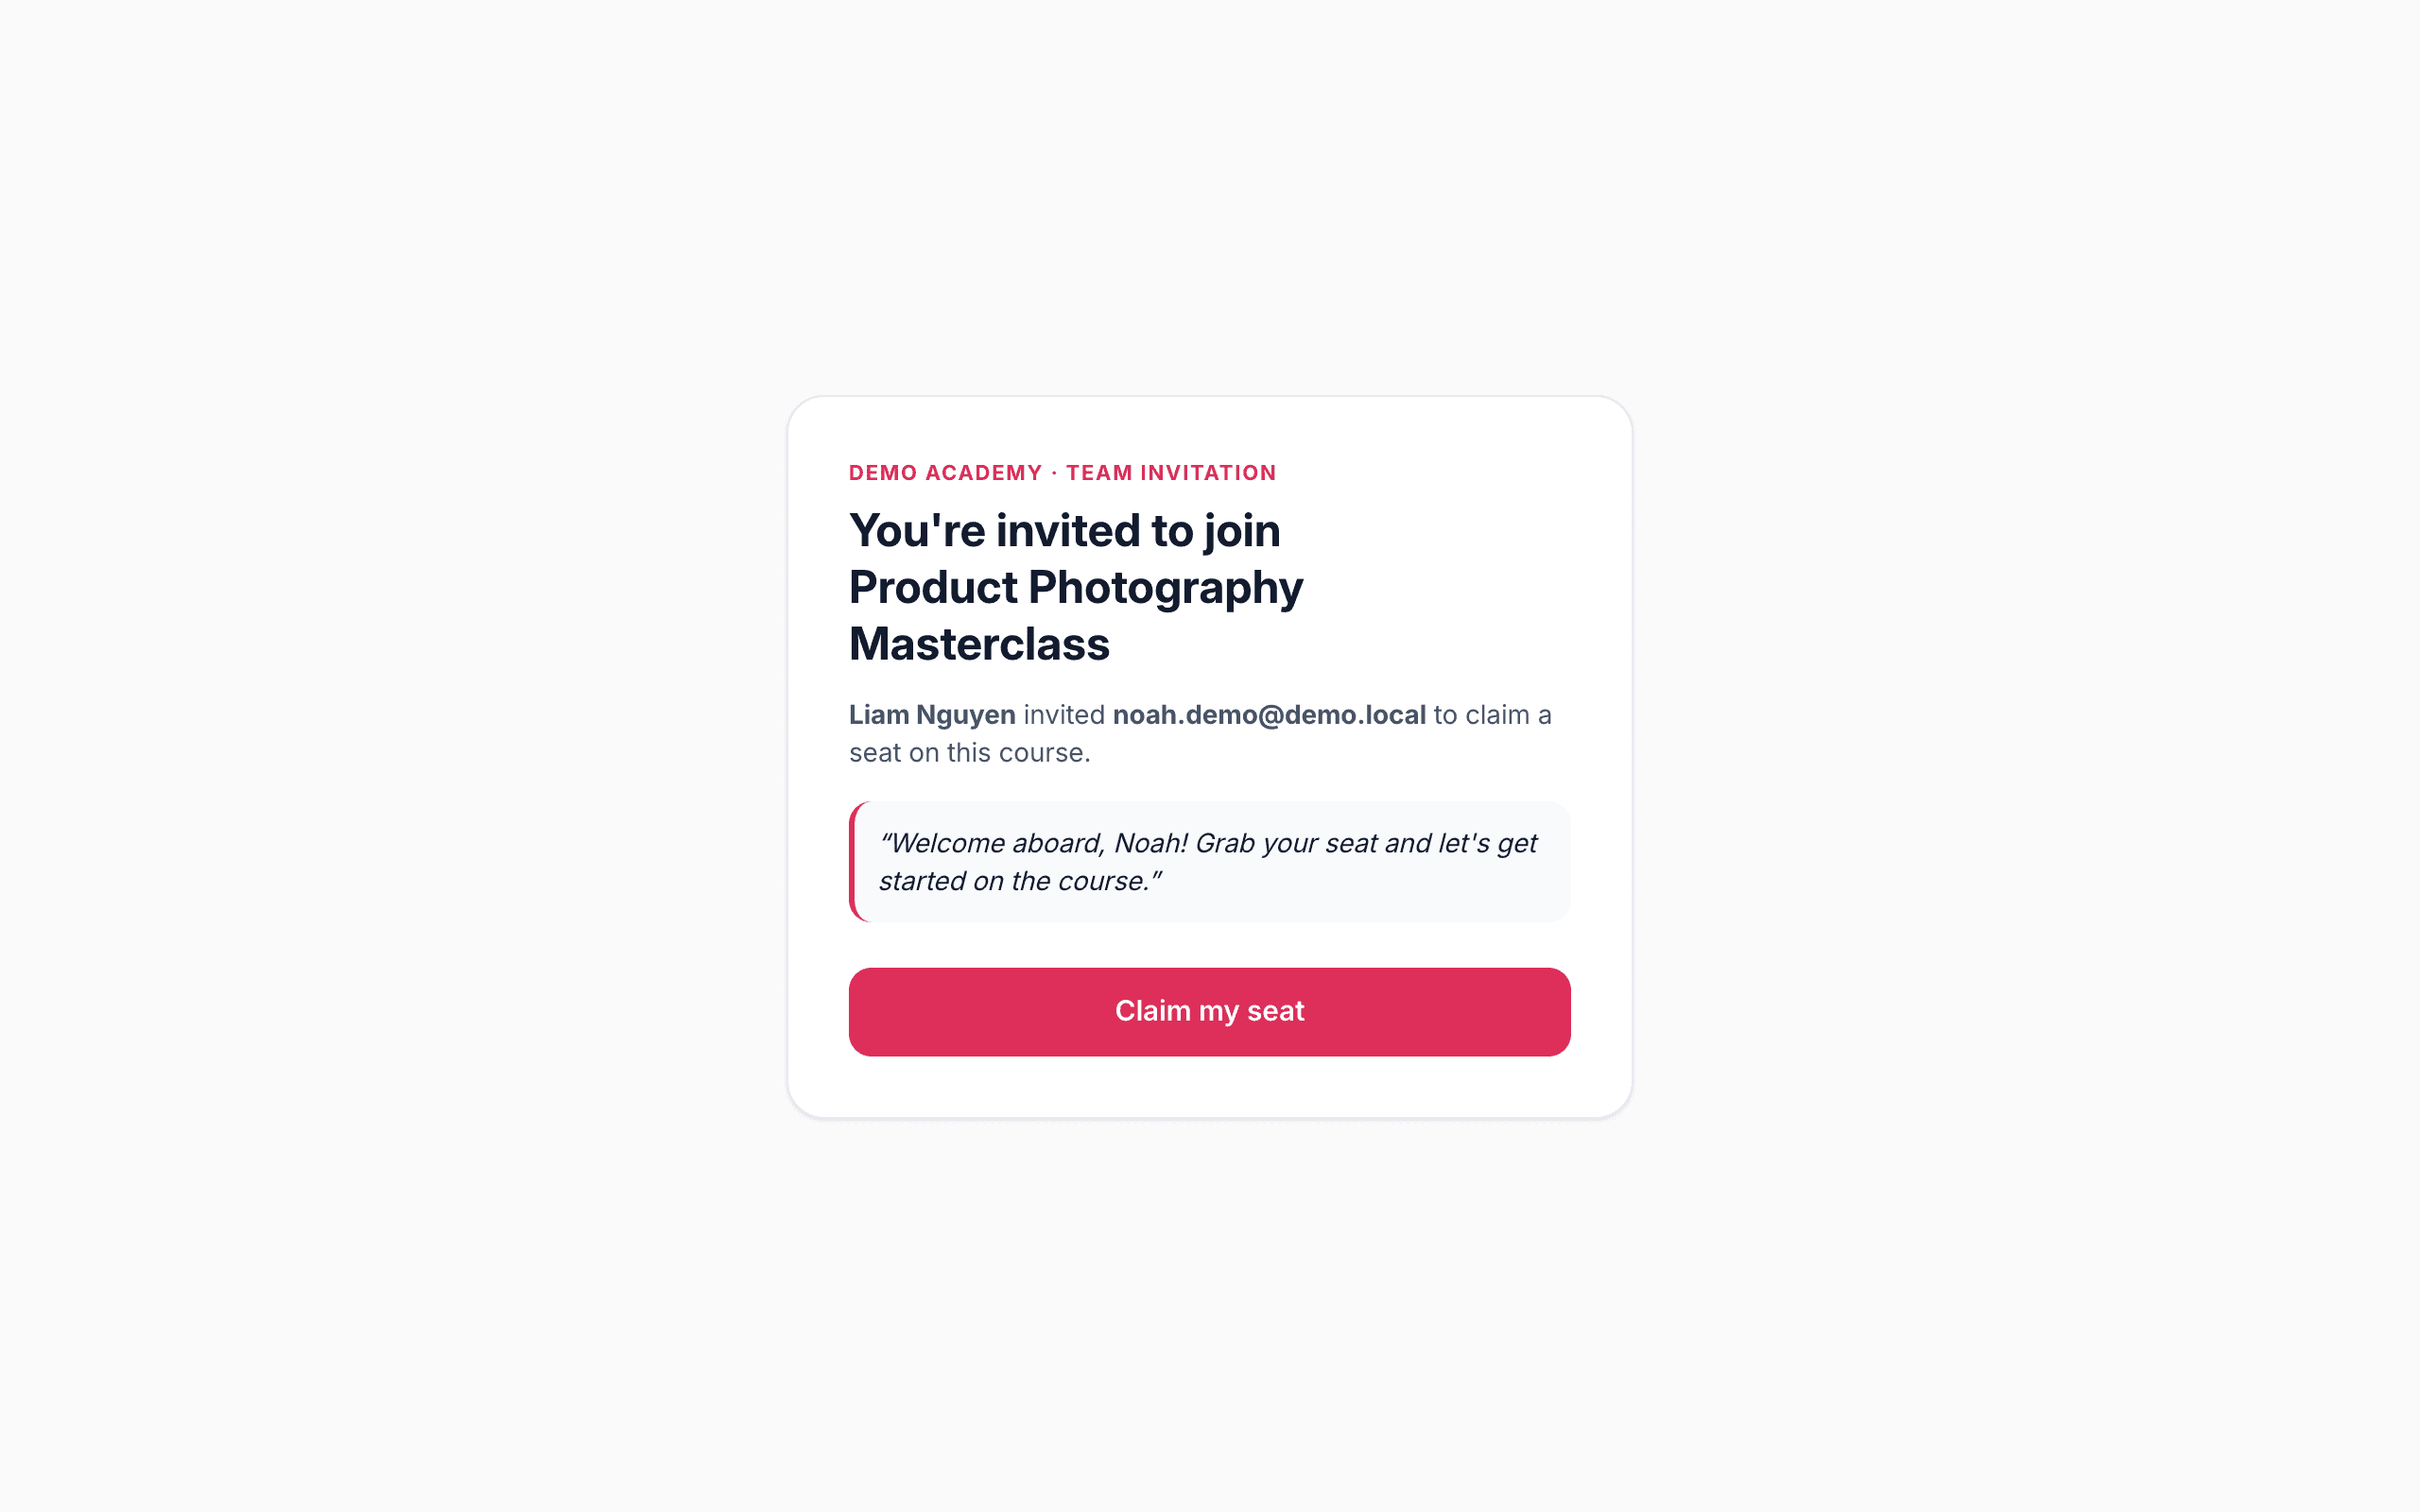
When someone buys a team package and invites colleagues to the seats, each colleague gets a slightly different link. It shows You’re invited to join {course or series}, who invited them, and any personal message the manager added. They click Claim my seat — and, like a course invitation, it’s bound to the invited email, so a mismatched sign-in prompts a Switch account. Once claimed, they’re taken straight into the course or series they just unlocked.
Where to go next
That covers how learners get in. To shape the experience around it:
- Add people yourself with Invite specific learners.
- Set what access costs with Set your prices with Packages.
- Sell bulk seats with Sell to teams.
- See what happens after they enroll in The learner experience.