Every course starts life as a draft — visible only to you and your team while you build it. Publishing flips it live, so it shows up in your catalog and learners can enroll. All of this happens from one place: the builder top bar, which sits at the top of both the Course basics and Course content screens.
To get there, open LMSCourses, click into any course, and look at the bar across the top. On the right you’ll find ▶ View as learner, an autosave indicator, and a black Actions ▾ button — that Actions menu is where every publish and unpublish action lives.
The three states: Draft, Live, Hidden
A course is always in exactly one of three states. The small pill next to the course title in the top bar tells you which one, and each state also has its own bucket in the sidebar under LMSCourses (Published, Drafts, Archived), with a live count.
- Draft (grey pill) — a work in progress. It isn’t in your catalog and learners can’t find it. Every new course starts here, and you can edit it freely. Lives under Courses → Drafts.
- Live (green pill) — published. It appears in your catalog, and learners can enroll or buy according to the course’s enrollment rules and pricing. Lives under Courses → Published.
- Hidden (amber pill) — archived. It’s pulled out of the catalog so no new learners can reach it, but it’s not deleted — your content and any enrolled learners stay intact, and you can bring it back anytime. Lives under Courses → Archived.
The Actions menu
Click Actions ▾ in the top bar to open a small dropdown. The options you see depend on the course’s current state, so you never get a choice that doesn’t make sense:
- From Draft: Make live (publish) and Hide (archive).
- From Live: Move back to draft and Hide (archive).
- From Hidden: Make live (publish) and Unhide (restore to draft).
Hide (archive) always shows in red — it’s the one action that takes a live course off the catalog, so it’s styled to stand out.
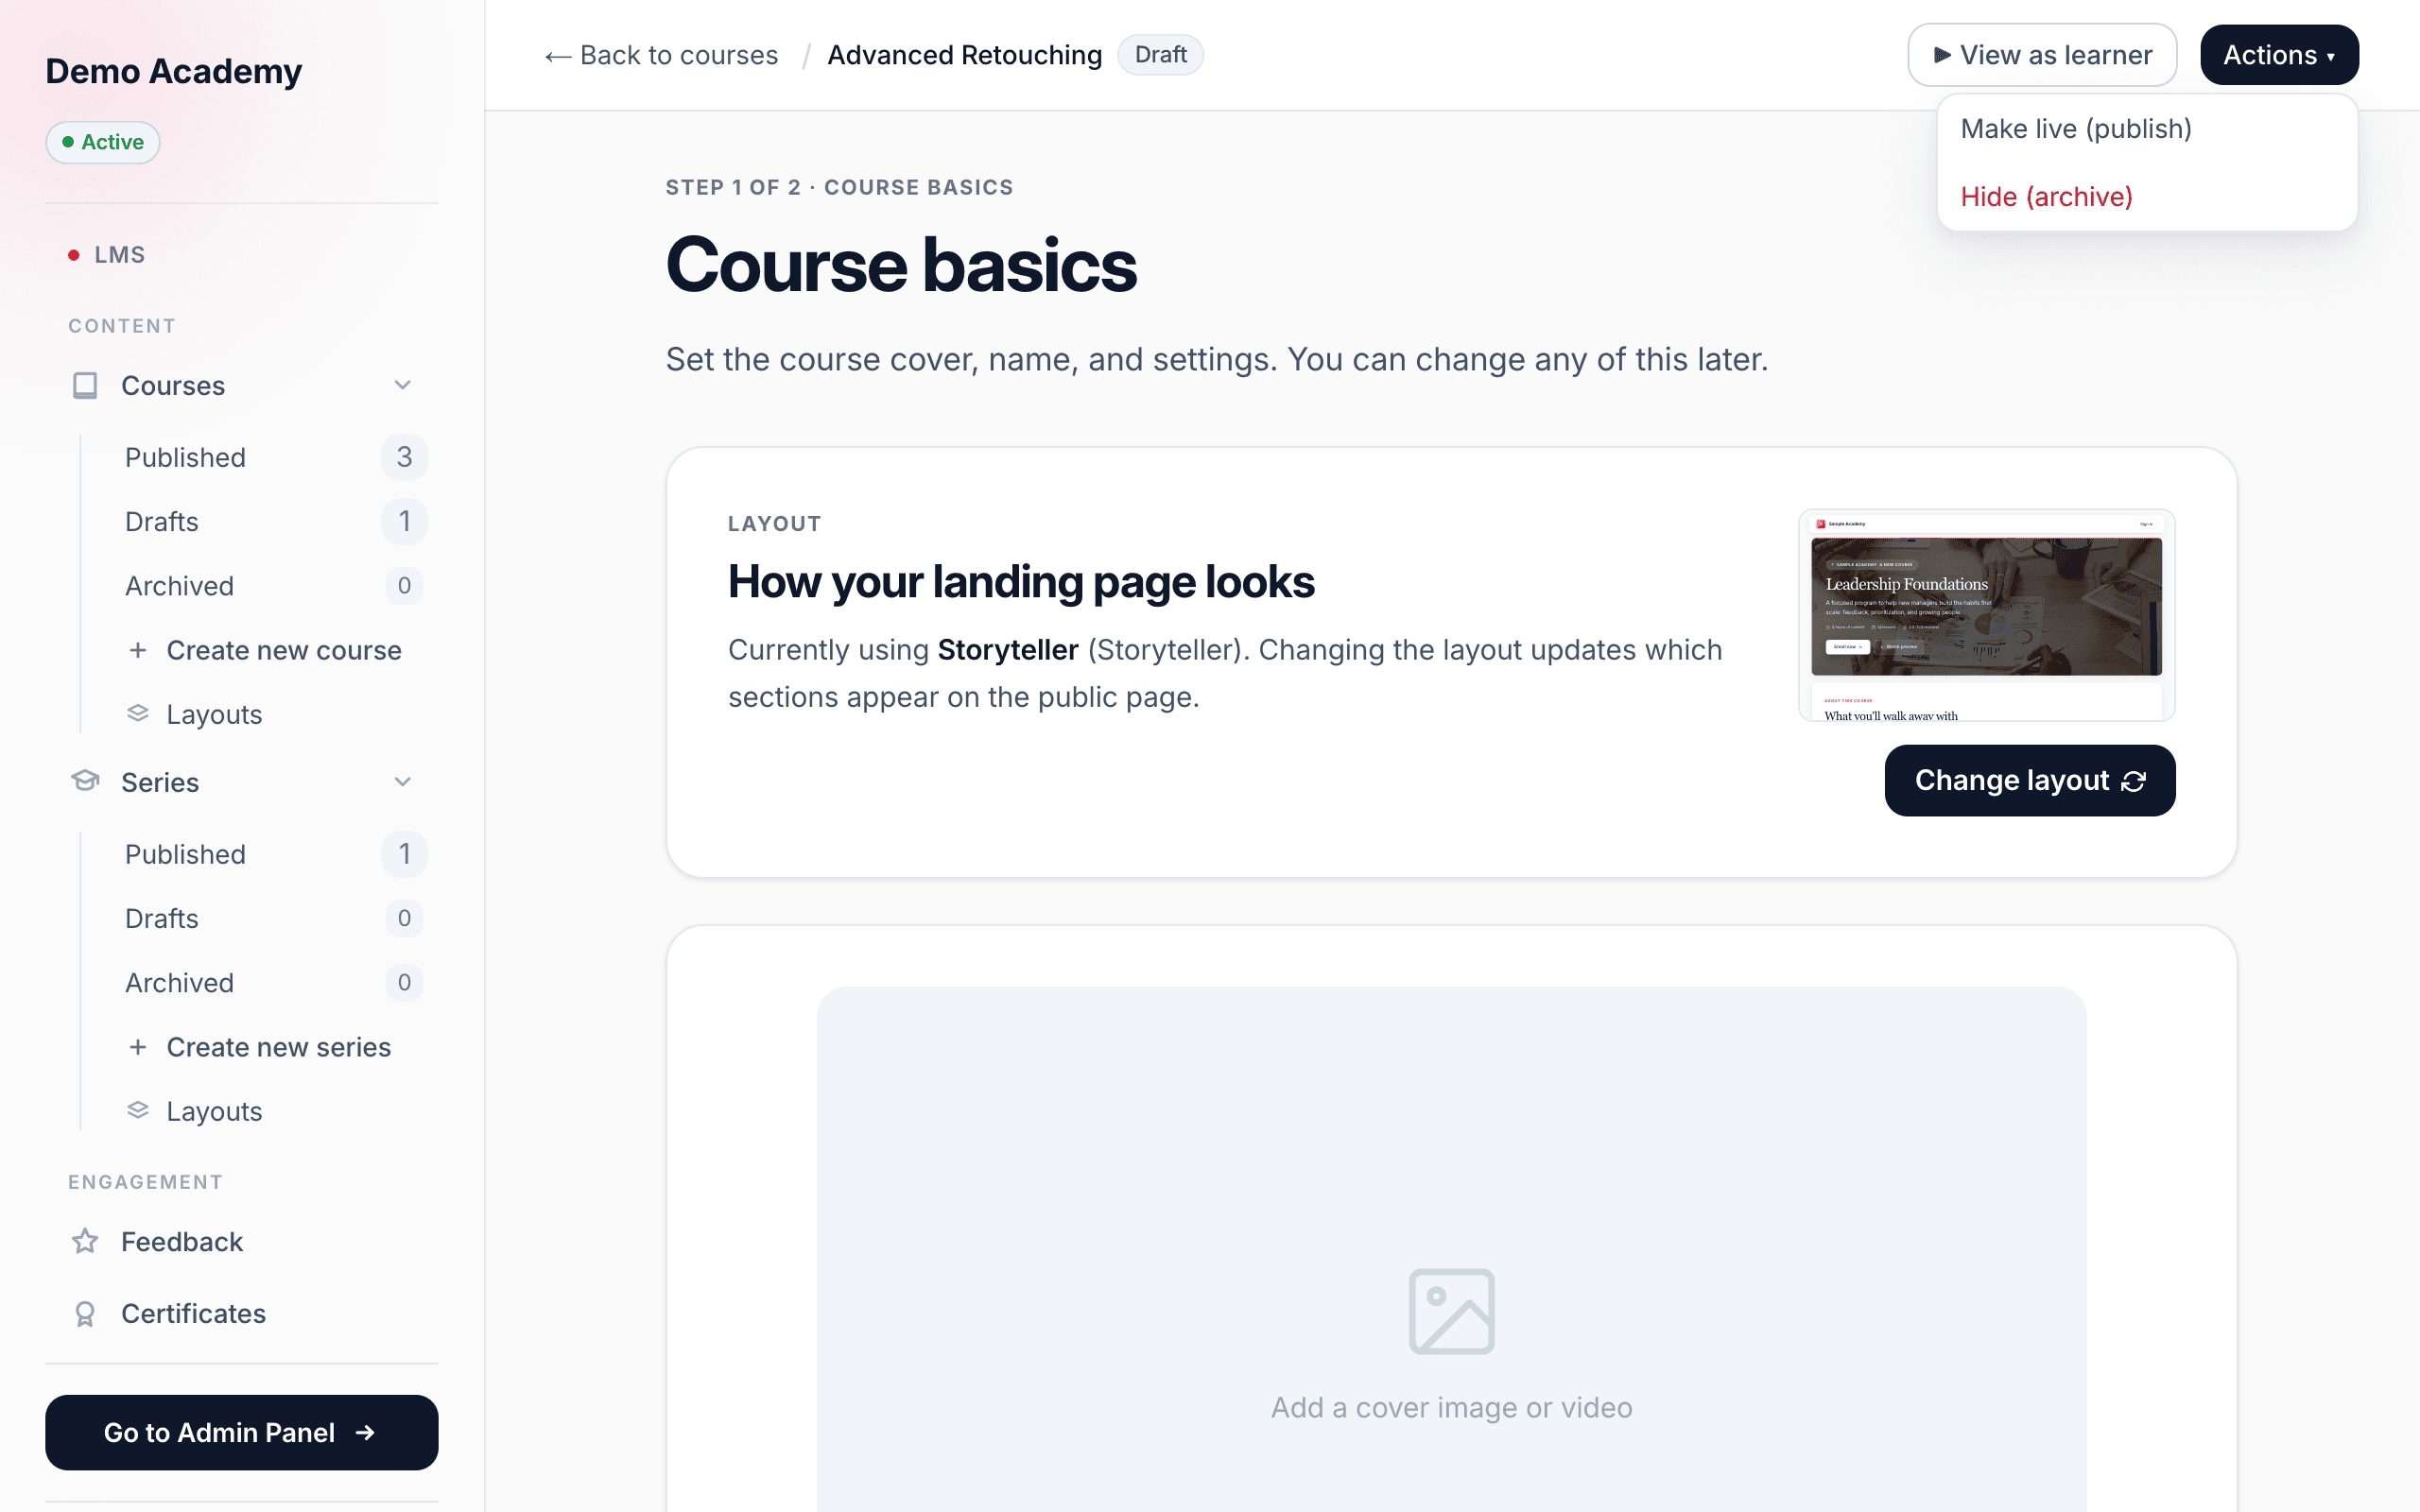
Make a course live
- Open the course from LMSCourses → Drafts.
- In the top bar, click Actions ▾ → Make live (publish).
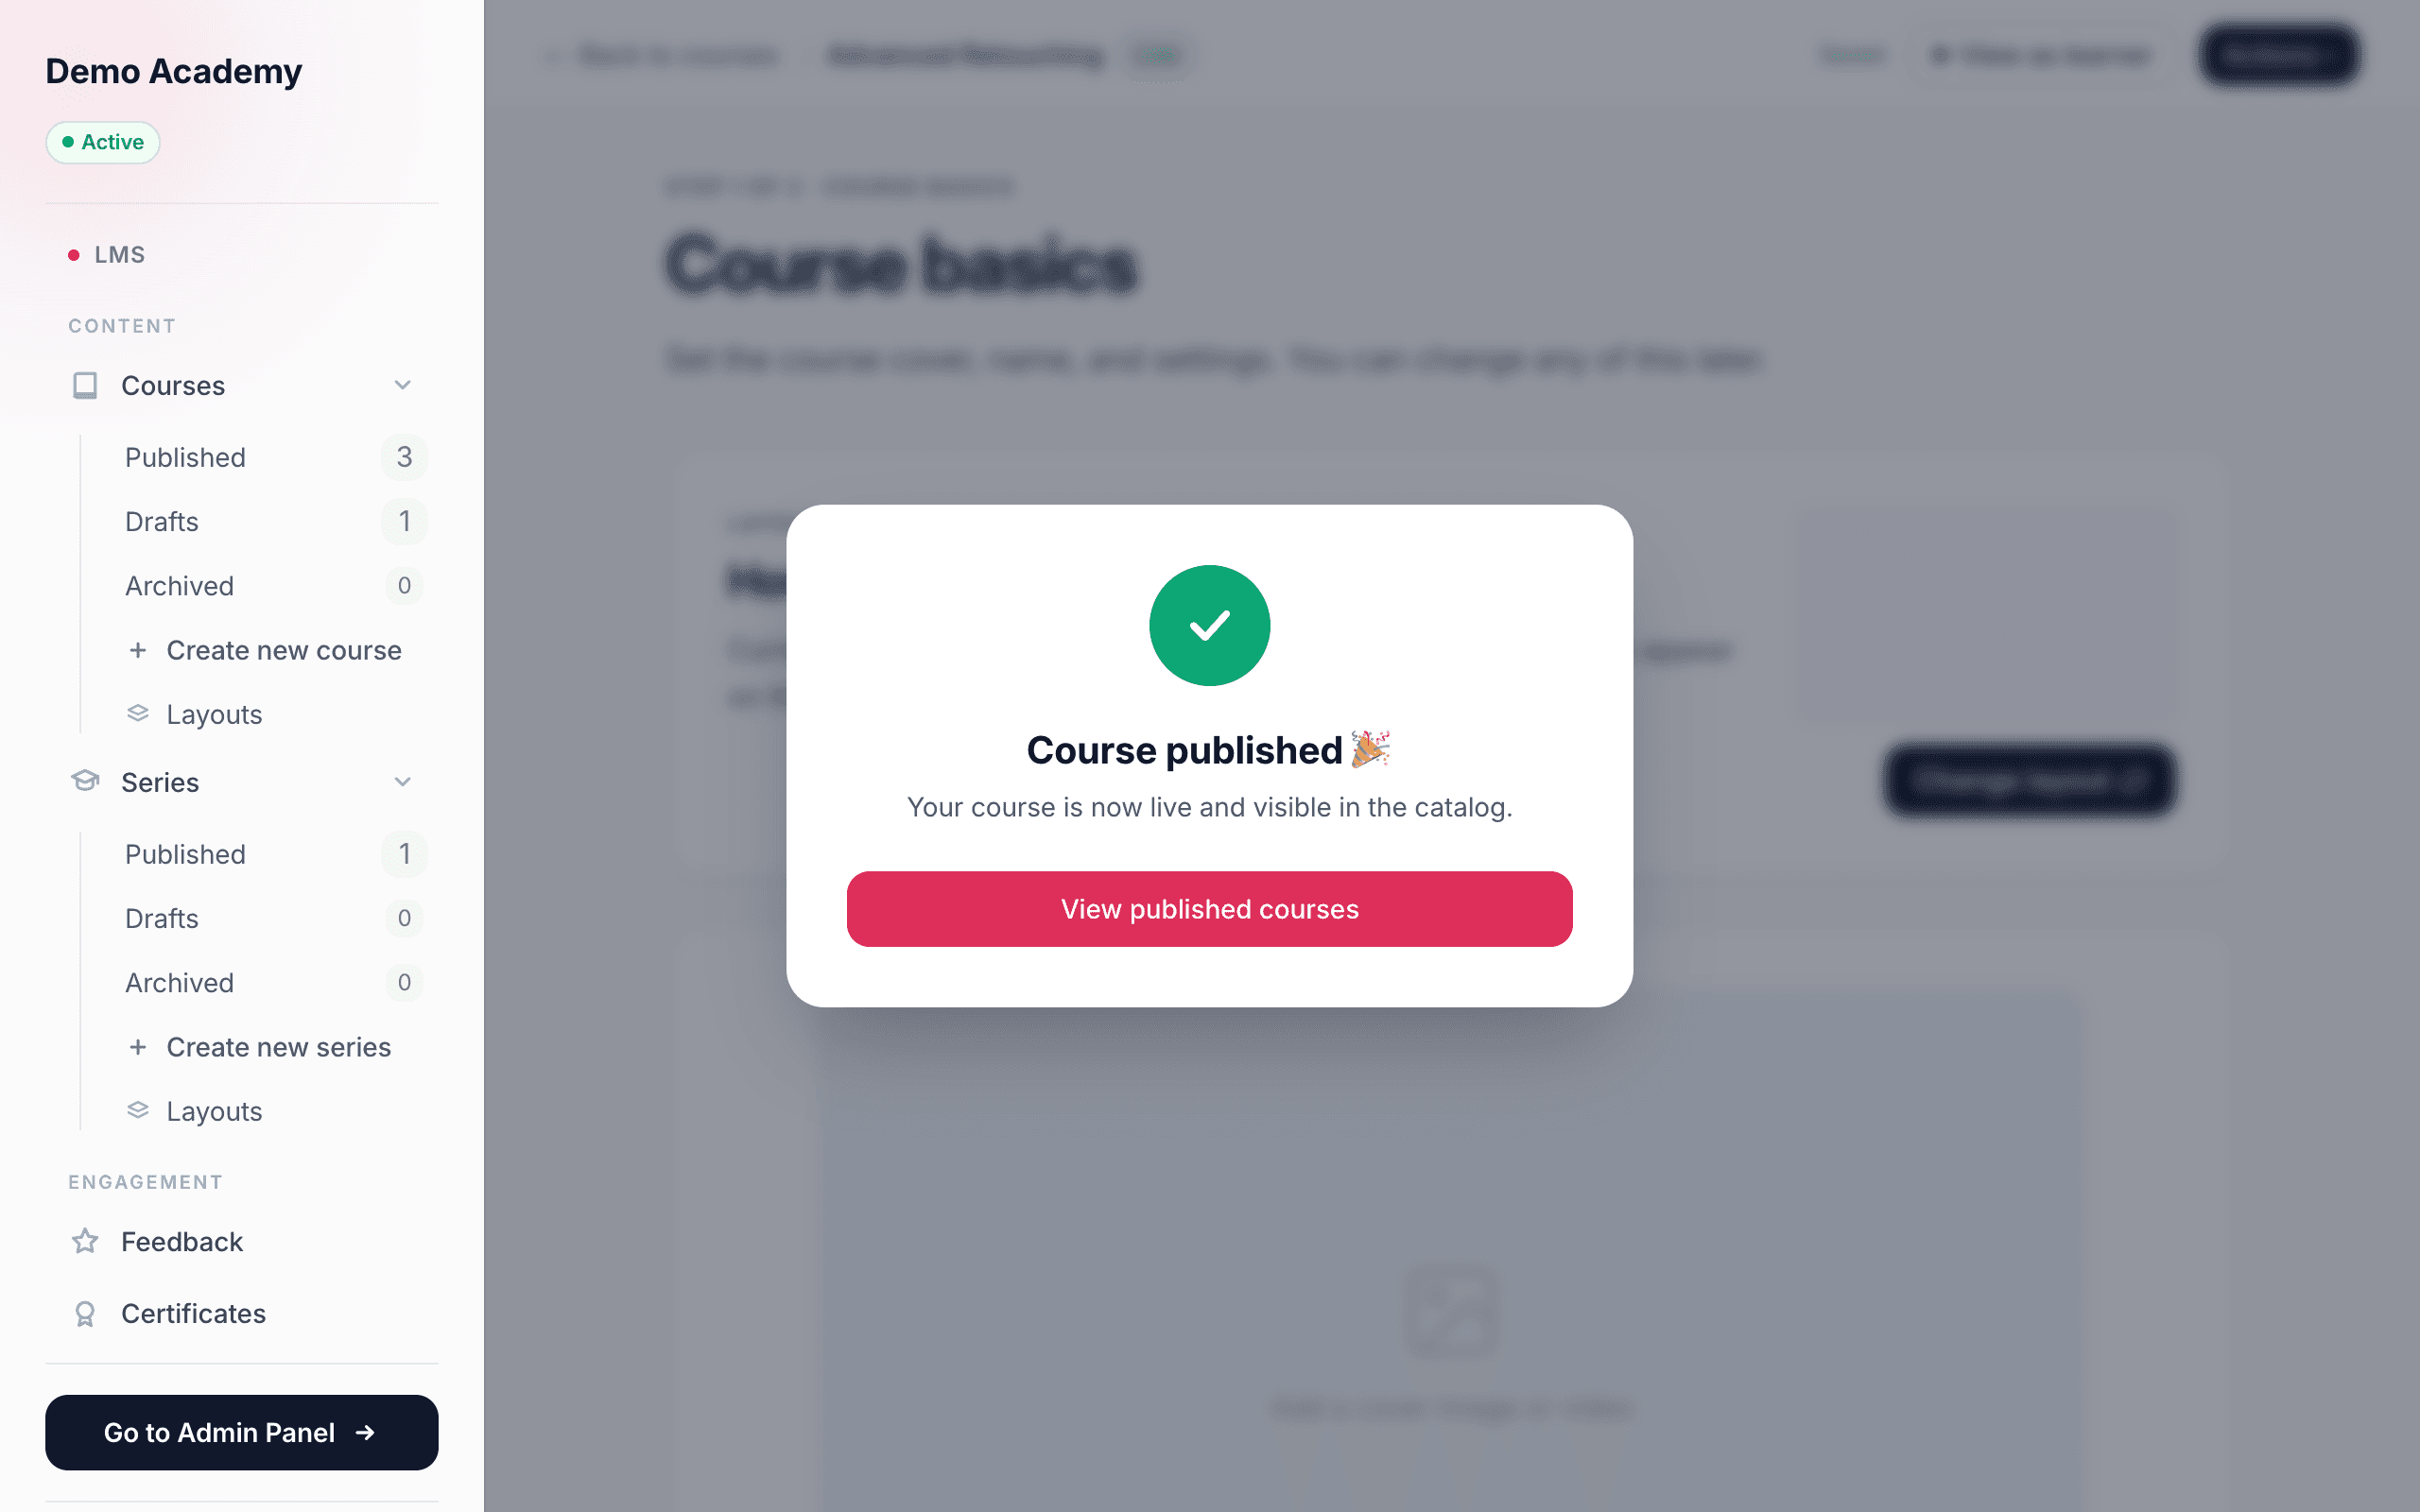
A confirmation pops up — Course published 🎉, “Your course is now live and visible in the catalog” — the status pill changes from Draft to Live, and the sidebar counts update. The confirmation’s button, View published courses, drops you into your Published list.
Taking a course back offline
There are two ways to pull a live course down, depending on why:
- Move back to draft — use this when you want to keep working on it privately. It leaves the catalog, the pill returns to Draft, and you get a “Moved back to draft” confirmation.
- Hide (archive) — use this when a course is retired or seasonal and you may want it back later. You get a “Course hidden” confirmation, and it moves to Archived.
To bring a hidden course back, open it from Courses → Archived and choose either Unhide (restore to draft) — back to a private draft — or Make live (publish) to push it straight back into the catalog.
When learners are already enrolled
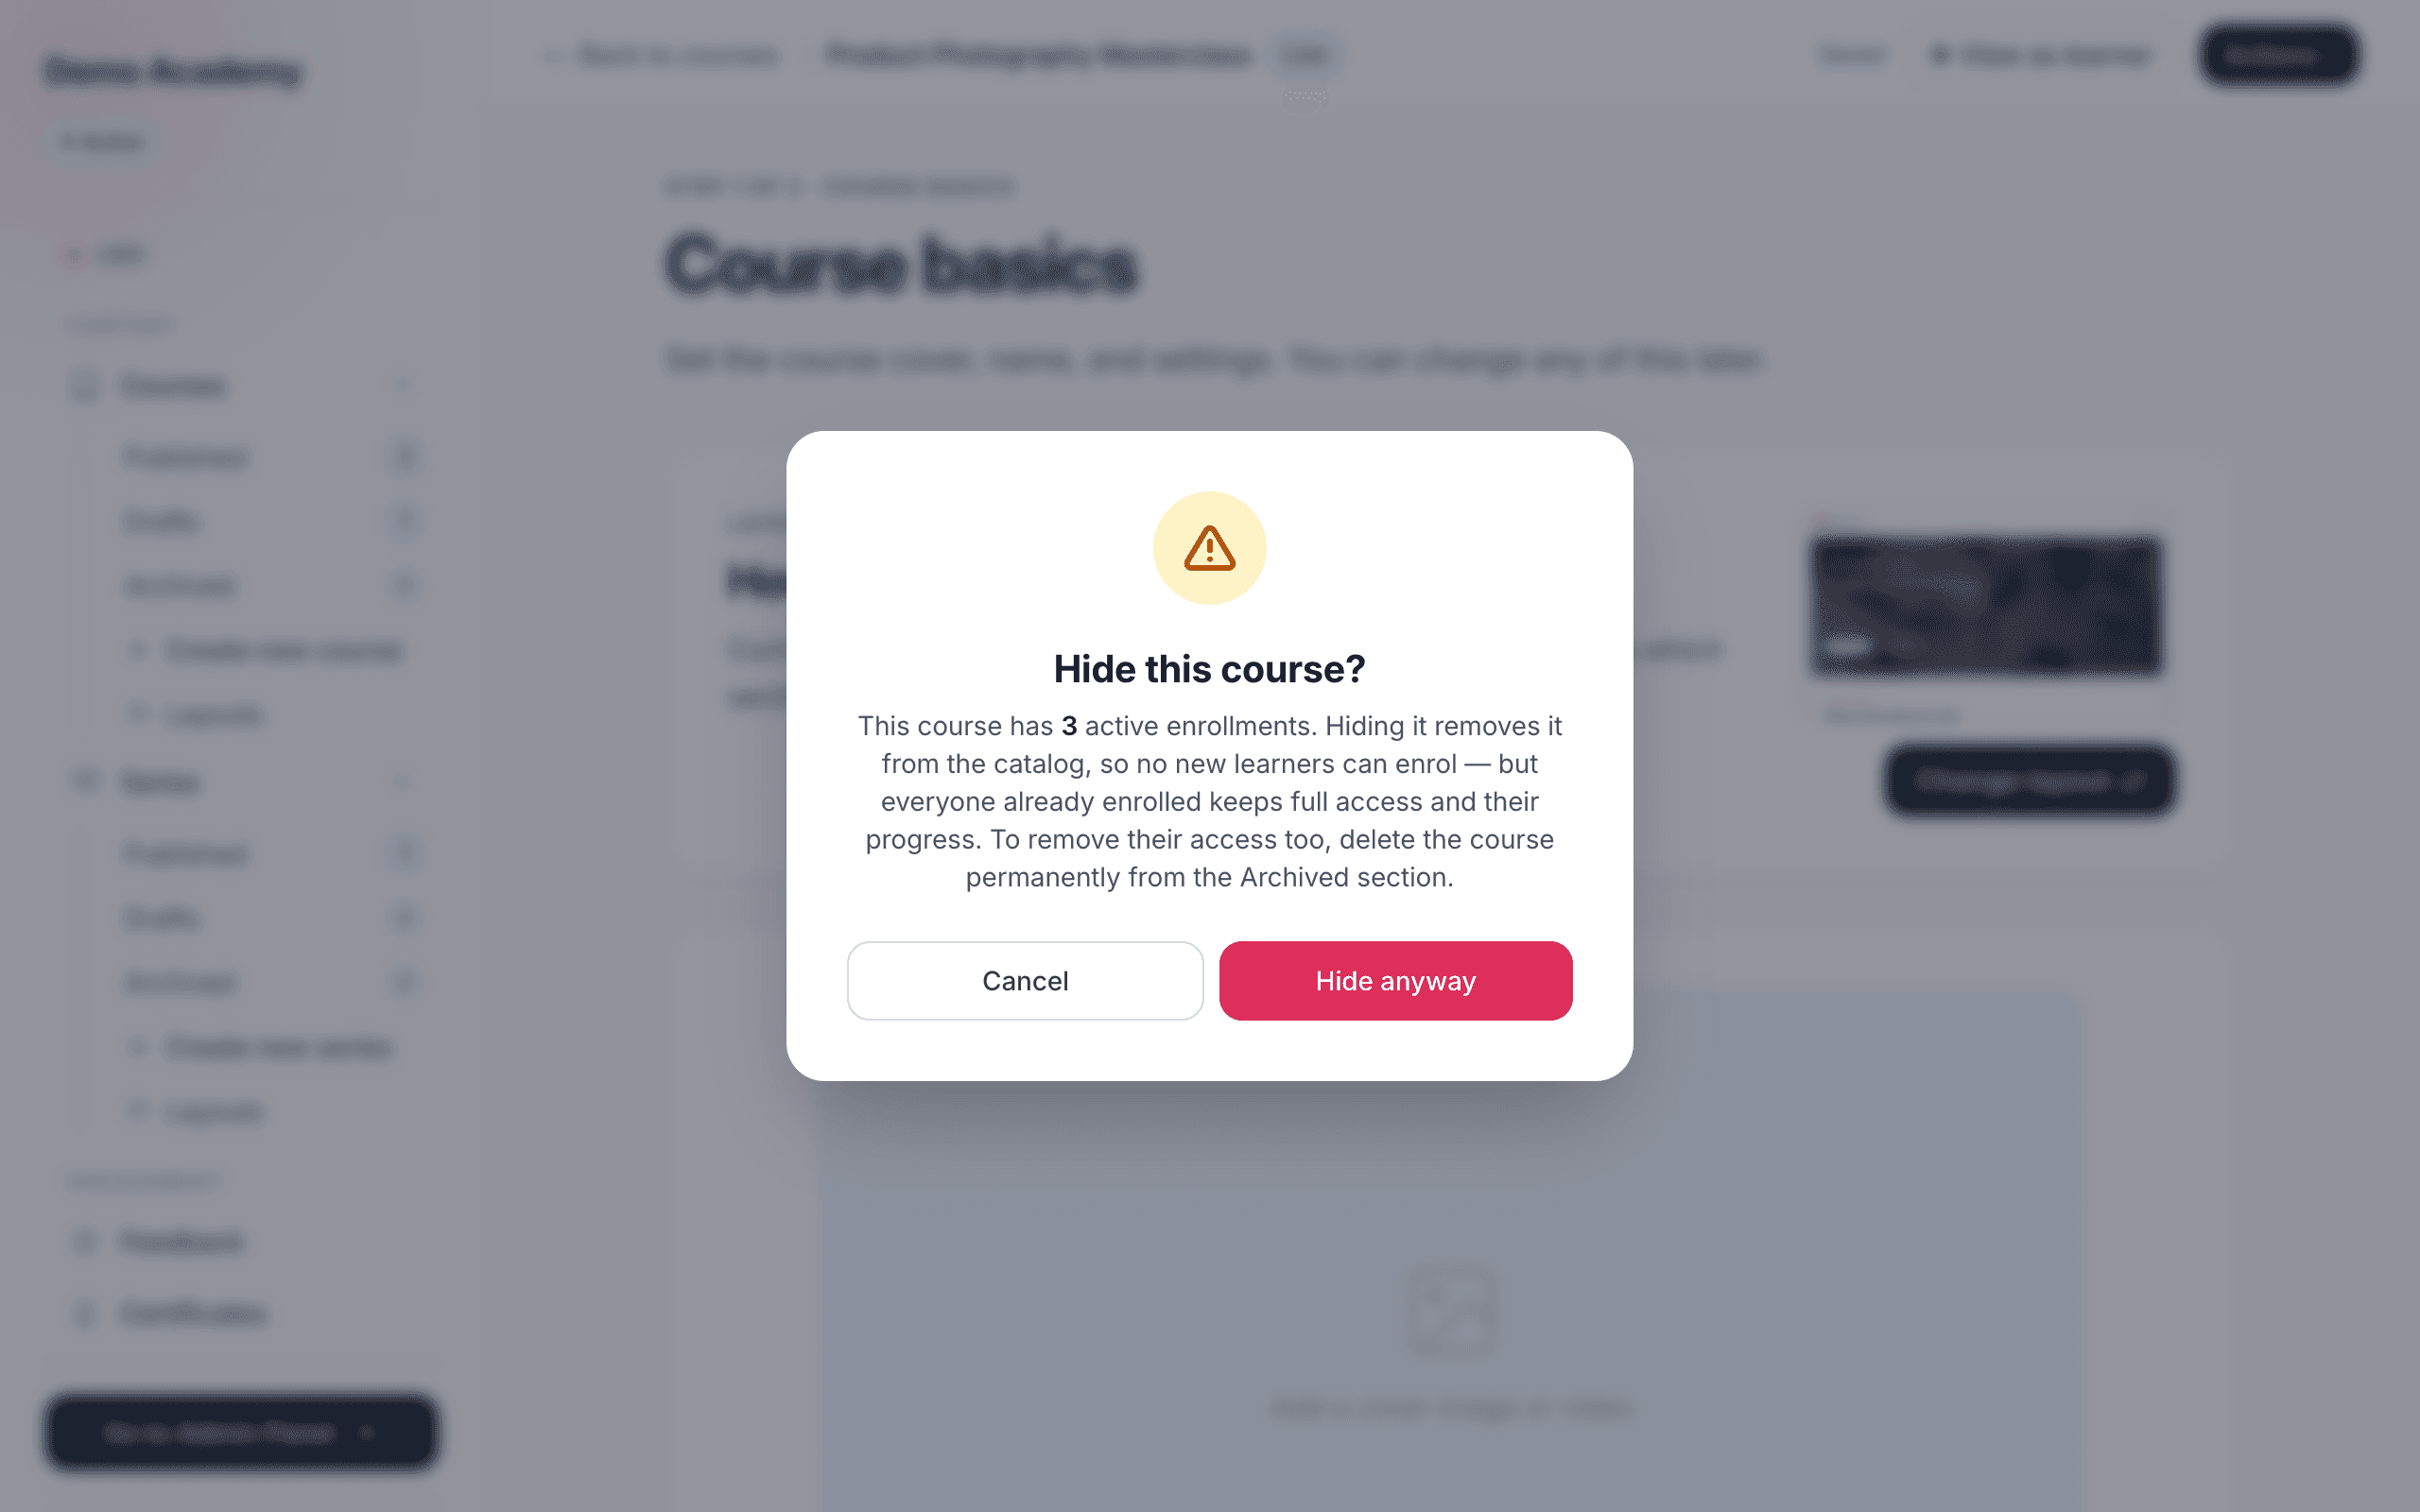
Taking a course offline is safe, but Learn 360 double-checks first. If a course already has active enrollments, choosing Move back to draft or Hide (archive) opens a confirmation dialog that tells you exactly how many learners are affected — for example, “This course has 12 active enrollments.”
Here’s what actually happens when you confirm:
- The course leaves the catalog, so no new learners can enroll.
- Everyone already enrolled keeps full access and their progress — nothing is taken away from current students.
Once you’re live, learners find your course through your public links — see Your storefront & links. Curious what students actually experience inside? That’s The learner experience.